DIY Pallet Goat Shelter
With fall just around the corner, our two Nubian bucks are in need of their own bachelor pad to hang out in. This week I set out to make a simple and affordable, DIY pallet goat shelter.
I find that people tend to be in one of two camps when it comes to pallets. The first are people who love them. They like to tear them apart, cut them into pieces, and re-purpose them all over the place. Shoe racks, furniture, yard decor, or as construction material around the farm.
The second camp of pallet people are those who can’t stand them. They think they are tacky, ugly, and they would just as soon burn them as look at them.
Turns out in my marriage, we have a person in both categories. I’m not exactly a pallet junkie, but I appreciate a good solid pallet for what it is. Wood that is cheap or free and pretty damn sturdy. Thus, when my goats needed a small seasonal shelter, pallets were my go-to.
Where to get Pallets
I lucked out when it came to getting pallets. Through my dad’s work he has access to hundreds of pallets and I can have as many as I want. The main catch is my dad lives two hours away.
Still, I was able to get a small stack of them for this construction project.
If you aren’t lucky in the dad department, the best way to find pallets is to ask around. You never know who is already sitting on a pile of them, or knows a guy/business that has them in excess.
A cabinet maker near us will leave a few sitting by the road every now and again, free for the taking.
Craigslist and swap and shop are other useful places.
If you are willing to dig around a little, you should be able to find them for free. Around here I have seen some folks sell them for as much as $5 each, but I’d rather hunt up a free one.
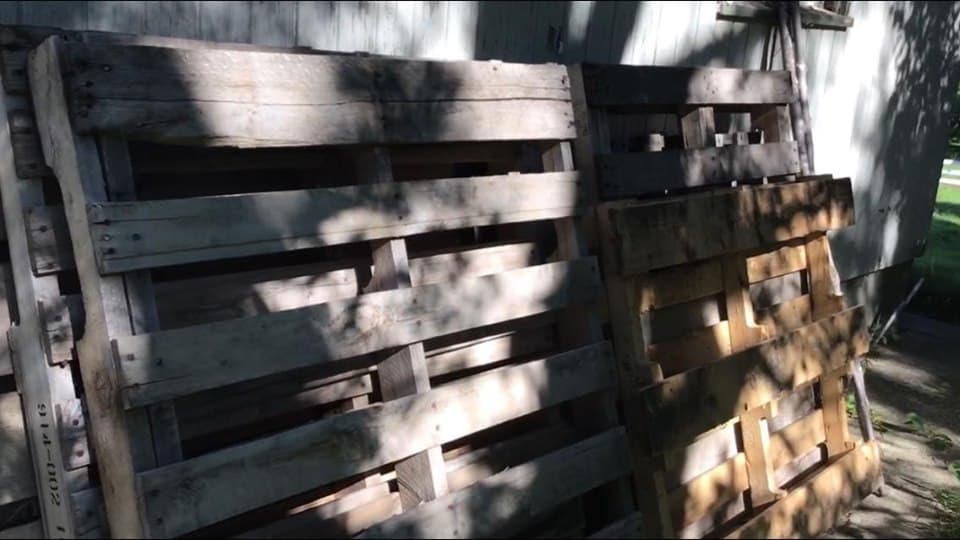
My last bit of pallet advice, especially where this shelter is involved, is to get pallets that are all the same. Again I was lucky in that I had four pallets that were the exact same size with the same pattern of slats. This will make construction simpler and make the structure more visually appealing if you aren’t using other siding.
Supplies Needed for this DIY Pallet Goat Shelter
I’m providing you with the measurements I used, based on what the size of my pallets were. All this will probably vary for you depending on what materials you have around.
For this particular shelter I used:
- 5, 42″x47″ pallets (or whatever you have around)
- 4, 8 foot 2×4’s
- Box of self tapping screws (These are a little more expensive but after using them I will never buy another type of screw ever again)
- 2, 100″ x 50″ pieces of old sheet metal (another scrap find, thanks dad) or some other roofing material.
- Sheet metal screws
- Electric Drill
- Circular Saw
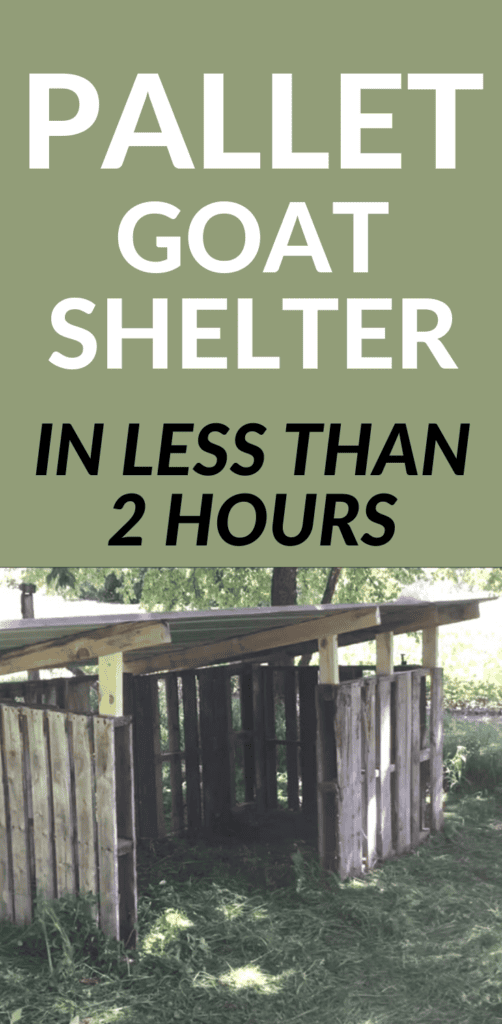
Construction of the Pallet Goat Shelter
This entire shelter was put together during my daughter’s two hour morning nap, so it comes together quickly.
First, I sorted through the pile of pallets and dragged them down to the construction site.
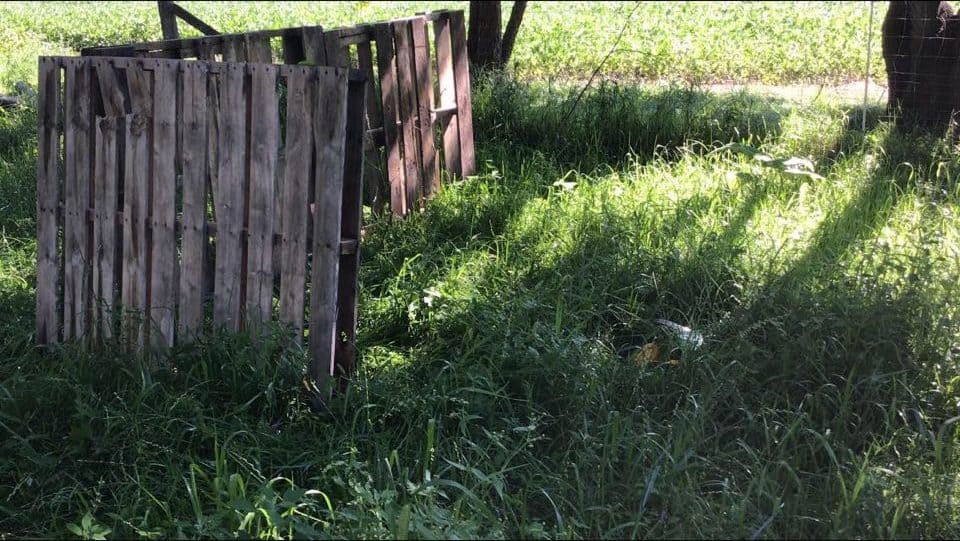
I matched up the four that were all the same and laid out a simple structure.
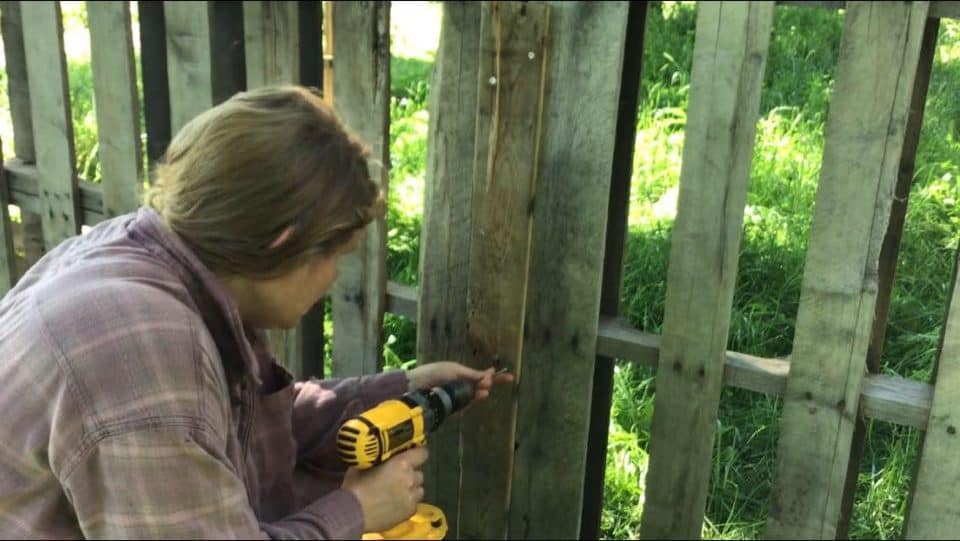
Using the self tapping screws, I screwed the pallets to each other. Along the back wall there was no way to screw them to each other, so I used a board from a spare pallet to join them together.
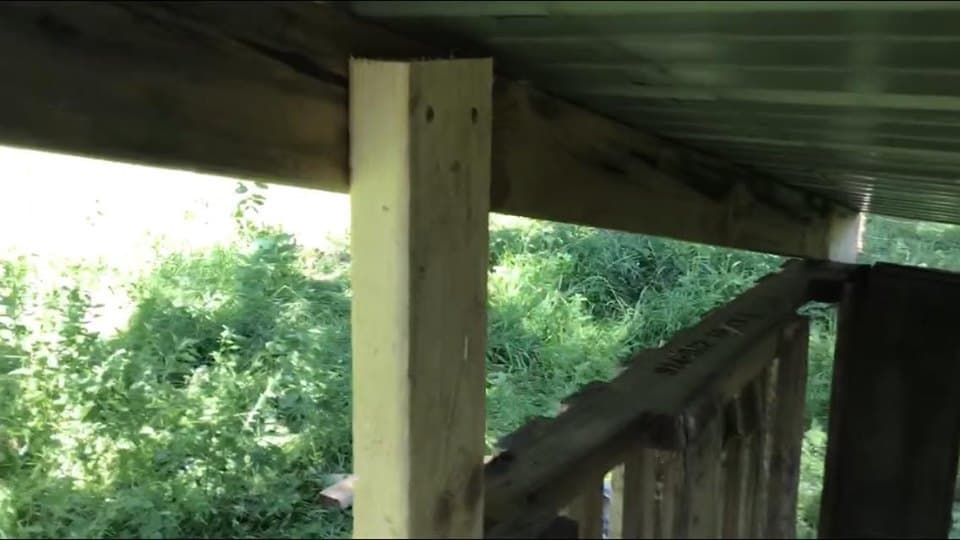
After that, I eye-balled the height for my roof supports. I ended up doing them at 12 inches. I cut four of these, then screwed them to the front part of the shelter.
After that, I grabbed the remaining pieces of 2×4 and attached them to these new support pieces and ran them width wise across the shelter, creating rafters for my roof. They ended up being 67″ after the ends that hang out the back were cut off.
I screwed these down on the back end too. This leaves a little opening that will help with air flow should I decide to close off the front more if we get super nasty weather.
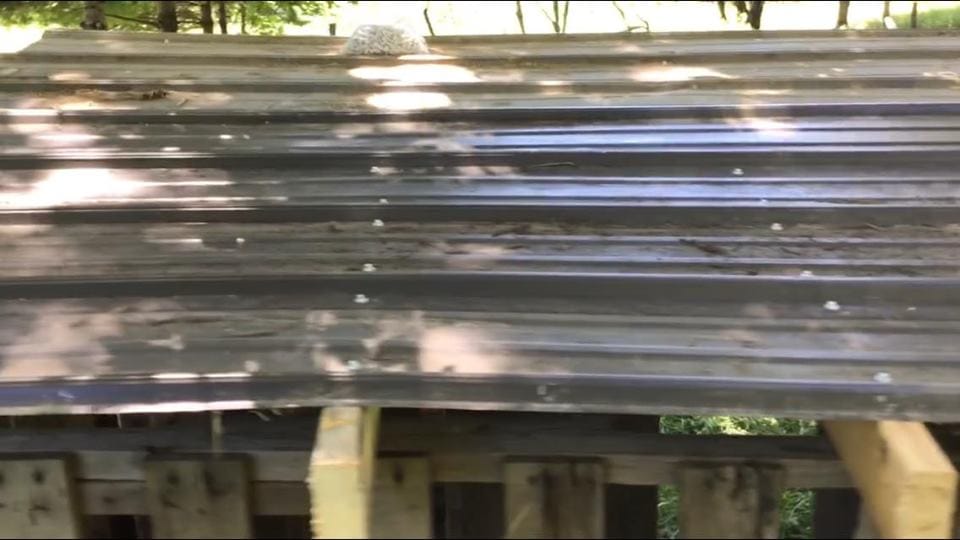
After these were secured, I slid the two pieces of sheet metal on the roof. After some fiddling (trying to line up the existing holes with my beams) I screwed it down into place.
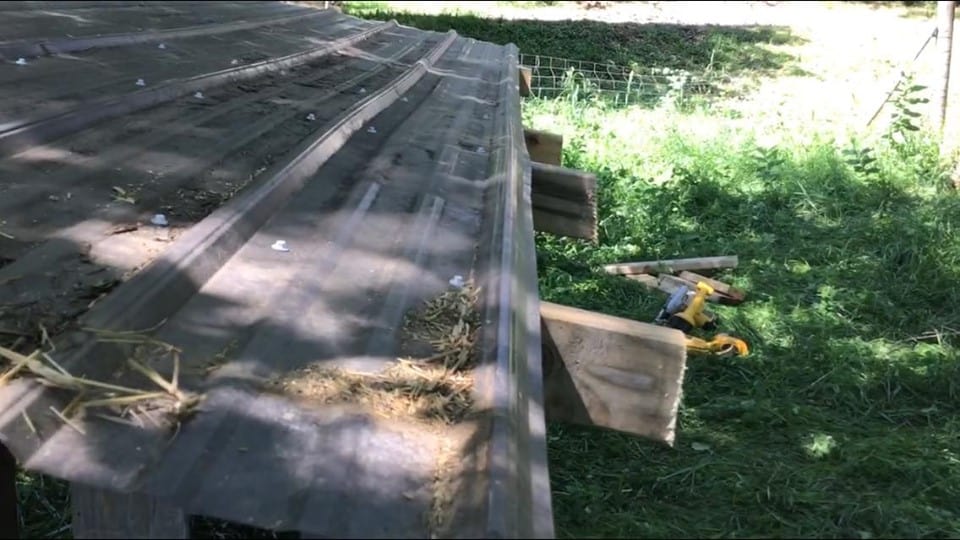
Lastly, I sawed off the excess 2×4 hanging off the back end of the shelter I measured to try and keep them consistent but they still are a bit off. I aimed for 6 inches.
Future Plans for the Goat Shelter
This construction project is not yet totally complete. My plan is to use this shelter for my bucks from now (early August) through December, when they can move in with the does. Thus it doesn’t need to stand up to the absolute coldest temperatures we get in winter (-45 actual air temp in some years).
The next step will be to add an exterior wall to keep out wind and rain. I haven’t quite decided if I’m going to do this with the extra sheet metal we still have, or if I’ll spend a little cash to get cedar for the walls. The shelter is pretty small so it wouldn’t cost that much and I think it would look pretty sharp.
The last consideration is to possibly anchor it somehow. Don’t get me wrong, this thing is solid and heavy, but I’m considering anchoring it just in case we get some truly crazy weather.
Have you made a DIY pallet goat shelter? I’d love to hear about it! Comment below and let me know what worked well for you.
Watch and Learn

Pin it for Later
If you have extra pallets around consider making a Pallet Goat Feeder, too! Looking for a great goat recipe? Check out my resource on how to make your own Chevre!