Make Your Own Chevre
Chevre is one of the most delicious cheeses and easiest to make. If you are just diving in to making cheeses from goat’s milk, this is a great place to start.
Jump to RecipeThe recipe I use for Chevre comes from the New England Cheesemaking Supply Company. They have just about everything the beginning cheesemaker or even advanced cheesemaker might need.
If you are brand new to cheesemaking, they have some great free resources available to help you get started. They also have kits you can buy that will have everything you need (aside from milk) for the recipes provided.
Why Chevre?
Chevre has such a great taste and texture, it can be used in a number of ways. I like it spread on toast or an egg sandwich. It is amazing crumbled up on a salad. And I don’t know the reason, but it tastes phenomenal with pickled beets.
If you are feeling fancy, you can stuff dates with it, wrap them in bacon and bake them. Couldn’t be a simpler appetizer that is sure to impress.
What do I need to make my own chevre?
Chevre is a fairly simple cheese and only requires a few ingredients.
- 1 Gallon of Goat’s Milk
- 1 Packet of Chevre culture with rennet OR mesohpilic culture and rennet
- Salt
What Supplies do I need to make chevre?
Cheesemaking requires a few basic kitchen tools. If you plan on creating a lot of cheeses in your home kitchen, it’s not a bad idea to buy these items and use them just for cheesemaking.
- Stainless Steel stock pot with lid
- Cheesecloth
- Colander
- Large Bowl
- Long handled continuous spoon (as in, it is all one piece)
What’s up with cheese cultures and rennet?
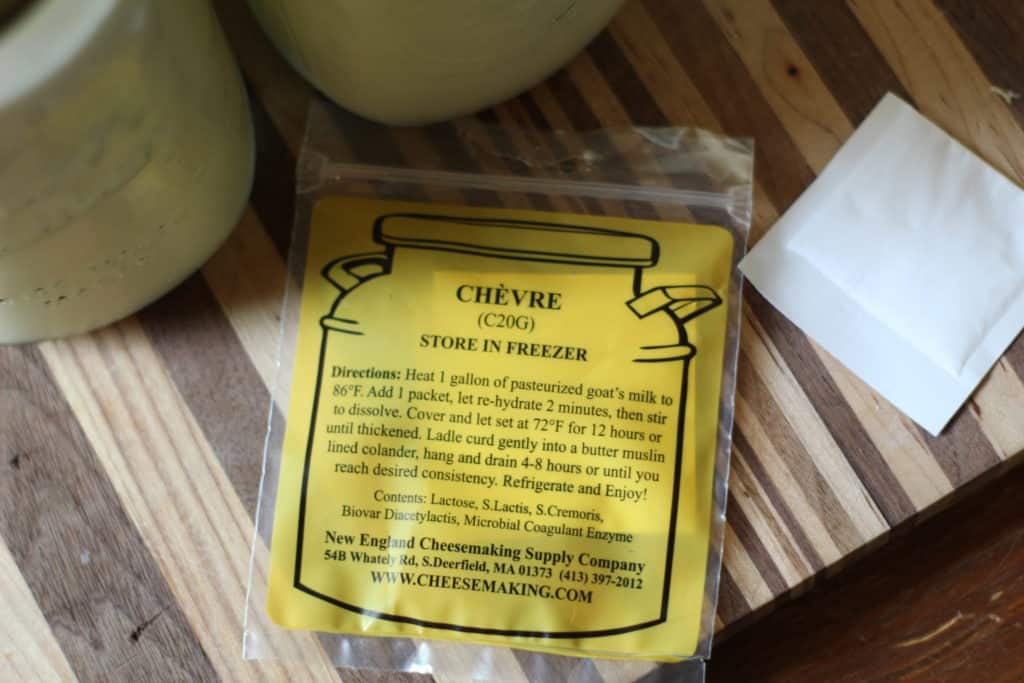
This post contains affiliate links, which means I make a small commission at no extra cost to you. See my full disclosure here.
Put plainly, rennet is what is going to make your milk coagulate/solidify to make the milk curdle, creating curds. Rennet traditionally comes from the stomach lining of young ruminant animals like cows or sheep. In those animals, rennet helps them to digest their mother’s milk.
Thankfully, there is a vegetarian rennet option as well that comes from a type of mold.
Cultures are harmless types of bacteria that, when cultured in your cheese, are going to give you the flavors and some of the texture. Different cultures can be used to make different types of cheese.
For this recipe, I recommend getting a packet of chevre starer culture. This comes with the cheese culture and the rennet already pre-measured to be just what your gallon of goat’s milk needs. I’ve also made it with mesophilic culture and rennet. You can learn more about that at Cheesemaking.com
How to Make Your Own Chevre
First, this recipe is going to sit for 12 hours, then sit for around 6 hours. Try to start this recipe so you aren’t having to get up at 4 o’clock in the morning to finish your cheese.
Put one gallon of goat’s milk into your stainless steel pot.
Heat the milk to 86 degrees fahrenheit. Remove from heat.
Sprinkle your packet of culture/rennet across the top of the milk and let it sit for about two minutes. This is allowing the culture to rehydrate and wake up!
After two minutes, stir in the culture until it is thoroughly dissolved. Thirty second or so should do it.
Cover your pot with the lid and let it sit for around 12 hours, until it has gotten thick. You should be able to see a difference between the curd and the whey. The whey will be a light yellow liquid on top, and the curd will be a white mass beneath it.
Line the colander with cheesecloth. If you are using store bought cheesecloth, I’d do 4 layers.
Place your colander and cheesecloth over bowl to catch the whey that runs out. Gently scoop the curd from the whey (you can use a slotted spoon but I just use my hands) and place it in the colander.
Tie up the ends and hang it from a cupboard so the whey can drain from the cheese. I use a hair tie wrapped around the top for hanging.
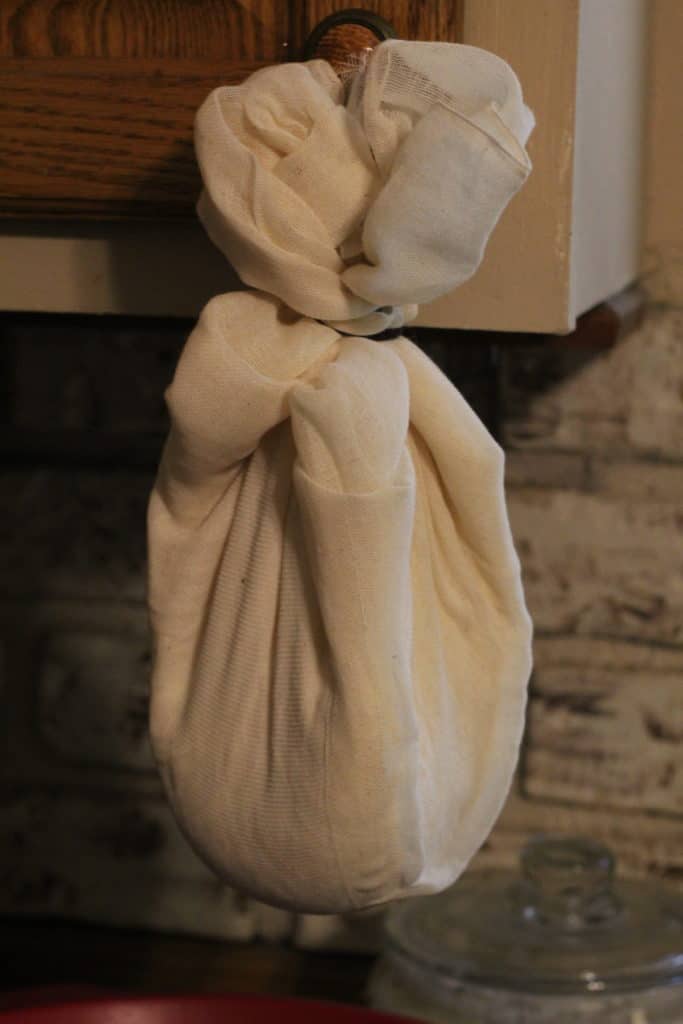
Let it hang anywhere from 6-8 hours, depending on the texture you like your chevre to be. A longer hang time will give you a dryer, crumblier cheese.
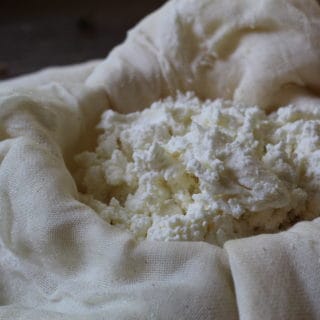
Remove it from the cheese cloth and place it in a bowl. Salt to taste. Start with a tablespoon and mix that in well. Taste it, add more if you want it saltier.
Optional: Shape the Cheese
At this point you could place it in a mold of some kind to give it a shape. If you are going to do that, line your mold with cheese cloth, then press the cheese in.
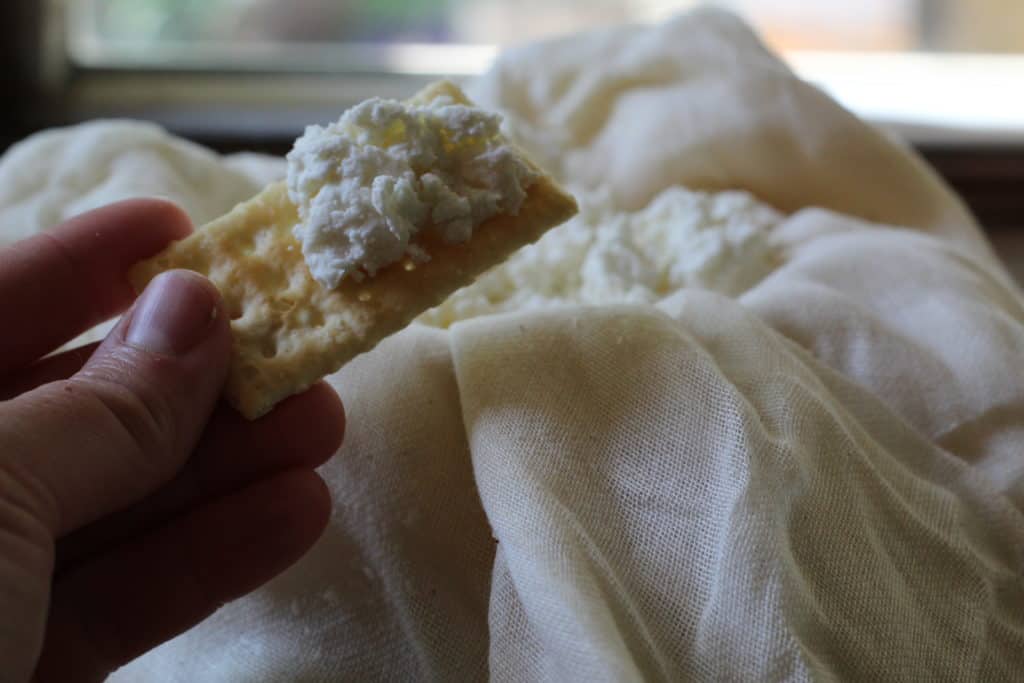
I typically just pack it into a glass bowl and stick it in the fridge. If you were going to serve it with crackers it would look nice shaped in some way or another.
It is best eaten within a week or you can freeze it for six months.
Shop this Post
- Cheesecloth
- Mesophilic Culture OR use
- Chevre Culture
- Rennet (vegetable tablets)
- Rennet (animal based- liquid)
- Thermometer
Watch and Learn
Pin it for Later
How to Make Your Own Chevre
Equipment
- Large Stock Pot
- Lid
- Slotted Spoon
- Colander
- Cheese Cloth
- Bowl
Ingredients
- 1 Gallong Goat's Milk
- Chevre starter culture or mesophilic culture and rennet
Instructions
- Put one gallon of goat’s milk into your stainless steel pot.
- Heat the milk to 86 degrees fahrenheit. Remove from heat.
- Sprinkle your packet of culture/rennet across the top of the milk and let it sit for about two minutes.
- After two minutes, stir in the culture until it is thoroughly dissolved. Thirty second or so should do it.
- Cover your pot with the lid and let it sit for around 12 hours, until it has gotten thick. You should be able to see a difference between the curd and the whey. The whey will be a light yellow liquid on top, and the curd will be a white mass beneath it.
- Line the colander with cheesecloth. If you are using store bought cheesecloth, I’d do 4 layers.
- Place your colander and cheesecloth over a bowl to catch the whey that runs out. Gently scoop the curd from the whey (you can use a slotted spoon but I just use my hands) and place it in the colander.
- Tie up the ends and hang it from a cupboard so the whey can drain from the cheese. I use a hair tie wrapped around the top for hanging.
- Let it hang anywhere from 6-8 hours, depending on the texture you like your chevre to be. A longer hang time will give you a dryer, crumblier cheese.
- Remove it from the cheese cloth and place it in a bowl. Salt to taste. Start with a tablespoon and mix that in well. Taste it, add more if you want it saltier.
- Optional: Shape the Cheese
- At this point you could place it in a mold of some kind to give it a shape. If you are going to do that, line your mold with cheese cloth, then press the cheese in.
- It is best eaten within a week or you can freeze it for six months.




Thank you Kelsey! This post makes me so excited about sustainable farming! The recipe sounds so delicious and simple. I found you through the movable fencing video on Sustainable Farming Association – Lake Agassiz Chapter’s Facebook page. Thank you for sharing your knowledge, I look forward to learning more!
So glad you found your way here and are excited about sustainable ag! If you have any questions I’m always happy to answer them. 🙂