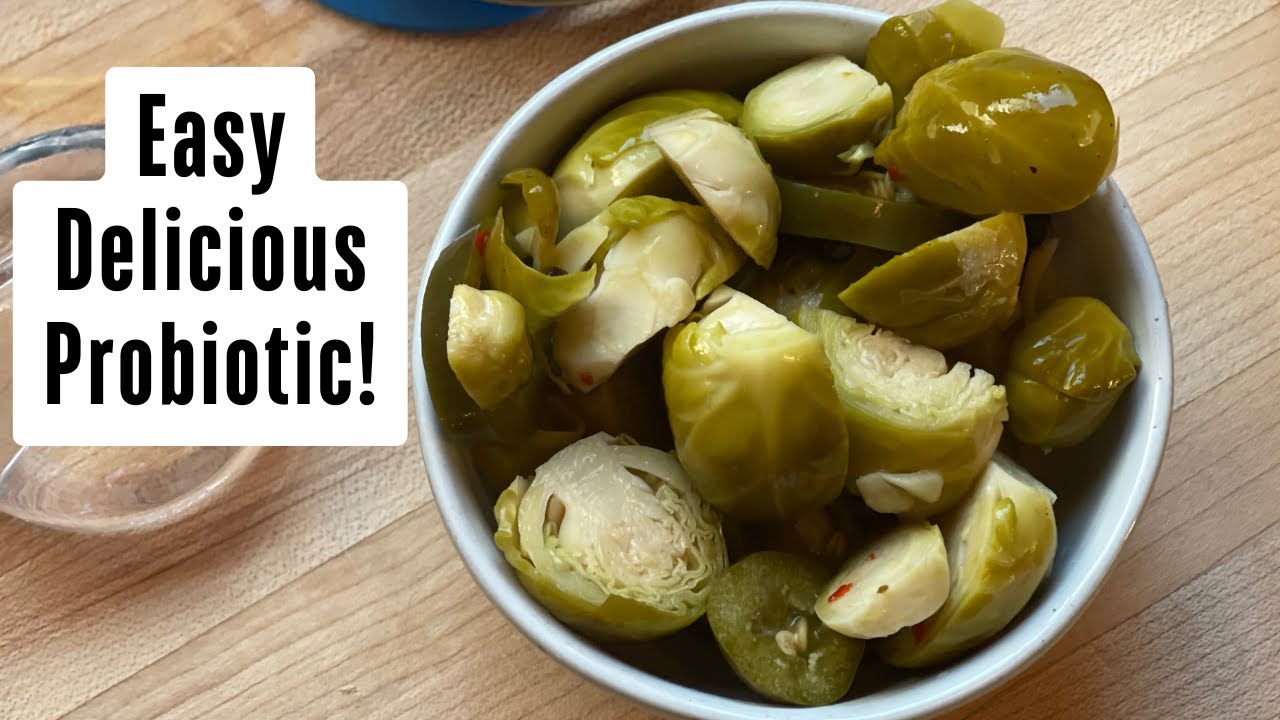
How to Make Fermented Brussel Sprouts
You can easily learn how to make fermented brussels sprouts in about five minutes! They are a delicious, healthy, and probiotic!
What are Brussels Sprouts?
Brussels sprouts are part of the brassica family which includes other vegetables such as cabbage, cauliflower, and broccoli.
These are all cool-season crops, which means they do well in cool temperatures and it doesn’t affect their growth. Most brassicas will easily survive several light frosts if not even a freeze.
The plant itself is grows a tall thick stock with many branching leaves. The sprouts themselves look like tiny cabbages that at the base of the leaves all along the stalk. To harvest them, yu cut the entire stalk down and chop off the leaves. What remains is the long stalk with spindly stems sticking out and the little exposed sprouts all along the large stalk.
When I worked at an organic vegetable farm for several years, we always joked that the plant looked like the spine of a dinosaur.
Lastly, while researching this article, I learned that it is indeed Brussels sprouts, and not “Brussel” sprouts.
Nutrition of Brussels Sprouts
They are a great form of fiber, giving you three grams per cup. You also get three grams of protein and 7mg of iron. All this for zero fat and only 38 calories. The sprouts are a perfect source for vitamin K (important for bone health and blood clotting) by providing almost 100% of your daily needs in just one serving.
Overall, they are a great way to add valuable nutrition to your diet.
This post contains affiliate links, which means I make a small commission at no extra cost to you. See my full disclosure here.
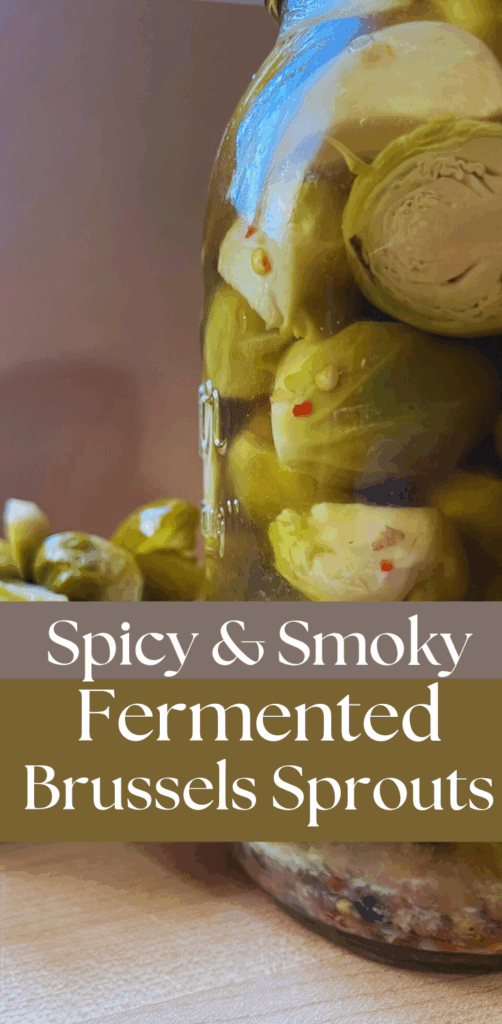
Ingredients and Supplies for Fermented Brussels Sprouts
This recipe is for a smokey and spicy sprout. If you would like to just do a standard fermented sprout, skip all the ingredients except for the salt. You can also skip the smoked salt as well, and just do four tablespoons of sea salt.
Ingredients
- 4 Garlic Cloves, peeled and sliced
- 1 Tbsp Peppercorn
- 1 Tbsp Red Chili Flakes
- 1 Pound Brussels Sprouts sliced in half
- 2 Jalapenos cut into rounds
- 1/2 Gallon Unchlorinated Water
- 2 Tbsp Sea Salt
- 2 Tbsp Smoked Salt
Supplies
- Half Gallon Mason Jar (optional, you can also measure a half gallon of water into a large bowl, pot, or pitcher)
- Pickle Pebble or other Fermentation Weight (Washed rocks can work fine, but some can mineralize or add odd flavors)
- Pickle Pipe (optional. You can also just use a paper towel and a mason jar ring but you will have higher chances of the brine getting funky on top)
- Cutting Board
- Knife
- Measuring Cup
- Quart Sized Mason Jar
How to Make Fermented Brussels Sprouts
Prepping the Veggies
Begin by washing the Brussels sprouts. Go through all of them and remove any yellowed or damaged outer leaves. Slice each one in half.
In the one-quart mason jar, add the peppercorns, and chili flakes.
Wash the jalapenos and remove the stems. If you’d like a less spicy ferment, remove the seeds from the peppers. Be sure to wear gloves unless you are used to handling hot peppers with bare skin.th Slice the jalapeno with or without seeds into rings and add them to the jar.
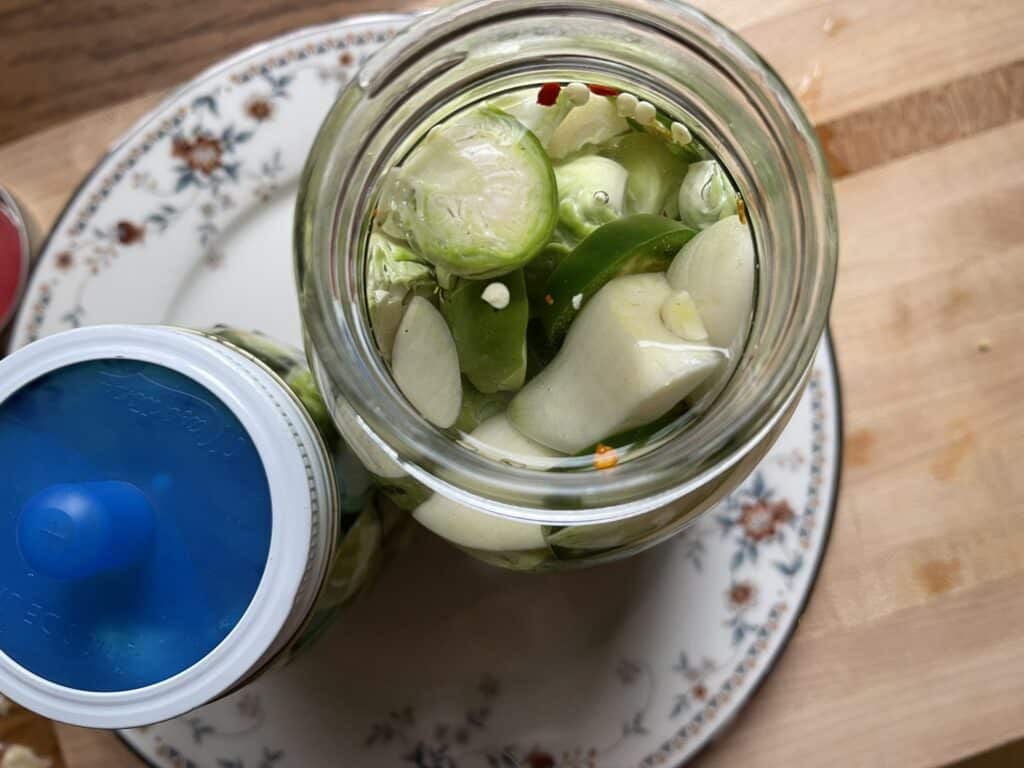
Next, fill the jar with the Brussels sprouts.
Make the Brine
To make the salt brine, fill a half-gallon mason jar with a half-gallon/ eight cups of slightly warm water. Add in both the smoked salt and regular salt, then stir until the salt is dissolved.
Pour the brine over the vegetables until the brine comes about an inch over the top of them. Add in the fermentation weight followed by a pickle pipe OR a paper towel held in place by a mason ring or a rubber band. Store the extra brine in the fridge for up to a week.
Fermenting the Sprouts
Place the jar on a small plate to catch any bubble over. Then keep it out of direct sunlight for 7-14 days. It doesn’t need to be a dark place like a cupboard or anything. Somewhere on your kitchen counter out of the sunshine should work just fine.
Keep an eye on the brine level, and make sure the vegetables stay under the brine at all times. Usually if it is going to bubble over this will happen in the first week or so. You can use the brine you have stored in the fridge to top it up if necessary.
During the fermentation process, you should see bubbles traveling up the sides from time to time. You also will SMELL IT. You will likely have some complainers in your house *cough* my HUSBAND *Cough*
Fermentation is complete when the bubbles have stopped (give the jar a little jostle and no bubbles should float up) and you like the taste.
Store in the fridge for up to six months.
How to Use Fermented Brussels Sprouts
Hands down my favorite way to eat these is chopped up and tossed in a stir fry. Make sure you add them after the cooking is done, otherwise you’ll cook all those probiotics right out of the sprouts.
Honestly, I find that popping a half a fermented sprout in my mouth is fine, but not my favorite. They are still a little tough even after fermentation. Chopped up they are incredible.
These would look beautiful and be tasty on a charcuterie board, or skewered on a bloody-mary stick.
Brussel Sprout Kimchi
If you’d like to make this more of a kimchi-style ferment, you can add peeled ginger to the mix and up the garlic! A true kimchi has quite a few more ingredients but this gets you towards that flavor.
Source
This recipe for Hot Smoky Sprouts comes from Kristen and Chirstopher Shockey’s book Fermented Vegetables. It’s a fabulous book for beginners to start exploring fermentation!