Making Milk Kefir
Another one of my favorite fermented foods, making milk kefir takes about zero effort and has a ton of nutritional benefits.
What is kefir?
Kefir is a combination of different bacteria and yeast. Studies of kefir grains have found over twenty different types of beneficial bacteria and eight different types of healthy yeasts.
There is evidence of kefir from over 4,000 years ago in China so it is not new to the scene.
Originally, it most likely came from milk being held in skins that were often made from animal stomachs. These stomachs have natural curdling agents and their own healthy bacteria/yeasts that eventually led to the development of kefir grains.
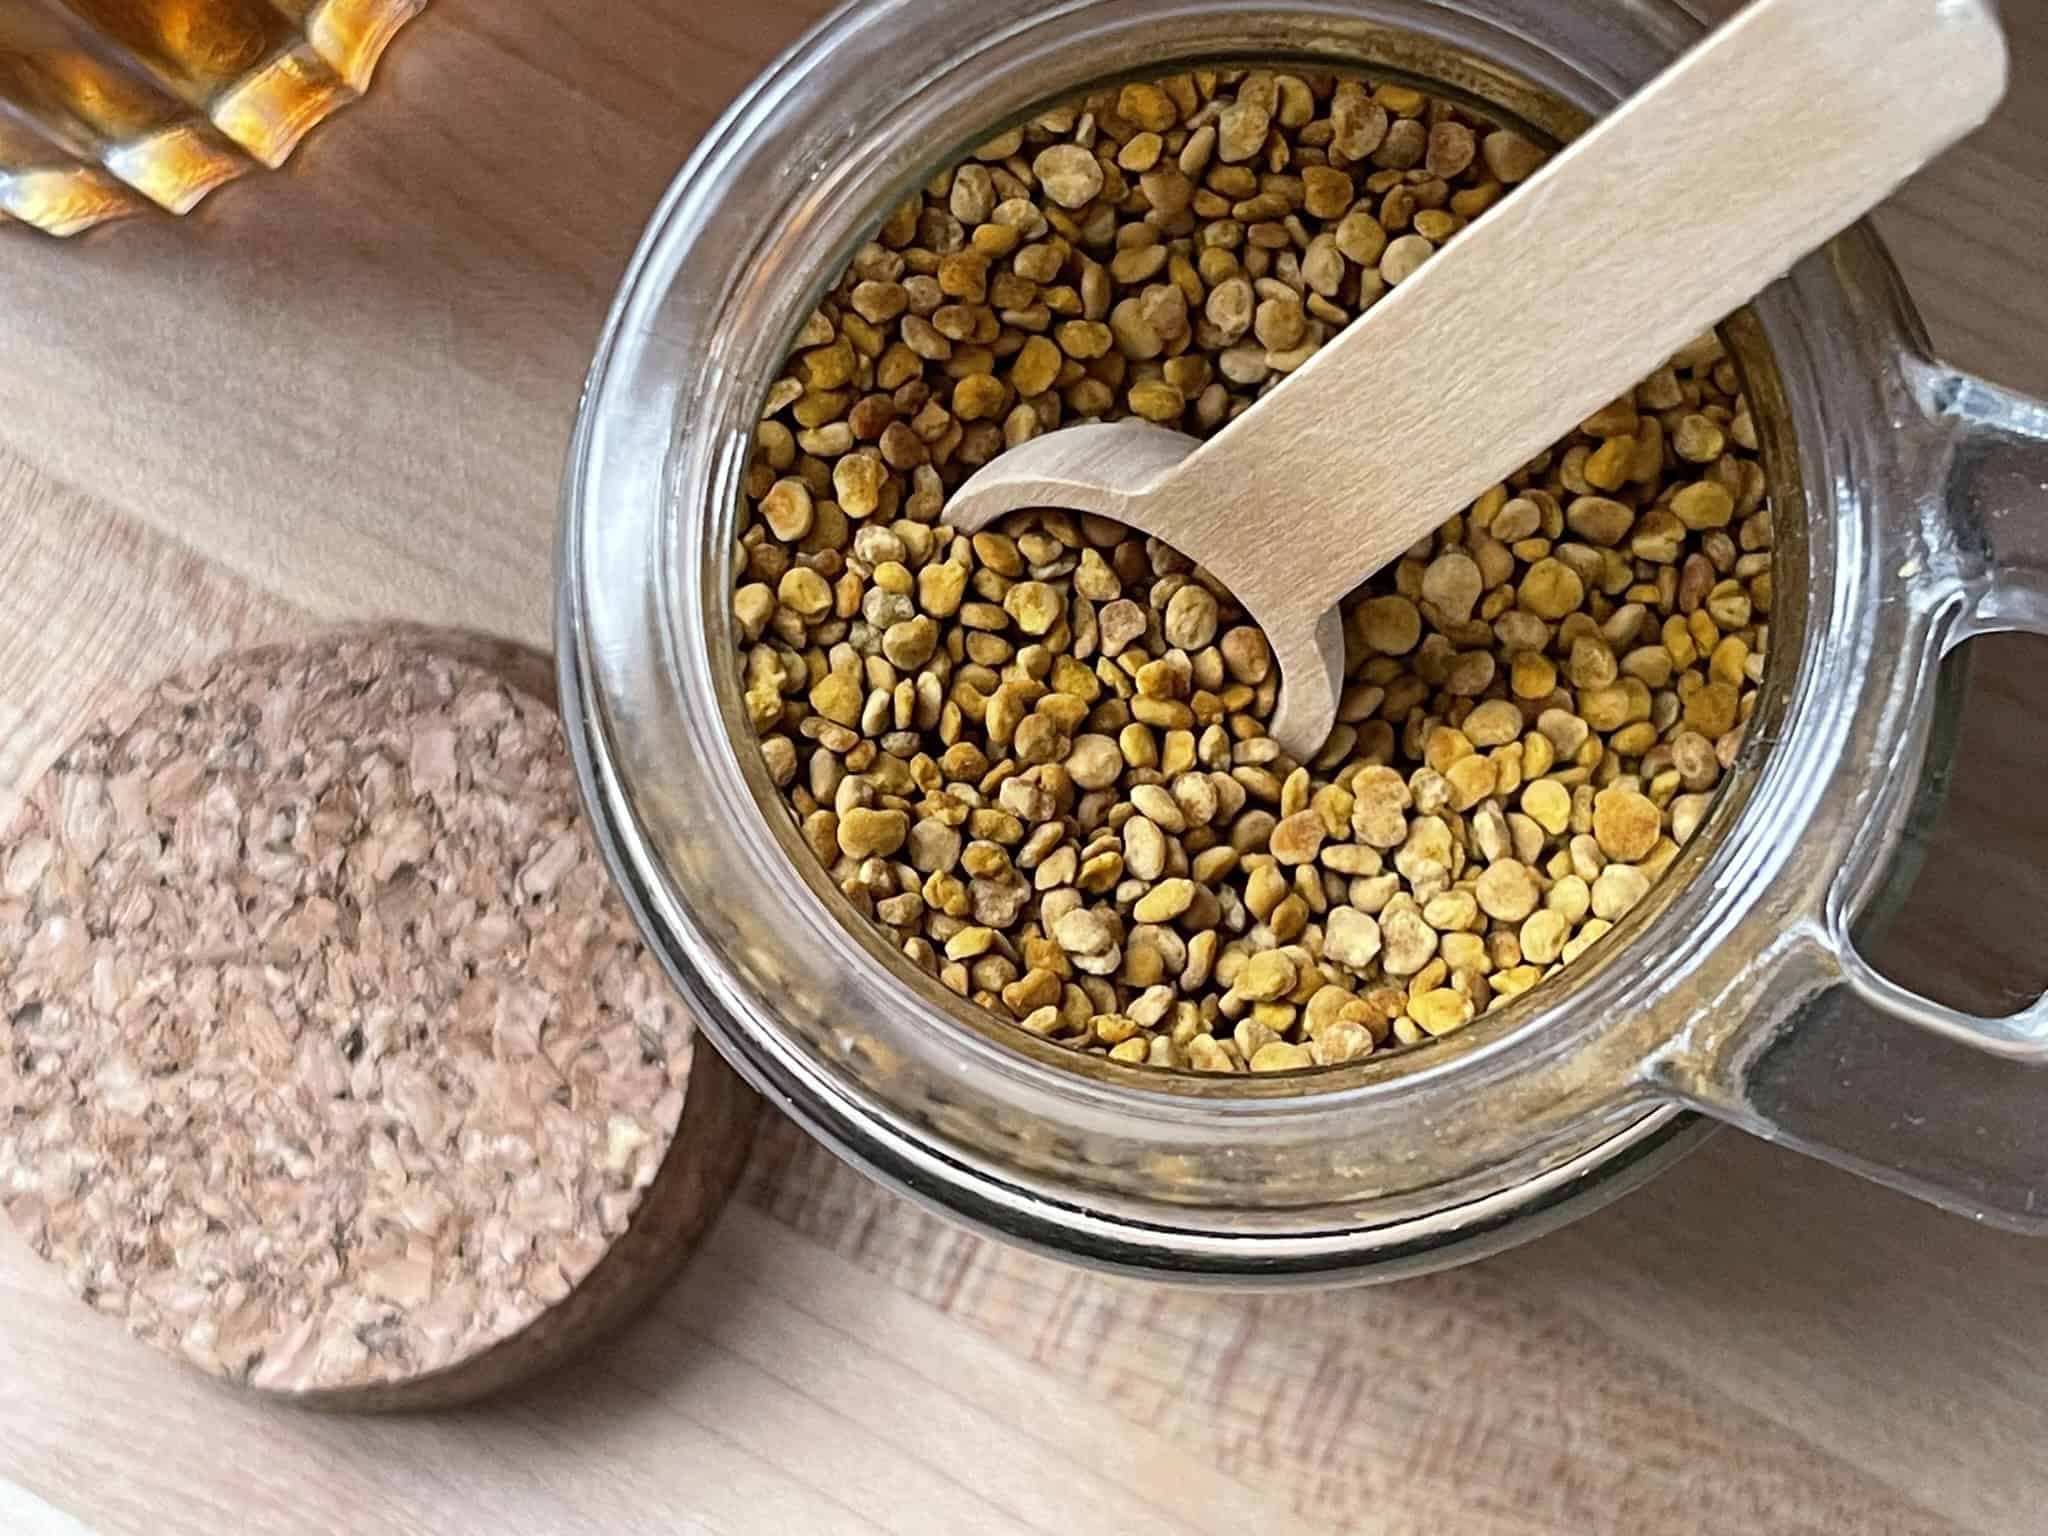
They are called “grains” because they kind of look like a type of grain. They do not contain wheat or any other thing we consider a grain.
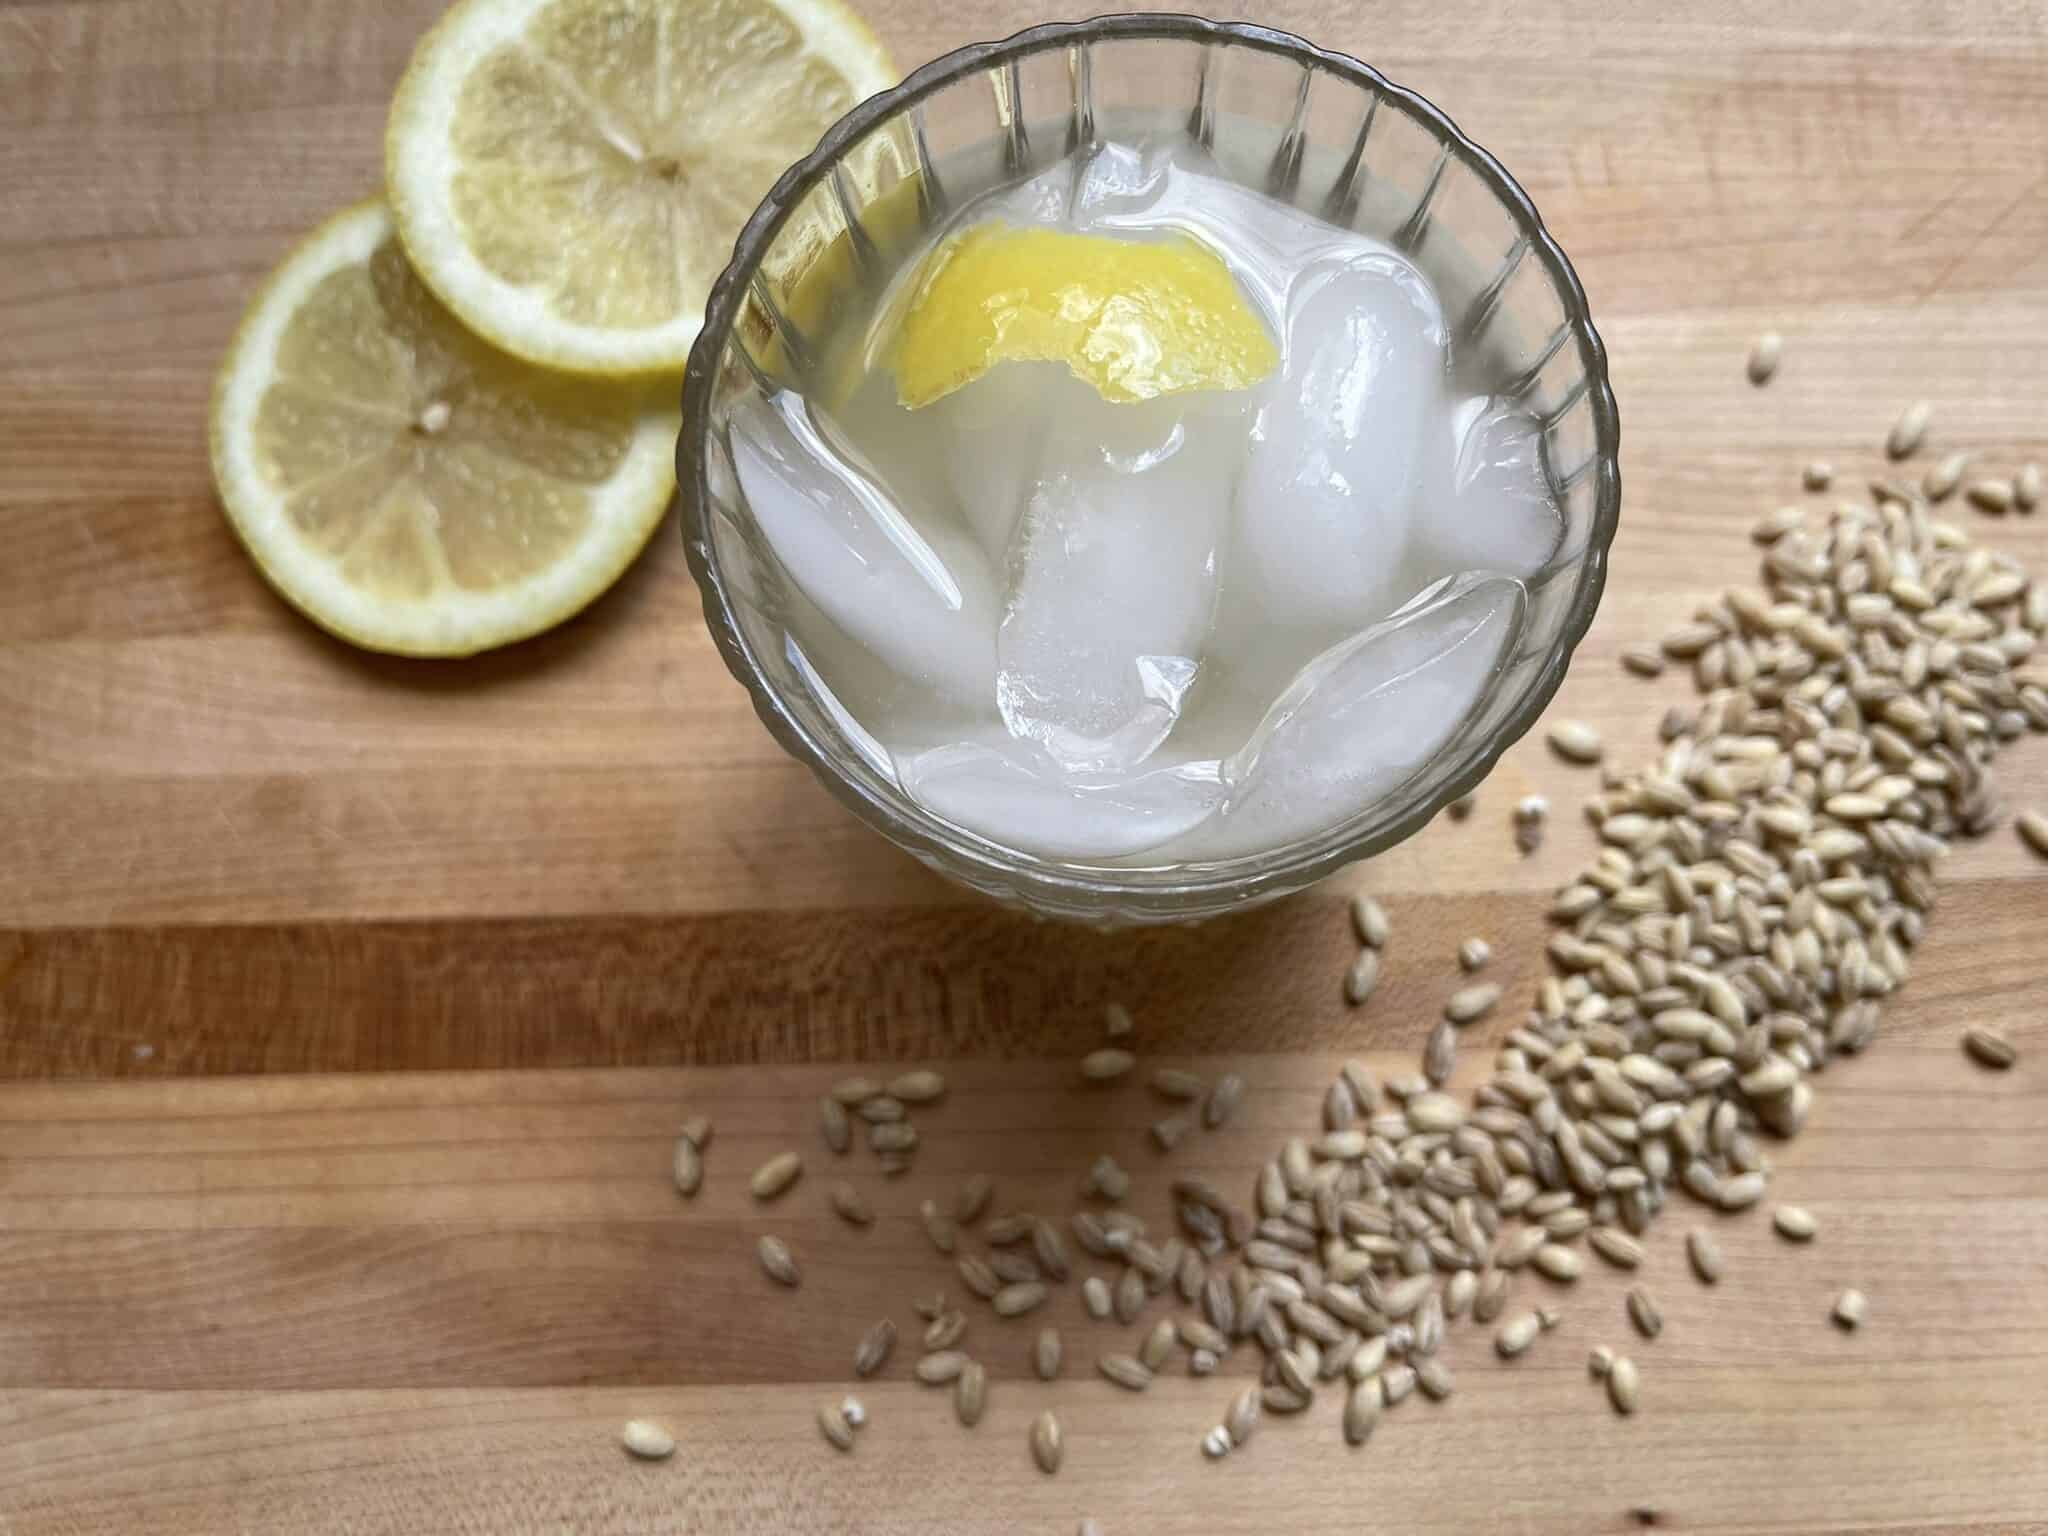
Water Kefir vs. Milk Kefir
Water kefir grains are clear and kind of jelly looking and are combined with sugar and water to make water kefir. You can then do a second ferment (more on that below) to make your own probiotic sodas.
From what I’ve read, it seems that water kefir grains originated somewhere in Mexico with a cactus!
Milk Kefir as mentioned above is used with dairy products to achieve the similar results.
You cannot swap one grain for the other. As in, milk kefir is for milk and water kefir is for water.

What are the benefits of kefir?
Rather than spending $40 a month on a probiotic pill, you can swap in kefir for a fraction of the cost. It is chalk full of healthy bacteria and yeast to keep your gut flora happy and healthy.
What kind of milk do I need to make kefir?
I’ve used both goat and cow’s milk for my kefir grains and even swapped back and forth. The grains have done just fine.
Raw milk is best for grains but you can have success with pasteurized milk, too.
Supplies for Making Milk Kefir
There really are only a few things I recommend having for making Kefir.
- Glass or stainless steel container, like a mason jar for example.
- Strainer – Again stainless steel is recommended but I’ve used plastic and it has been fine.
- Wood or stainless steel spoon
Ingredients for Milk Kefir
This list is going to be exhausting. Here it comes. Prepare yourself.
- Milk
- Milk Kefir Grains
How complicated is that??
How to Make Milk Kefir
Begin with milk kefir grains.
Place them in your glass or stainless steel container.

Cover the grains with milk to fill the jar.
Cover the jar with a paper towel, coffee filter, clean flour sack towel, etc. Secure it with a rubber band.
Place the jar on your countertop out of direct sun.
Wait anywhere from 12-24 hours depending on how hot your house is. If it’s less than 70 degrees you may need to warm the jar slightly. In the video below I wrapped a heat pad set to low around the jar for a couple hours and that got things rolling.

You should also agitate the jar somewhat by sort of swirling it around or stirring with a spoon. This helps more milk get exposed to the surface of the culture.
Place a strainer over a bowl or mason jar. Strain the kefir through it.
Place the grains in a clean mason jar and add more milk. Repeat the process for kefir everyday!
To get a bubbly fizzy kefir, cap it and let it sit a few hours on your countertop. Be careful though as carbonation will build up in the jar. Leave it for too long and you’ll have a big old mess on your hands.
Giving Kefir Grains a Break
If you’ve had as much kefir as you can stomach for a while, or you’re going out of town perhaps, you can easily take a break from the kefir grains.
Simple put the grains in a jar with fresh milk and put them in the fridge. I’ve had grains last several months this way.
When it comes time to use them again, you can expect the first few ferments to take longer as the grains wake up.
If you’d like to take a longer break you can also dehydrate them.
Simply remove some of the grains and lay them out on a paper towel in a warm, ventilated space.
The grains will shrivel up in a few days and can be stored in a plastic bag or jar in your freezer for six months to a full year.
What can I use Milk Kefir for?
A lot of folks like to drink it as is.
It goes great in smoothies and I am currently working on a recipe for kefir pancakes, so stay tuned for that!
Just about anywhere you’d use yogurt you can use milk kefir. I honestly don’t make much yogurt when I have my kefir grains up and running. If you are a yogurt person and want a super easy recipe, be sure to check out this blog post.
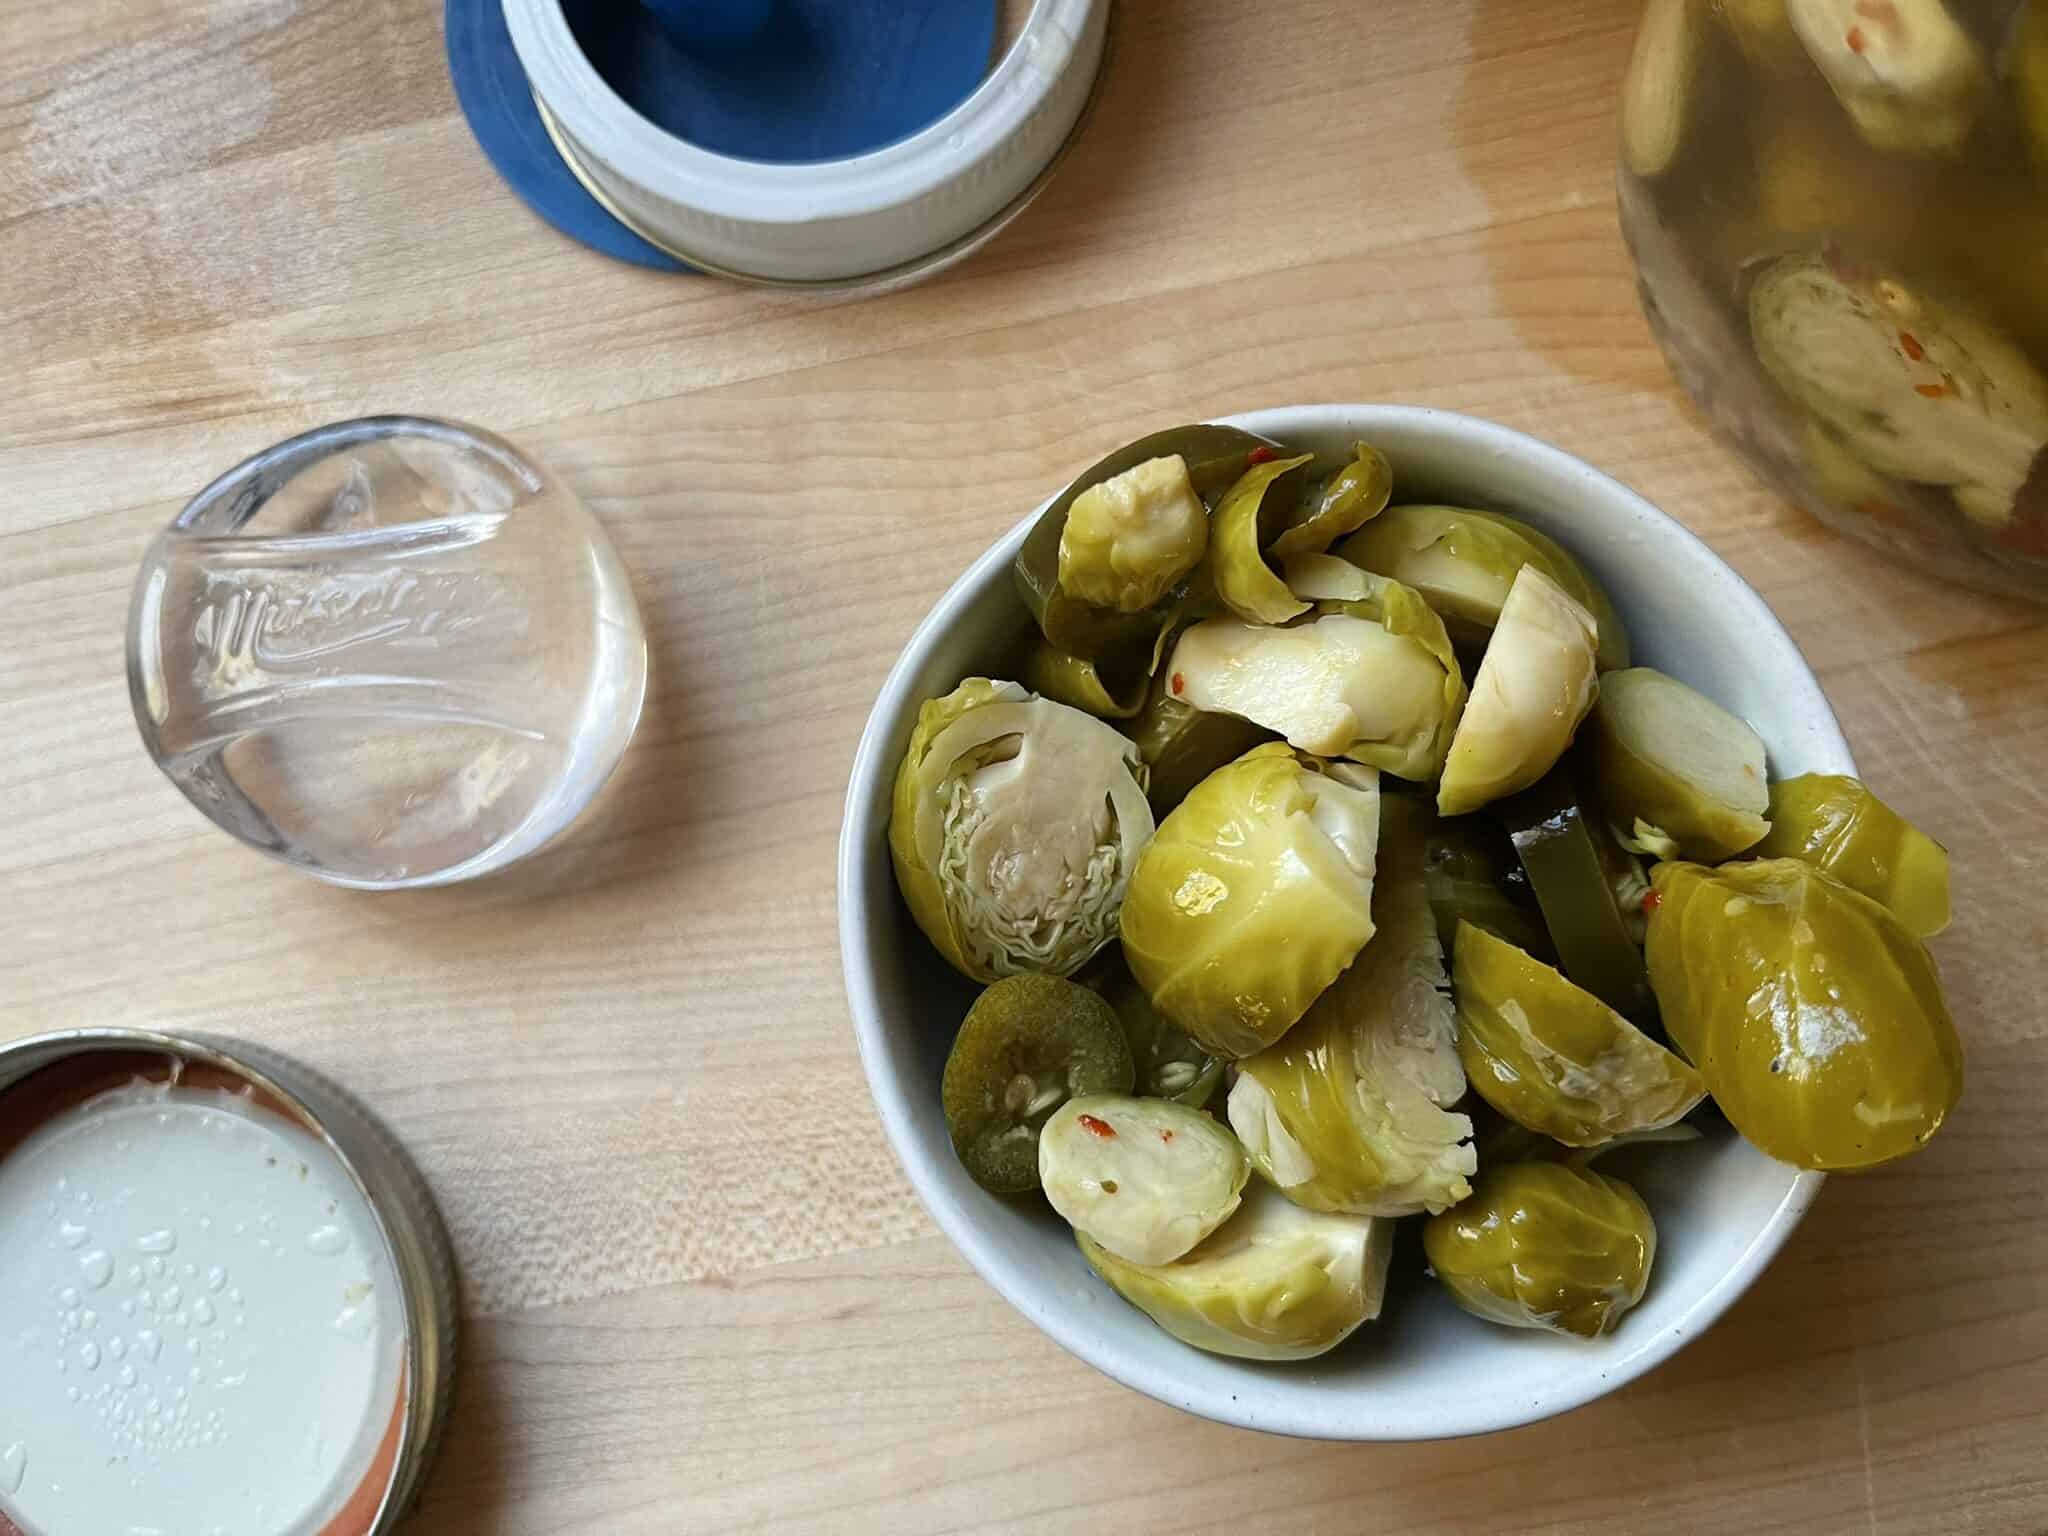
Some people use water kefir grains to kick up the fermentation on their fermented vegetables.
You can also do a second ferment with kefir to incorporate fruit, sweets, etc.
Second Ferment
If you’d like to add some flavor to your kefir you can easily do a second ferment.
For this, add maple syrup, honey, or pure fruit juice to the strained kefir. The amount will honestly vary based on your tastes. I would start with 1/4- 1/2 a cup for a quart sized jar.
Stir in your addition, then cover and let ferment for another 6-12 hours, again depending on how warm your house is.
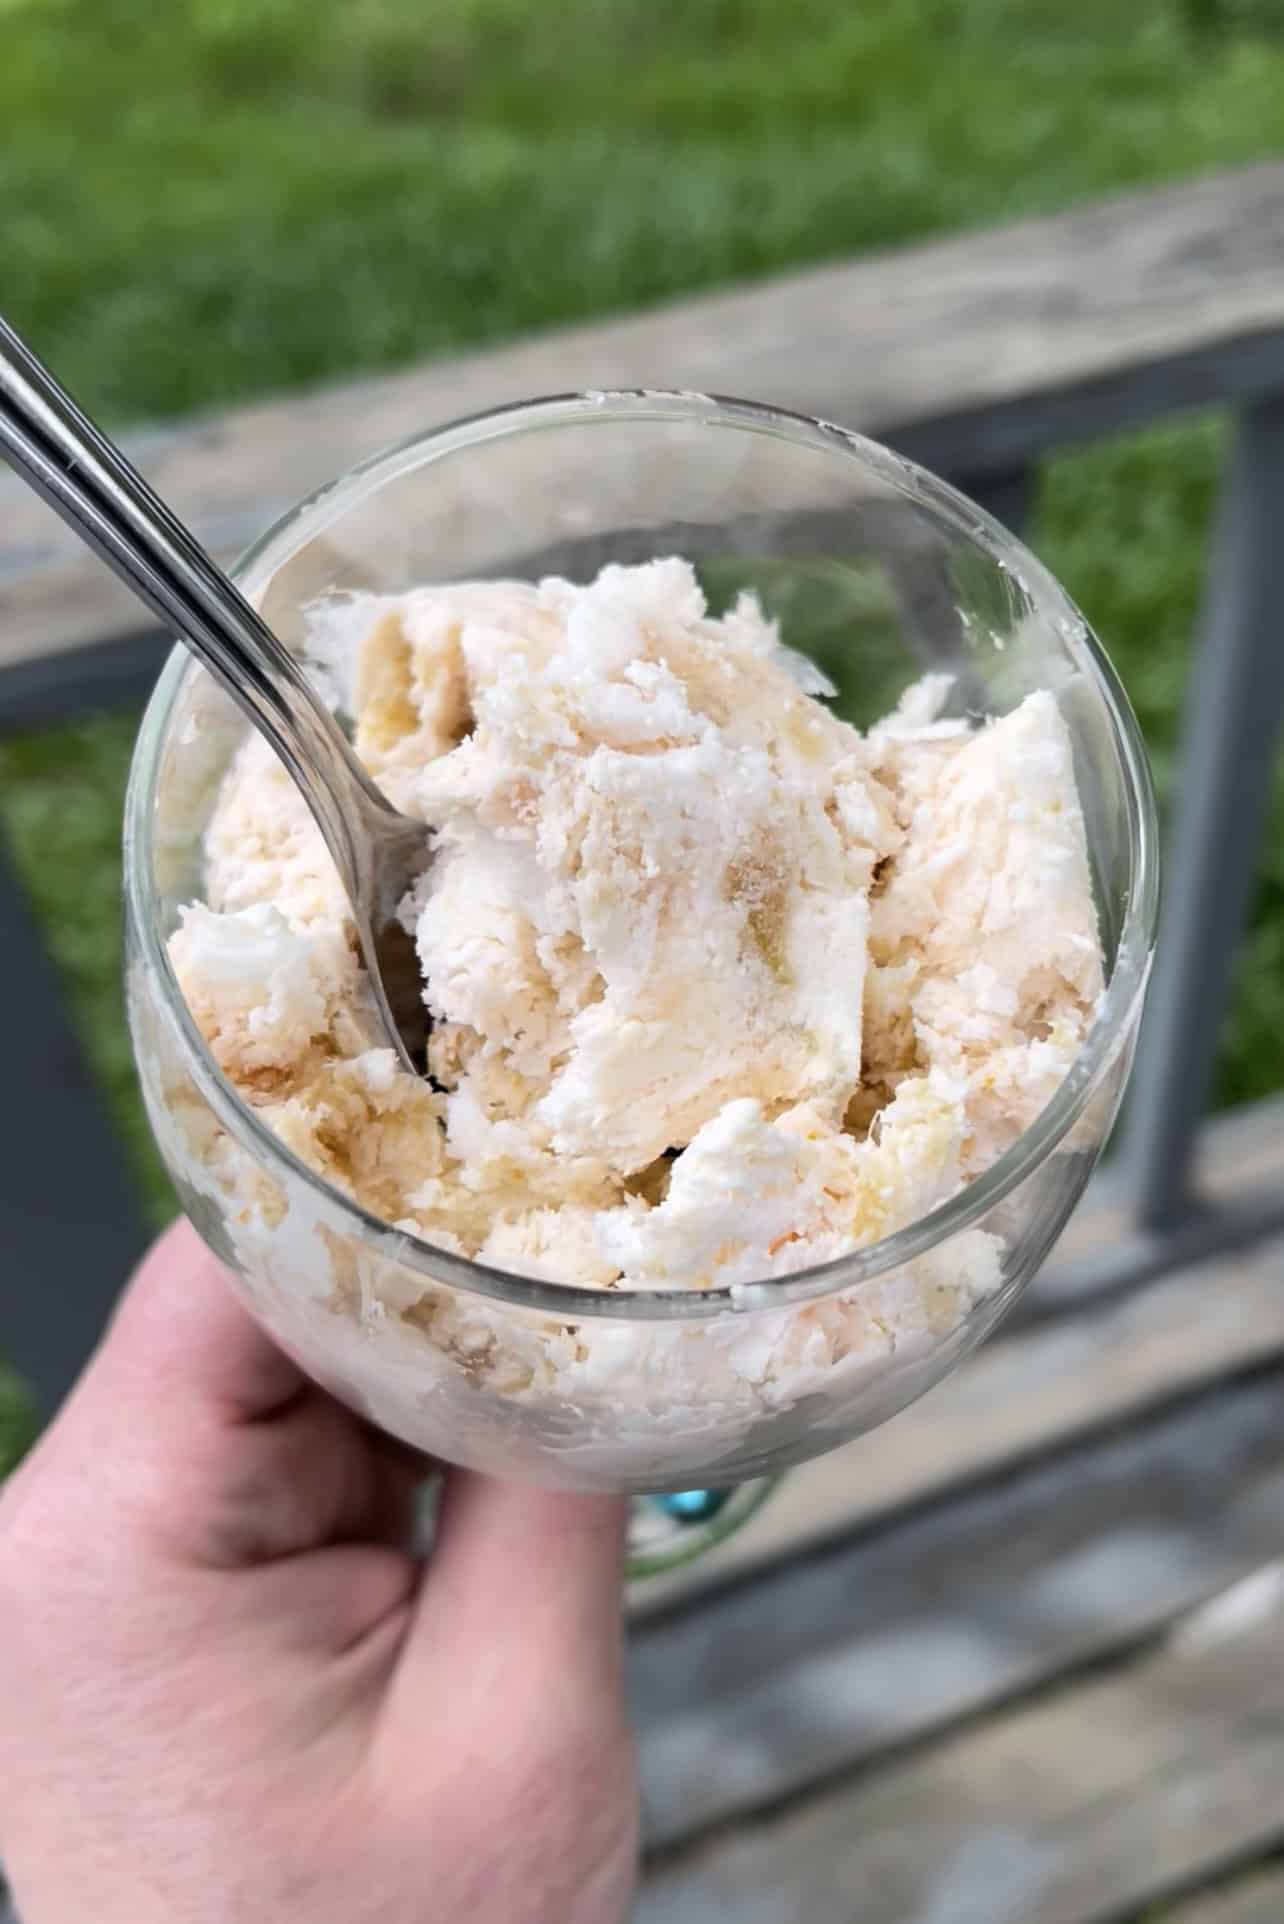
What does milk kefir taste like?
It is tangy and snappy, kind of like a yogurt that drank a sparkling water.
Where can I get milk kefir grains?
One of the best places to get milk kefir grains is from someone who already has milk kefir. As you make kefir, the grains will multiply slowly but surely. Before you know it you’ll have more than you know what to do with!
Cultures for Health is a reliable source when it comes to fermented starters.
They also have them on Amazon, though I haven’t purchased them there myself so I can’t vouch for them.
Watch and Learn
Pin it for Later