How to Make Raw Milk Yogurt
Raw milk yogurt has great health benefits and is so simple to make. You don’t need fancy gear to make this probiotic treat. With a few items from around your house and these simple steps, you can have yogurt in no time.
Jump to RecipeThe last thing I need in my kitchen is another gadget. When you live a “homesteady” lifestyle, there are all sorts of things you acquire to make things easier. Apple peeler/corer, blenders, food processors, hot water bath canner, pressure canner, dehydrator, etc. etc.
When it comes to yogurt, I have absolutely no desire to add a yogurt maker or instapot to the mix.
The great thing is, you don’t need to!
This recipe is so darn simple and the result is so darn delicious, it’s a miracle that it is also good for you.
Why Raw Milk?
This could and probably will be a whole blog post in itself. The gist of it is, raw milk hasn’t been pasteurized so it is full of healthy bacteria and other nutrients that haven’t been destroyed by a high heating process. It is packed with good-for-you bacteria that will help keep your gut healthy.
We have a Jersey milk cow and a Nubian dairy goat, so right now we have around around a gallon of milk coming in per day. Yogurt is a great way to use up some of that milk.
Do I have to use Raw Milk?
Nope! You can use whatever milk you have around. There will be some slight differences in temperature later in the instructions so pay attention to that.
If you have UHT (Ultra High Temperature pasteurized milk) I can’t make any promises as to how this would work out.
Supplies You’ll Need
- 1/2 Gallon of Raw Milk
- Starter culture – 1/2 Cup of plain, Greek style yogurt OR some of your yogurt from a previous batch. No flavors. You can add that later.
- Saucepan large enough to hold your milk
- Lid for the saucepan
- Bath towel
- Thermometer
- Whisk
How to make Raw Milk Yogurt
Pre-heat your oven to its lowest setting. The lowest ours will go is 145 degrees. I set that temperature and once it reaches it I turn the oven off.
Add 1/2 gallon of milk to the saucepan and heat it slowly to 110 degrees Fahrenheit. If you aren’t using raw milk, you can heat it to around 180 degrees Fahrenheit. The reason you only heat raw milk to 110, is to keep the beneficial bacteria in the milk alive. Because of this lower temp, your yogurt will be a little thinner. Higher heat will make it thicker, but you lose those beneficial bacteria. Up to you which way you want to go.
Take a half cup of your starter yogurt culture and add it to the milk. Whisk it in thoroughly.
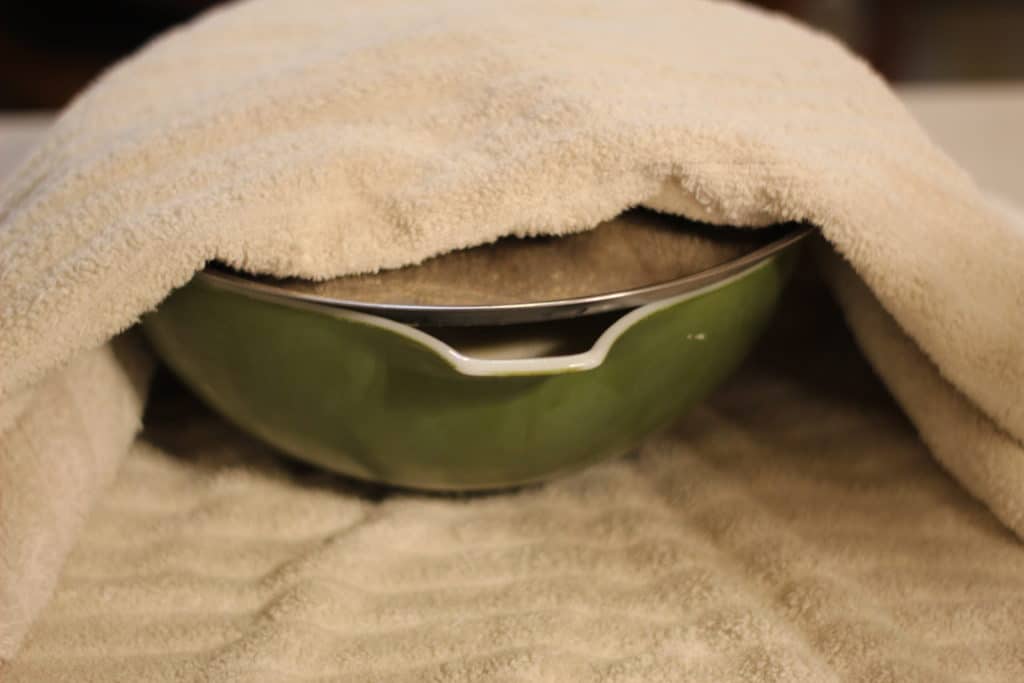
Cover the pot and wrap it in the bath towel. This will help the milk maintain the heat.
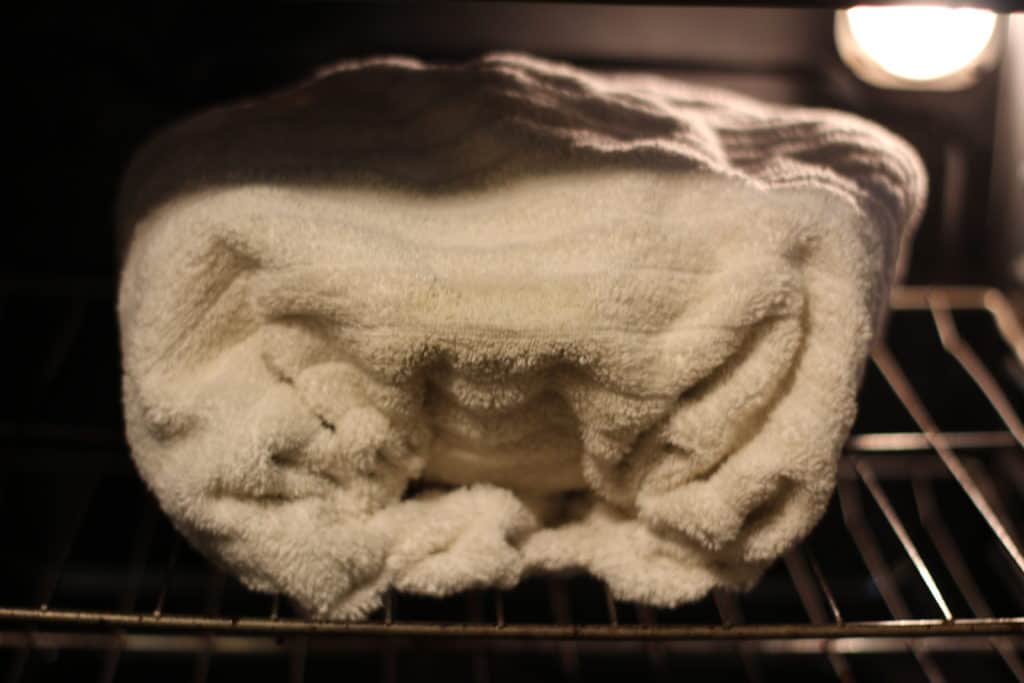
Place your bundled up milk mixture in the oven.
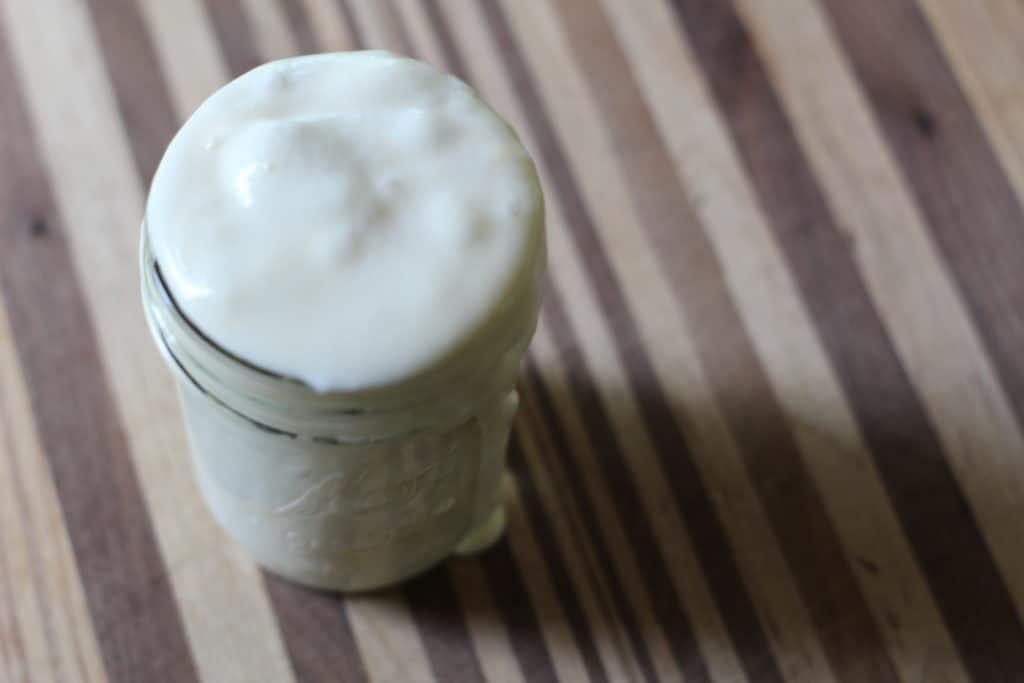
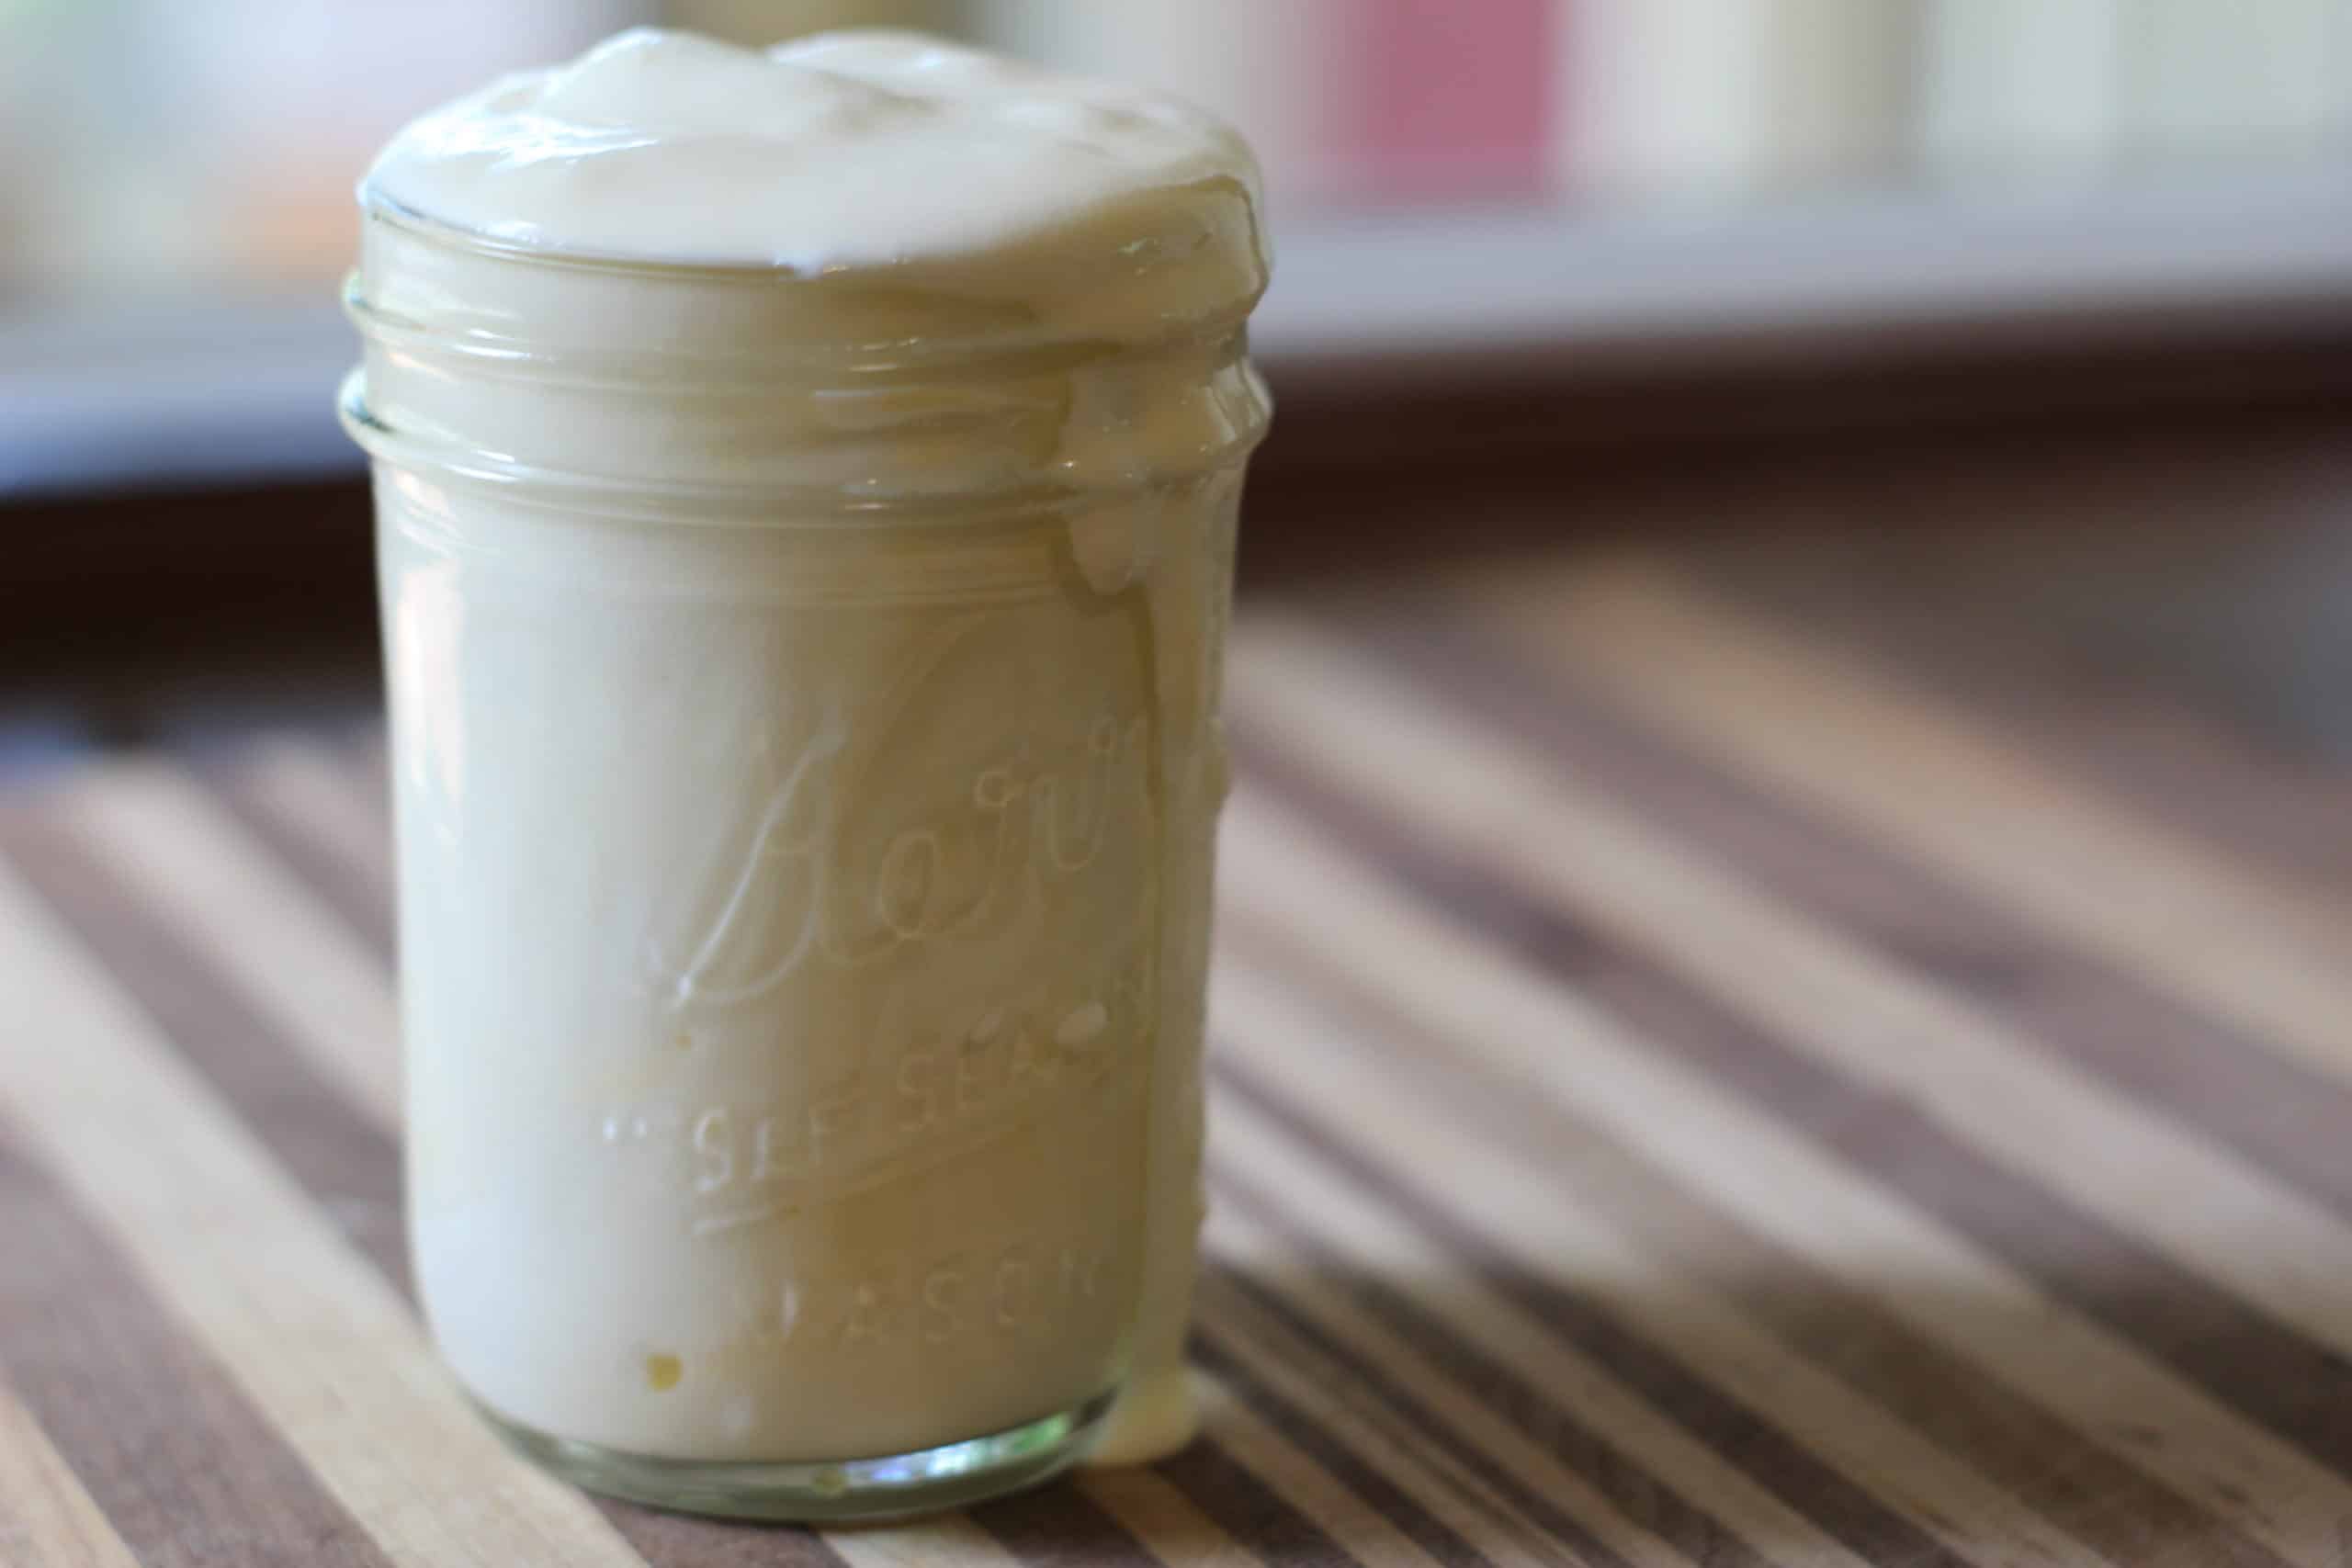
Let it incubate in the oven for anywhere from 8-12 hours. Check on it periodically. When it reaches the texture you want, it’s done!
After 12 hours or so if it has thickened up significantly but still isn’t as thick as you’d like it to be, you can strain it through several layers of cheese cloth.
Collect the milk that strains off and feed it to pigs or chickens.
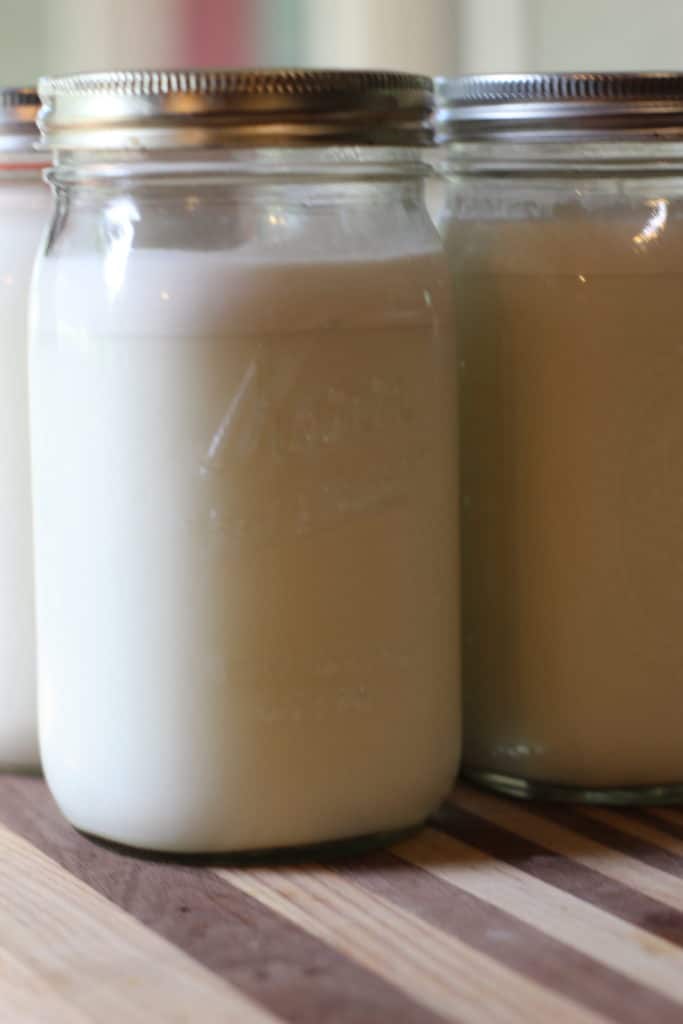
The yogurt will keep in the fridge almost indefinitely. Raw milk doesn’t so much spoil as it sours. Raw milk yogurt is best when eaten within two weeks or so but can last longer. If it smells good, and tastes good, you are good to go.
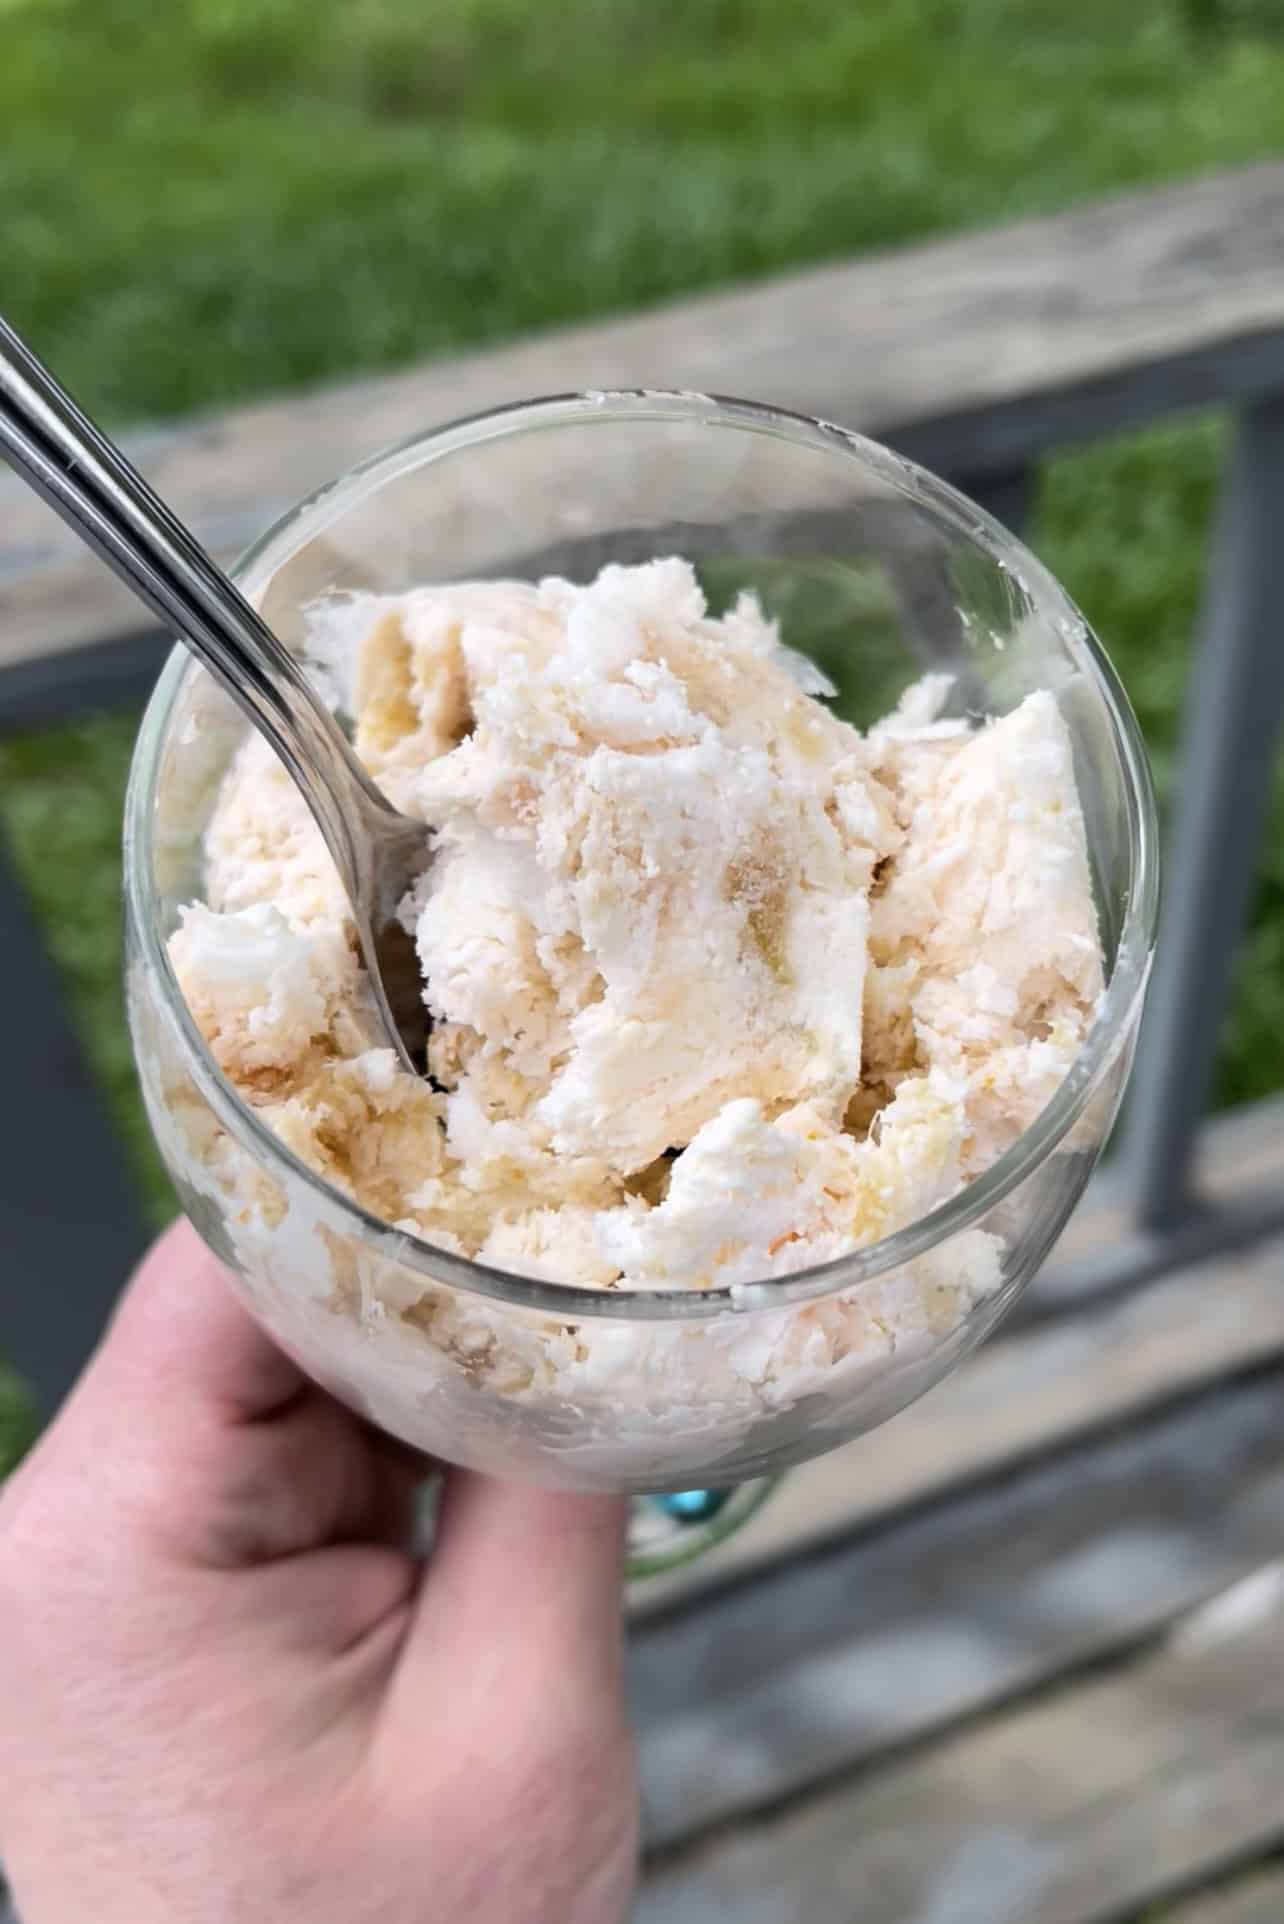
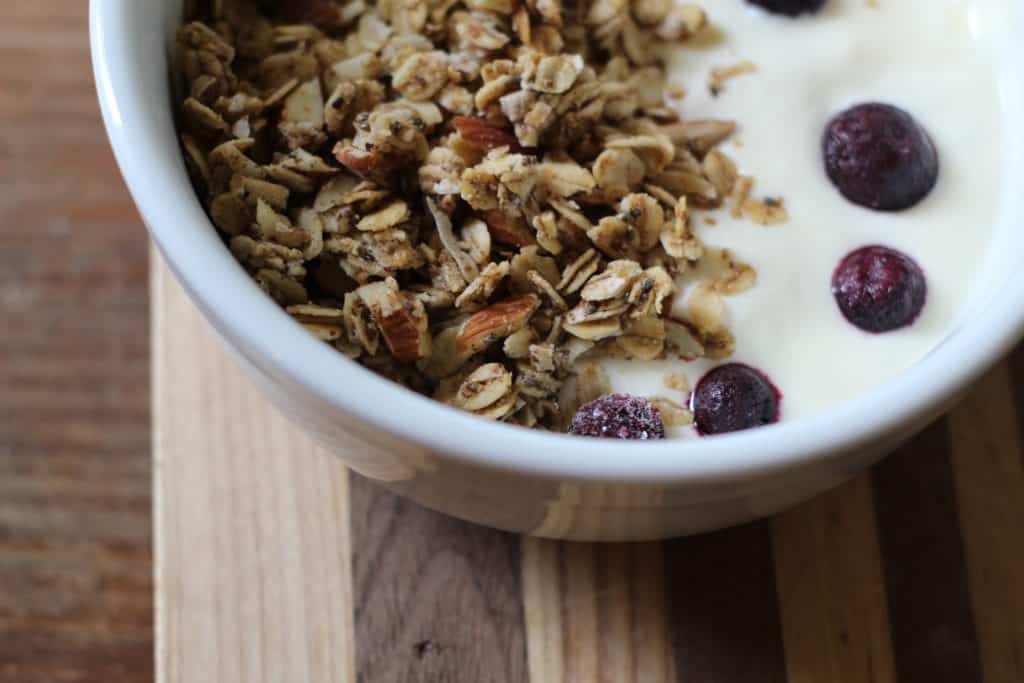
We love to eat our homemade yogurt with our from-scratch granola. We also use it in baking recipes and as a replacement for sour cream!
Watch and Learn
Pin it for later
Ingredients
Equipment
Method
- Preheat Oven to lowest temperature setting, then switch off.
- Add milk to sauce pan/stock pot
- Heat milk to 110 degrees Fahrenheit, stirring occasionally.
- Remove from heat.
- Add one half cup of your starter yogurt culture to the milk.
- Whisk thoroughly.
- Cover the pot and wrap it in a bath towel.
- Place your bundled up milk mixture in the oven.
- Let it culture in the oven for anywhere from 8-12 hours. Check on it periodically. When it reaches the texture you want, it’s done!