Easy Whole Wheat Sourdough Sandwich Bread
I love sourdough as much as the next person, but most days I just want something delicious without a lot of fuss. This recipe for whole wheat sourdough sandwich bread perfectly fits the bill.
Jump to Recipe
What is Sourdough
Sourdough is made using a sourdough starter. This starter is a mix of bacteria and wild yeast that, when fed water and flour, will rise up and get bubbly. When used in a recipe, the sourdough starter will naturally raise baked goods like bread, cookies, muffins etc. There is no need for commercial yeast. Just the sourdough starter is all you need!
This post contains affiliate links, which means I make a small commission at no extra cost to you. See my full disclosure here.
Why You Want to Make This Recipe
Simple Steps
Unlike most sourdough recipes, this one does not require stretching and folding for hours on end.
It also can be started and baked in the same day rather than waiting for the next day.
Most sourdough recipes require a full day of stretching and folding, an overnight rest in the fridge, then finally you can bake in the morning. This recipe is done in way less time!
And honestly, how many times have we all done all that work to end up with a loaf that doesn’t come out quite as poofy or perfect as we hoped?
This recipe will come out perfectly if you follow the simple steps below.
Basic Equipment
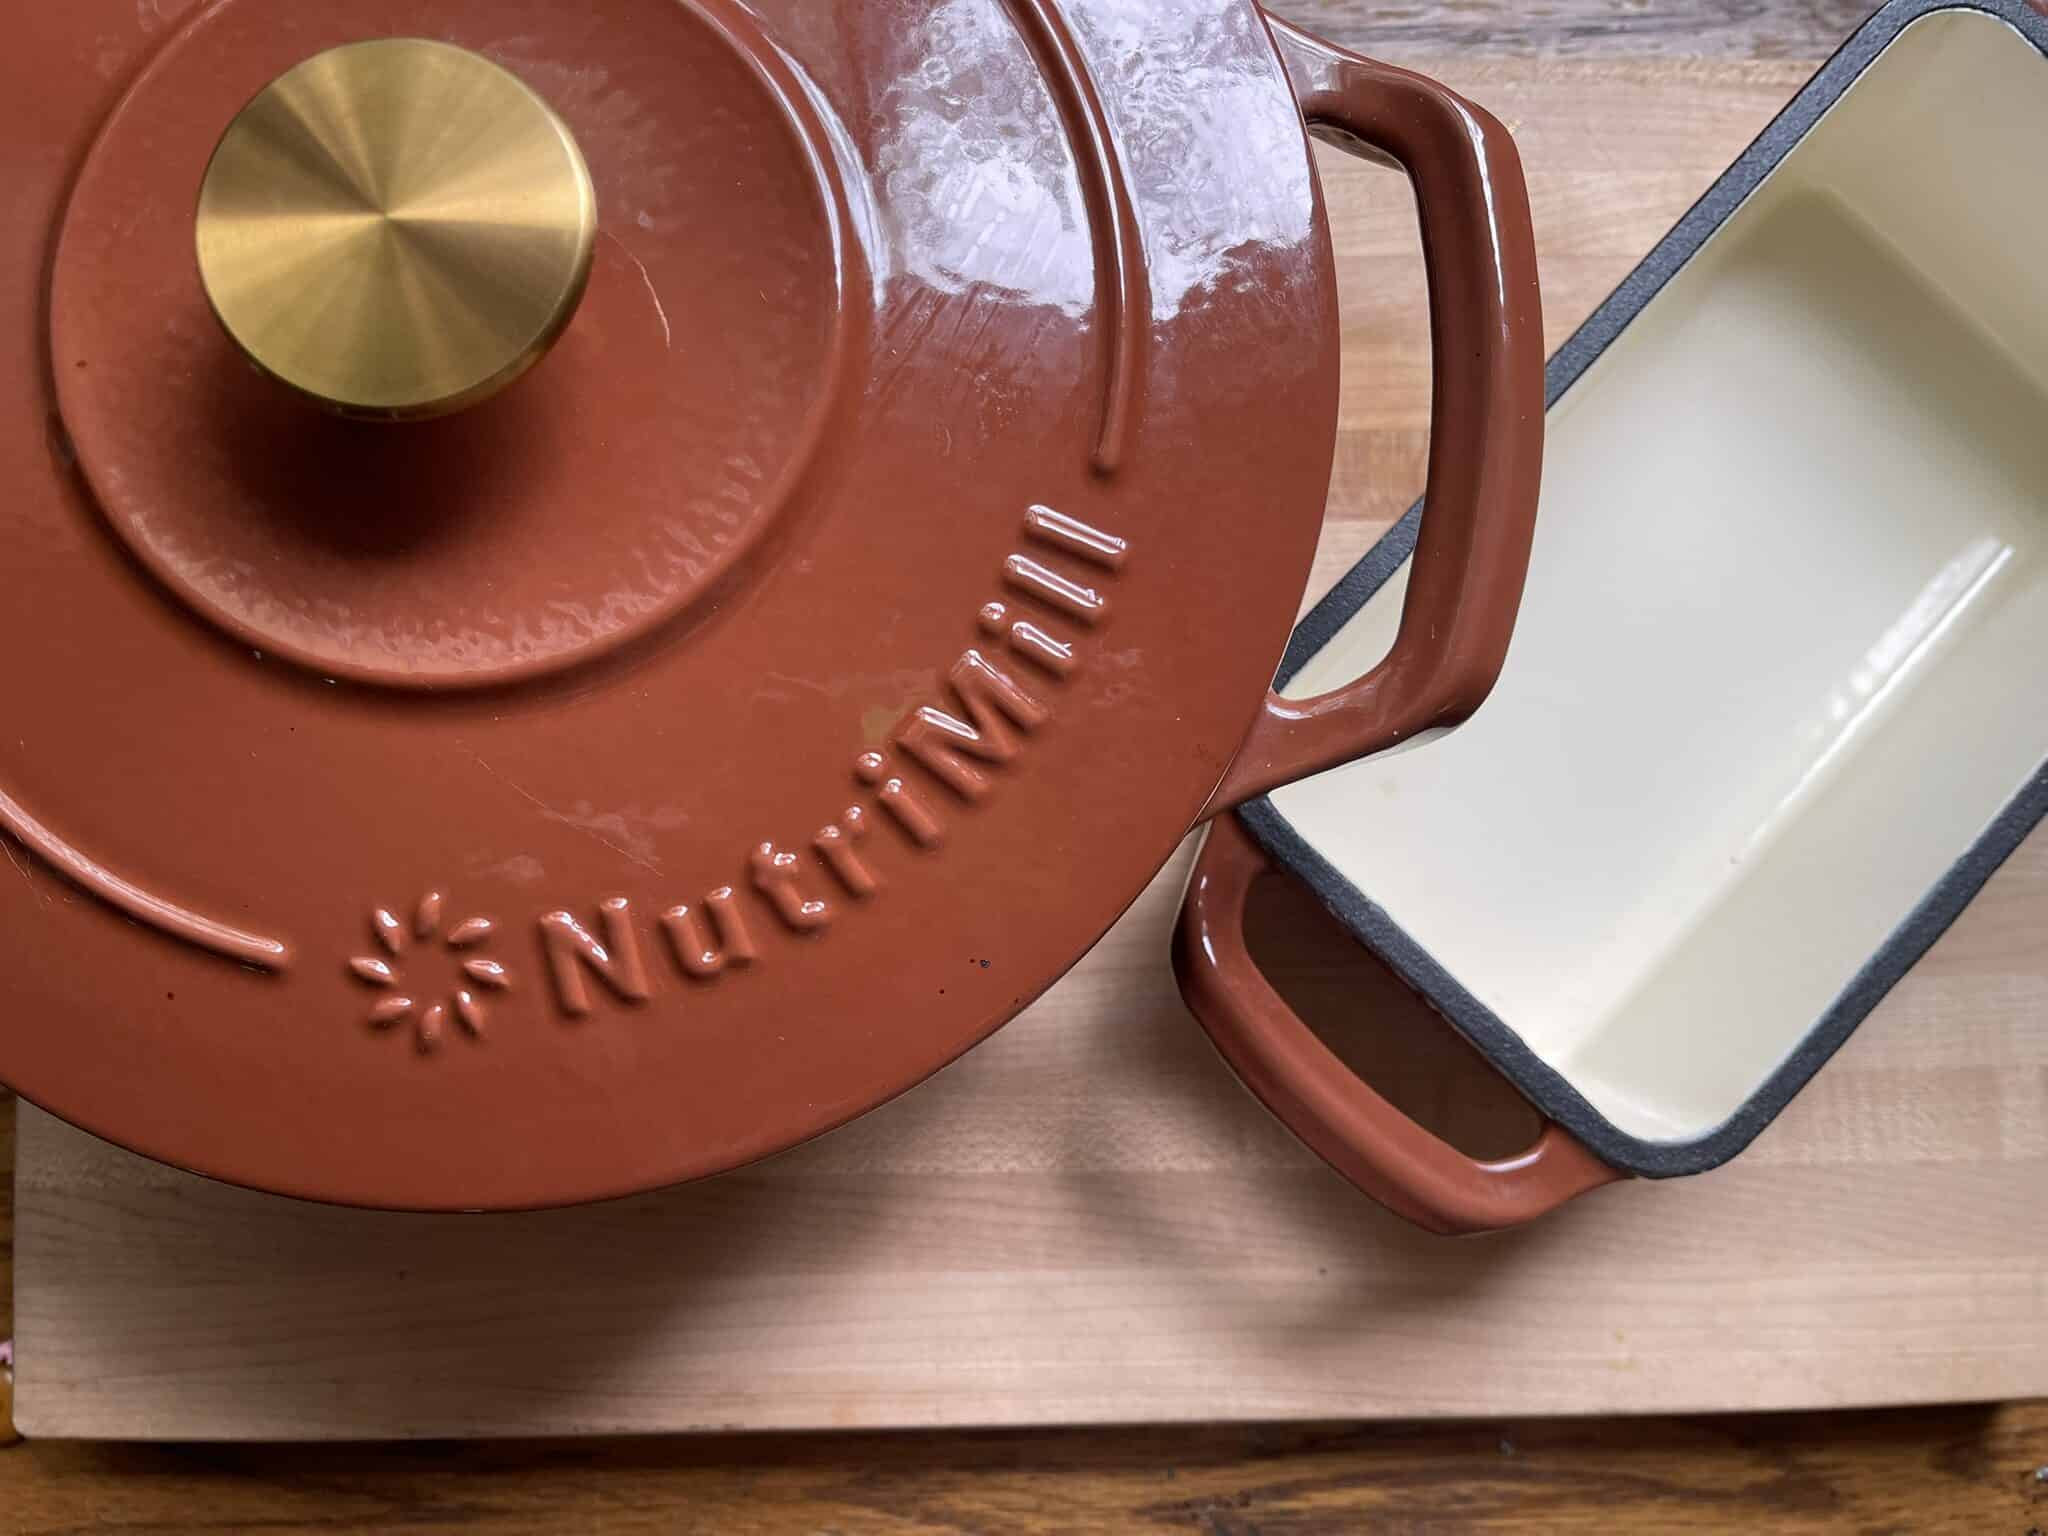
This recipe doesn’t require proofing baskets or dutch ovens. The only “specialty” piece of equipment you are going to need is a bread pan.
This recipe is also done in measurements, so you will need a kitchen scale. That’s it!

Cut Down on Bread Waste
Another reason why I really like this recipe, is because it cuts down on waste.
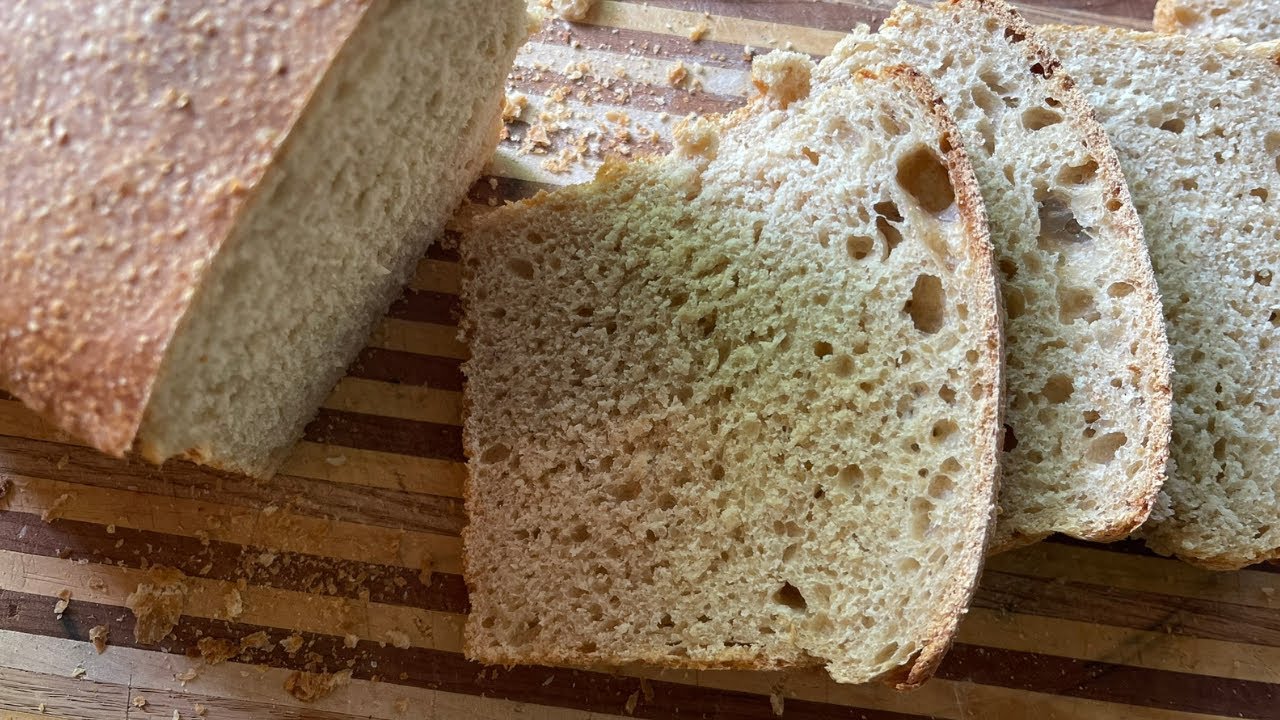
I found that when we make the round loaves, beautiful though they are, we always end up wasting the edge pieces. They don’t toast well and are hard to make a sandwich out of.
When you make a loaf of bread in a simple loaf pan, every piece comes out in nice slices you can toast, make sandwiches with, press into paninis, whatever.
Don’t get me wrong, I love a good round loaf if we basically plan to eat it all in one day. But for our everyday bread, this is the loaf I keep coming back to.
Have I convinced you? Excellent. Let’s bake some bread!
Ingredients for Whole Wheat Sourdough Sandwich Breads
This recipe is for two loaves of bread. If you only want to make one then simply half the ingredients.
- 200 grams of active sourdough starter
- 650 grams Warm Water
- 80 grams of honey or maple syrup (see more on that below)
- 4 Tablespoons of Melted Butter
- 20 grams kosher salt
- 300 grams whole wheat flour
- 625 grams white flour or bread flour
- Coconut oil for greasing the pan
Supplies for Easy Sourdough Sandwich Bread
- 1-2 loaf pans
- Large Mixing Bowl
- Wooden Spoon for stirring
- Kitchen Towel
- Wire Rack for Cooling

How to Make Easy Whole Wheat Sourdough Sandwich Bread
Prep the Starter
The night before you plan to bake the bread, get your sourdough starter out and fed. If you’d like to know more about my no-fuss, super lazy sourdough method you can read about it here.
Combine Ingredients
The next morning, in a large bowl combine all of the ingredients listed above.
It doesn’t matter what order you do it in, just combine them all in a bowl that leaves room for rising. Give them a good mix, so everything is well combined.
It will be fairly sticky and a very shaggy dough overall.
Rest
Cover the bowl, then allow the dough to sit at room temperature for an hour.
Stretch and Fold
Here it is, our one and only stretch and fold!
First, wet your dough stretching hand in cool water.
Grab one side of the dough and pull it upwards, stretching it out. Fold it over the rest of the dough in the bowl, and tuck it under.
Grab the next side of the dough right next to where you just stretched it. Pull upwards, then stretch/fold it over the dough again and tuck it under. Repeat this process all the way around the loaf.
Cover the bowl, and allow to raise for about 4-5 hours.

Raising the Dough
If your home is fairly warm, say 70s and up, the dough should rise just fine on its own.
In the cooler months you’ll want to find somewhere warmer for the bread to rise. I like to leave it on my woodstove. Other good options are a heating pad underneath or a hot water bottle.
You want the dough to roughly double.
Prep the Pans
Get out your bread pans and grease ’em up! I like to use coconut oil as I find this releases the best.
Shape and First Rise
Dust your work surface with all purpose or bread flour.
Press down any air bubbles from the soft dough. Scrape the dough away from the sides of the bowl and onto the counter in one large blob. Divide the dough in two and set one half aside.
Flop the other half onto the counter and stretch it out as best as possible.
Fold the top down, then the bottom up over it.
Fold one side over that, then the other side over top of that.
Shape the dough by pulling the dough across the counter toward you to build a taught surface.
Second Rise
Allow the dough to rise a second time. Again how long this takes depends on the warmth in your house. Do your best to find or create a warm place for the dough to rise.
Once the dough is peaking over the rim of the pan it is ready to bake.

Bake!
Preheat the oven to 375 degrees F.
Place the bread pans inside and bake for 45 minutes.
Once done, remove from the oven and from the pans immediately. Cool them on a wire rack.
Storing Bread
This bread is best eaten while it is a little warm with butter slathered all over it. However, if you are able to restrain yourself and you don’t eat the whole loaf in one sitting (hey, no judgement here) you will need to store it.
Bread you intend to use in the next couple days can be wrapped in a large kitchen towel or stored in a bread box. Unlike store-bought bread this will only be good for a few days as it doesn’t have all the extra preservatives in it.
You may also freeze the bread in gallon ziploc bags. I like to slice it first, then freeze it. It will keep well in the freezer for up to three months.
I recommend waiting until the following morning to slice the bread so it is completely cooled.
Best Loaf Pan for Bread Baking
I’ve made more loaves of bread in my life than I can count. After all these years of baking, I’ve finally found the holy grail of bread pans.
Not surprising, it is the Lodge Cast Iron Bread Pan. This beauty is only $20. It makes a beautiful golden brown crust all the way around the loaf.
It takes only a little greasing and the bread pops out perfectly every time. I have a full review of it here or you can grab your own here.
Notes on Ingredients
Maple Syrup or Honey Sweetener
I have made this recipe with both honey and maple syrup as the sweetener. I have found that the maple syrup makes a stronger flavored loaf, definitely with a more sour flavor. It also yields a darker brown loaf.
Because I am pretty stingy with my maple syrup and like to save it for my pancakes or waffles, I usually stick with the honey. Though both are excellent options.

Whole Wheat to White Flour Ratio
The unfortunate thing about a whole wheat sandwich loaf is that the majority of the flour still needs to be a white, more fine flour. You certainly can use all whole wheat flour, but you will get a much denser loaf than most people are looking for.
The reason for this is gluten development. Strands of gluten is what allows dough to stretch and spring and make a nice chewy, poofy loaf. Whole wheat with its rough edges actually slices these little gluten strands as they develop, which prevents your loaf from getting airy and poofy.
You can use a dough conditioning agent to help with gluten development in whole wheat recipes. I personally don’t really care to use them so I go for the combination of whole wheat and white flours.
Lastly, I have tinkered with this recipe quite a bit and have found that this is the maximum amount of whole wheat flour I can use in this recipe before the bread starts to lose stability.
If you’d like an even softer sandwich loaf, you can scale back on the whole wheat and replace that weight with all purpose flour.
Favorite Ways to Use this Bread
Is there anything better than fresh bread? Here are some favorite ways to eat this.
A great way to use this easy recipe is to make the best french toast you’ve ever had in your life.
The soft crust makes it perfect for sandwiches or paninis.
Garlic toast is another favorite in this family.
Lastly, good old fashioned peanut butter and jelly toast is a perfect way to enjoy your bread,
Other Resources You Might Like
- How to Dehydrate Sourdough Starter
- Lazy Sourdough Method
- Honey Oat Bread Recipe
- Best Ever Fluffy Biscuits
- Chocolate Zucchini Bread
Ingredients
Equipment
Method
- The night before you plan to bake the bread, get your sourdough starter out and fed.
- The next morning, in a large bowl combine all of the ingredients listed above.
- It doesn't matter what order you do it in, just combine them all in a bowl that leaves room for rising until well combined.
- It will be fairly sticky and a very shaggy dough overall.
- Cover the bowl, then allow the dough to sit at room temperature for an hour.
- First, wet your dough stretching hand in cool water.
- Grab one side of the dough and pull it upwards, stretching it out. Fold it over the rest of the dough in the bowl, and tuck it under.
- Grab the next side of the dough right next to where you just stretched it. Pull upwards, then stretch/fold it over the dough again and tuck it under. Repeat this process all the way around the loaf.
- Cover the bowl, and allow to raise for about 4-5 hours.
- If your home is fairly warm, say 70s and up, the dough should rise just fine on its own. If your home is cooler, let rise in the oven with the light on or on a heat pad.
- Get out your bread pans and grease ’em up! I like to use coconut oil as I find this releases the best.
- Dust your work surface with all purpose or bread flour.
- Press down any air bubbles from the soft dough. Scrape the dough away from the sides of the bowl and onto the counter in one large blob. Divide the dough in two and set one half aside.
- Flop the other half onto the counter and stretch it out as best as possible.
- Fold the top down, then the bottom up over it.
- Fold one side over that, then the other side over top of that.
- Shape the dough by pulling the dough across the counter toward you to build a taught surface.
- Allow the dough to rise a second time. Again how long this takes depends on the warmth in your house.
- Once the dough is peeking over the rim of the pan it is ready to bake.
- Preheat the oven to 375 degrees F.
- Place the bread pans inside and bake for 45 minutes.
- Once done, remove from the oven and from the pans immediately. Cool on wire racks.


This recipe is the best one I’ve tried for sourdough sandwich bread. Even people who normally don’t like whole wheat bread, ended up loving this one. Thanks!