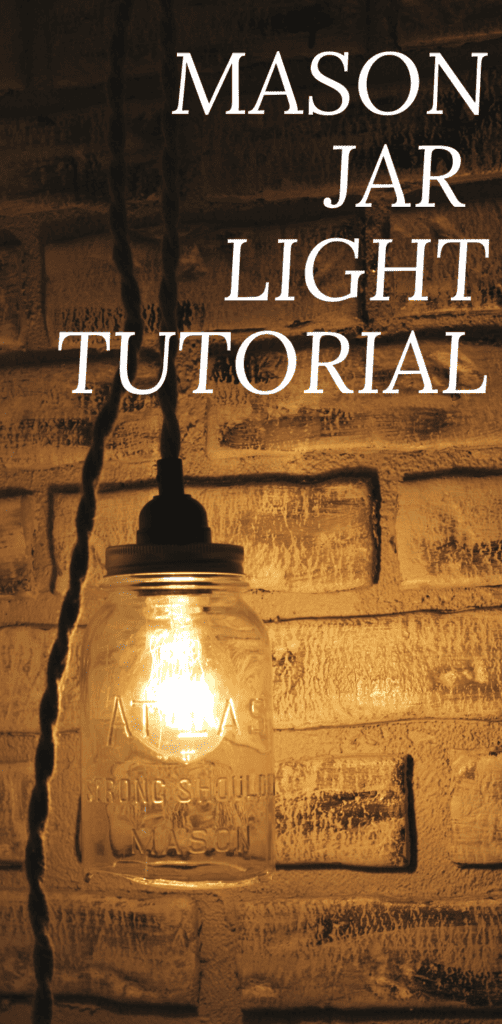
DIY Mason Jar Light
This year I had a jar break during canning. Thankfully, the bottom popped off in an almost-clean break!
Rather than ditch the jar, I decided to do an easy craft and upcycle it into a DIY mason jar light.
This is a great way to reuse something that would normally be trash, and is the perfect addition to a covered outdoor space like a patio, or any room indoors, for not a lot of money.
If you want to make your own mason jar lamp in just minutes, look no further!
Why do Canning Jars Break?
There can be a lot of reasons for mason jars to break during the canning process.
- The jar was too cold. If the glass isn’t piping hot before you put it in the hot water bath or pressure cooker, the sudden change in temperature can cause it to crack or break. My rule of thumb is that the canning jars should be too hot to comfortably touch for long with my bare hands.
- The jar has an imperfection. There might be a hairline crack, or a small chip in the jar that you don’t even see. It could also have a manufacturing weakness that makes it unstable.
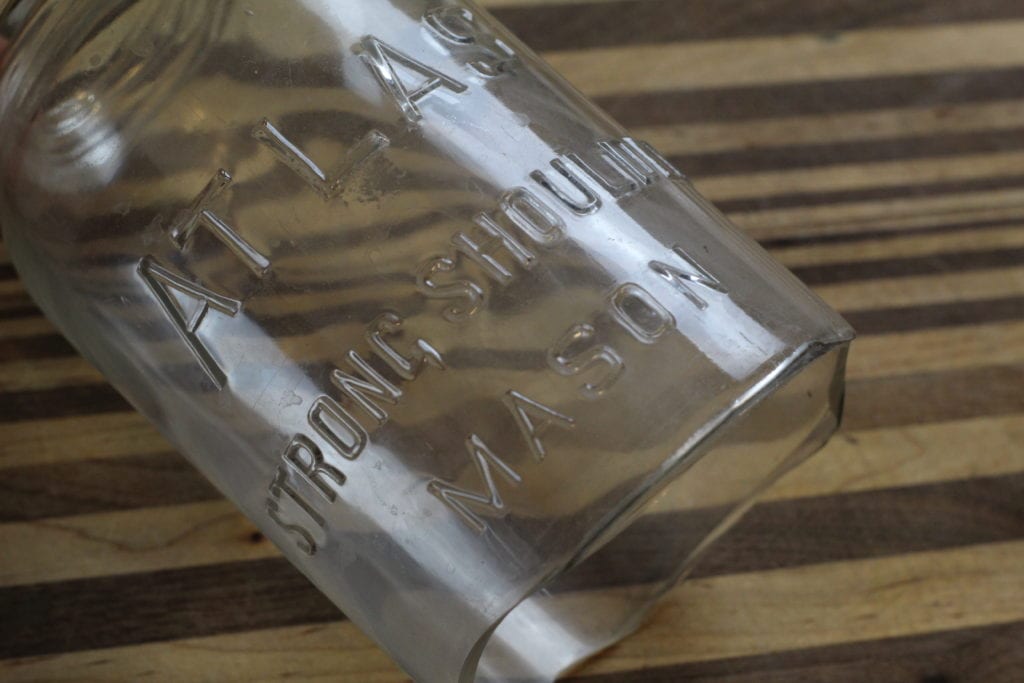
- The jar is just darn old. Older style jars are often best retired and turned into cool projects or recycled. The jar that I am turning into a light is an old Atlas jar with the rounded shoulders—probably one I got secondhand at some point.
This post contains affiliate links, which means I make a small commission at no extra cost to you. See my full disclosure here.
What If I Don’t Have a Jar With Out a Bottom?
Lucky you, none of your jars broke this year! If you still want to make a canning jar light, however, you easily can.
The first option is to just use a solid jar. No need to remove the bottom. The only difference is that you’ll need to punch small holes in the lid of the jar to allow a place for heat to escape.
If you do want a jar with no bottom, there are methods on YouTube you can investigate for removing the bottom. Amazon also has some options for a “glass bottle cutter” that you could invest in for around $25.
Atlas Canning Jars
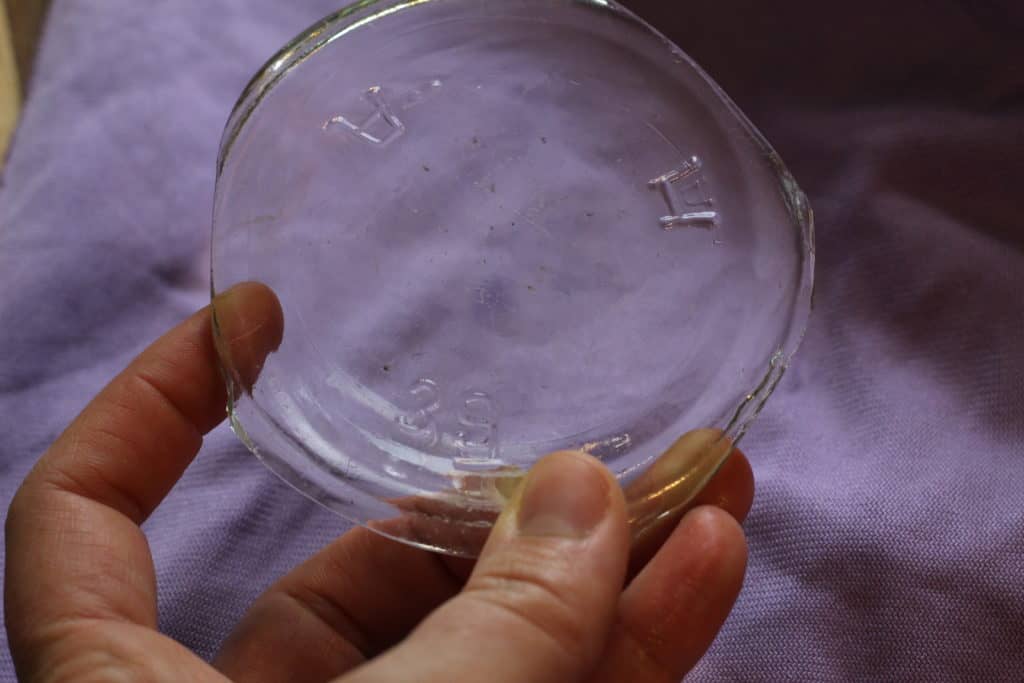
This particular jar that I have was likely made sometime before 1964. The Hazel-Atlas Glass Company made canning jars from 1910–1964. I have a couple of Atlas jars that I have used for canning, figuring they would eventually just wear out on me like this one did. I didn’t realize that Atlas jars, depending on their age and condition, sell anywhere from $10~60 per jar. Some from 1910 sell for over $200.
I have a few jars sitting on the shelf right now with tomatoes in them. It’s amazing to me that these jars are sixty years old and still trucking. Though now that I know their value, I’ll likely retire them for decorative use or storing dry goods.
Supplies to make a DIY Canning Jar Light
For this project you’ll need round up the following supplies:
- Mason Jar
- Canning lid with ring
- Sharp knife, electric drill, screw driver with a hammer, or other method of making a hole in the canning lid.
- Pendant light cord (make sure you get one that can be plugged in, not one that has to be wired)
- 20-40 watt bulb (can use standard or LED light bulbs)
How to Make a DIY Mason Jar Light
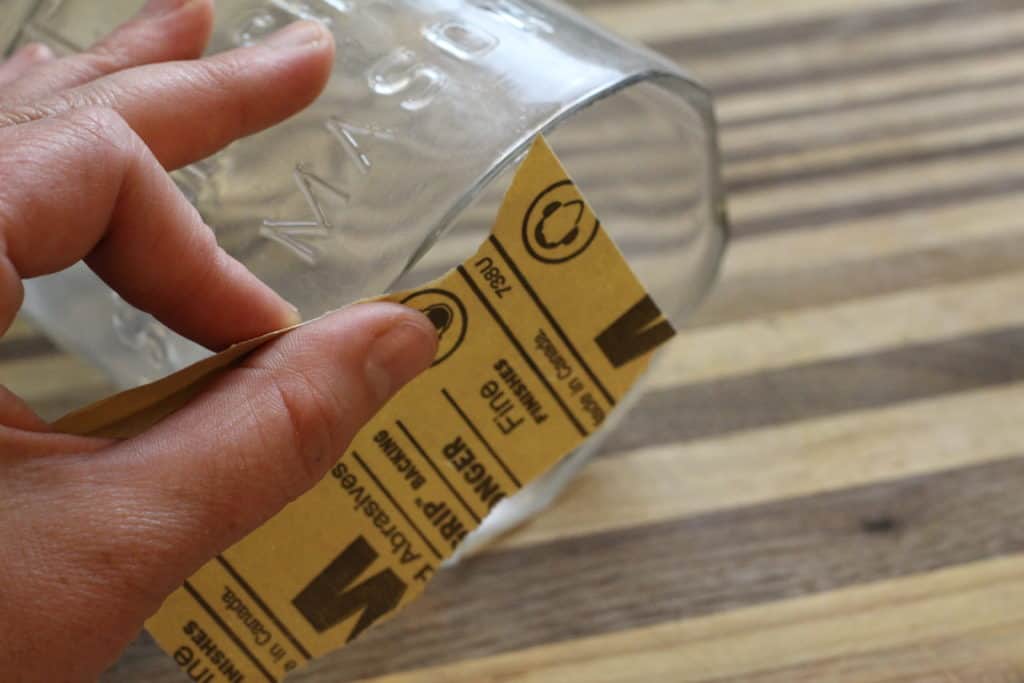
Prep the Mason Jar
If your mason jar is bottomless, the first thing you’ll need to do is clean it up a little. I used a 220-grit sandpaper to carefully sand down any rough edges on the bottom of the jars. Be sure to do this outside over a garbage can or similar, and wear a mask and gloves. Gloves will prevent any cuts to your hands while you smooth out the glass, and the mask will prevent you from inhaling ay glass particles. Rinse it clean after.
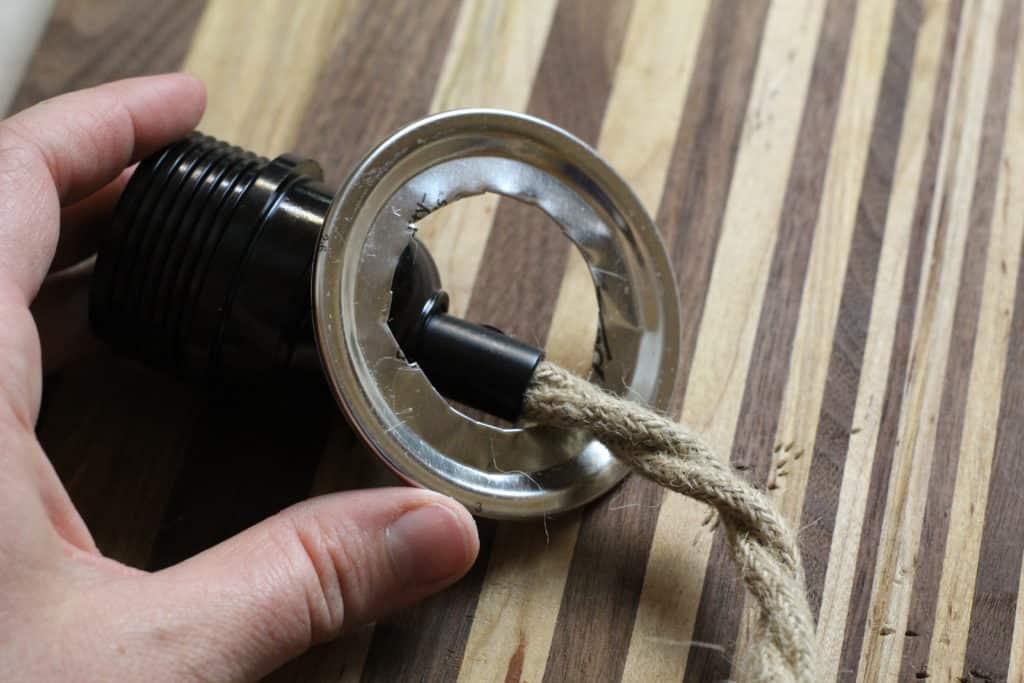
Put a Hole in the Lid
There are multiple ways you can do this.
If you have a nail and hammer, you can puncture holes in a circle until you make a clean cut.
If you have a drill with the right attachment, you can make a smooth hole to size. I used a very sharp knife and a sauerkraut masher to puncture a rough circle in the center of the lid.
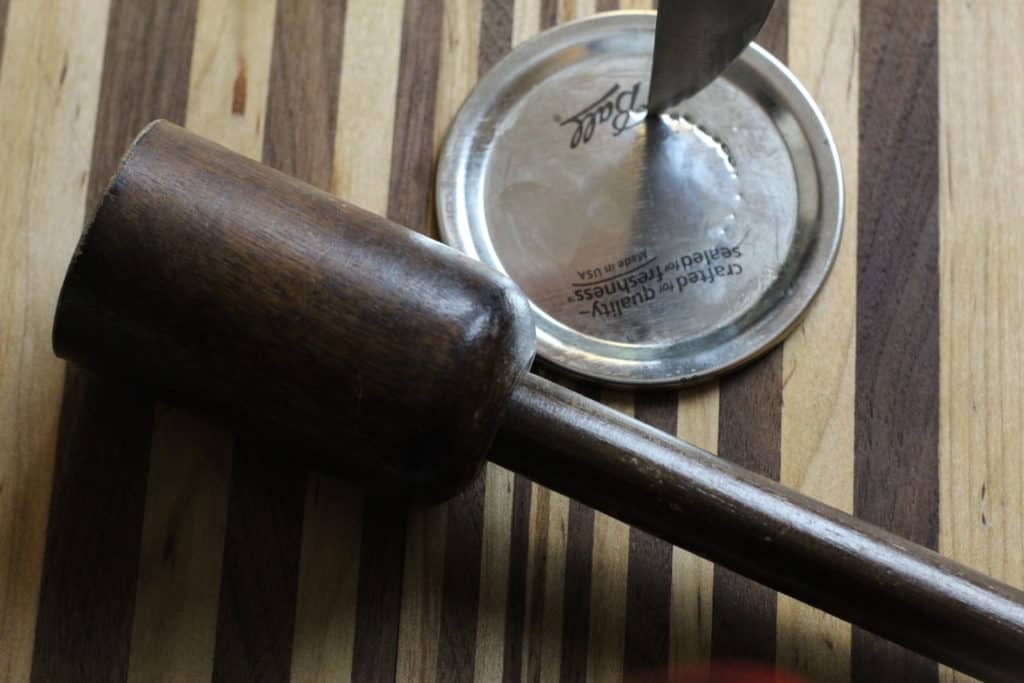
The metal isn’t too thick, so you can be creative with whatever you have around. After that, I was able to slice through the punctures with the knife. Then I used a pair of kitchen scissors to cut the hole a little larger. Be careful—the mason jar lid can be sharp.
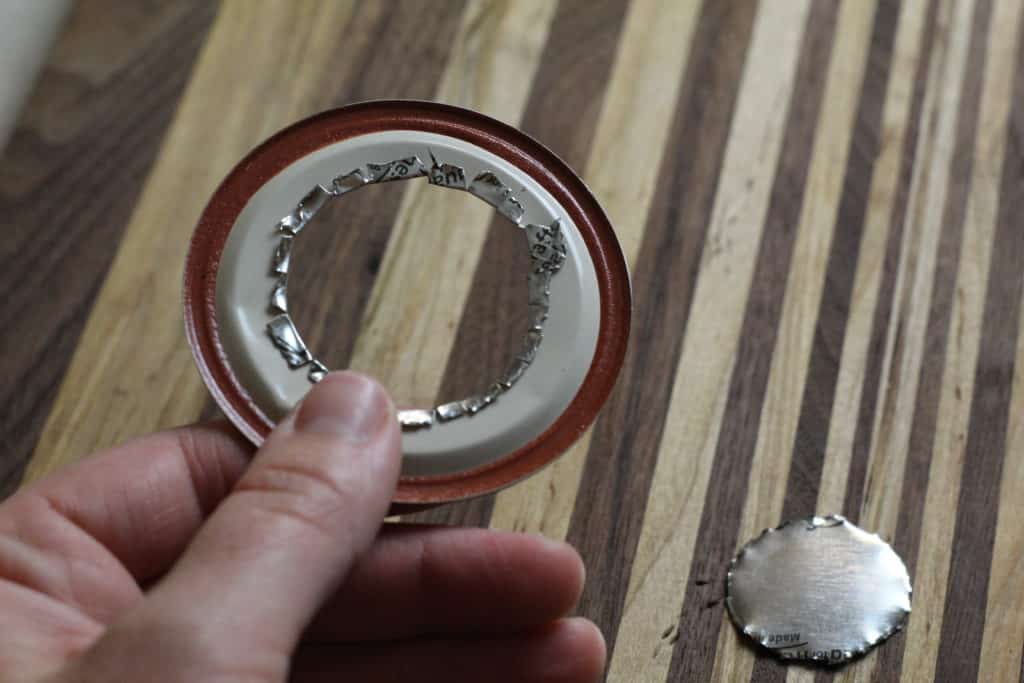
Make sure the size of your hole isn’t too large. Looking at your light socket, it should be larger on the bottom where the bulb is going to screw in. The upper part of the socket is going to be a thinner cylinder. Make your hole just big enough for that cylinder to slide through. A snug fit is best.
It’s not a bad idea to do a test run on an old canning lid so you don’t waste a new one.
Put it all together
Pull the cord through the lid, starting on the bottom of the lid. Then push the socket upwards through the canning lid. Make adjustments as necessary to the lid for the right fit.
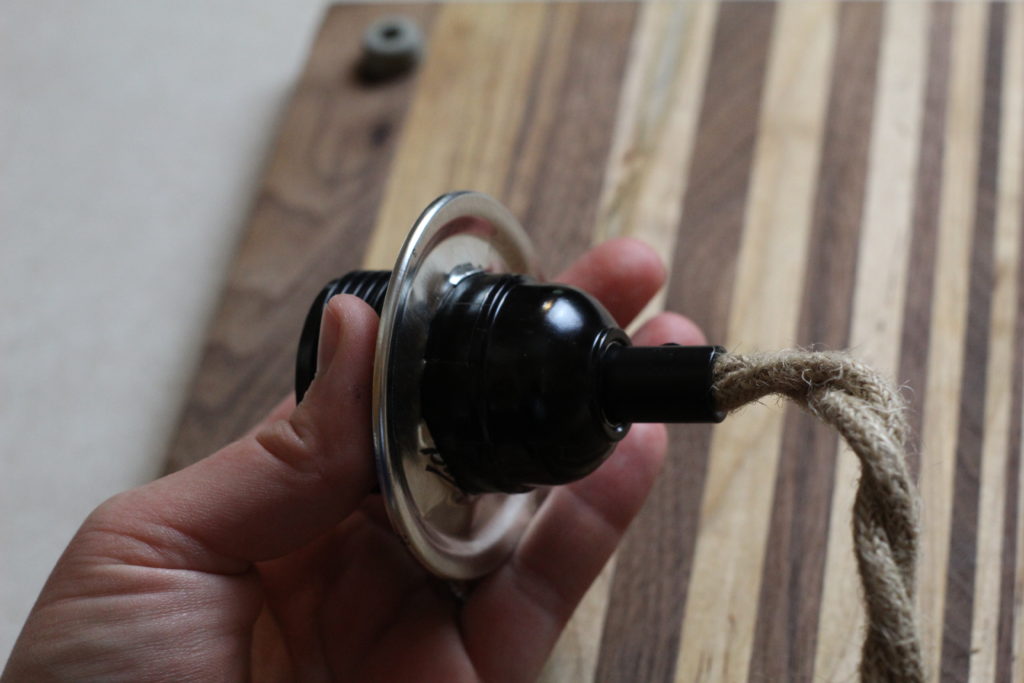
Place the lid on the top of the jar with the socket inside, and then screw down the lid ring.
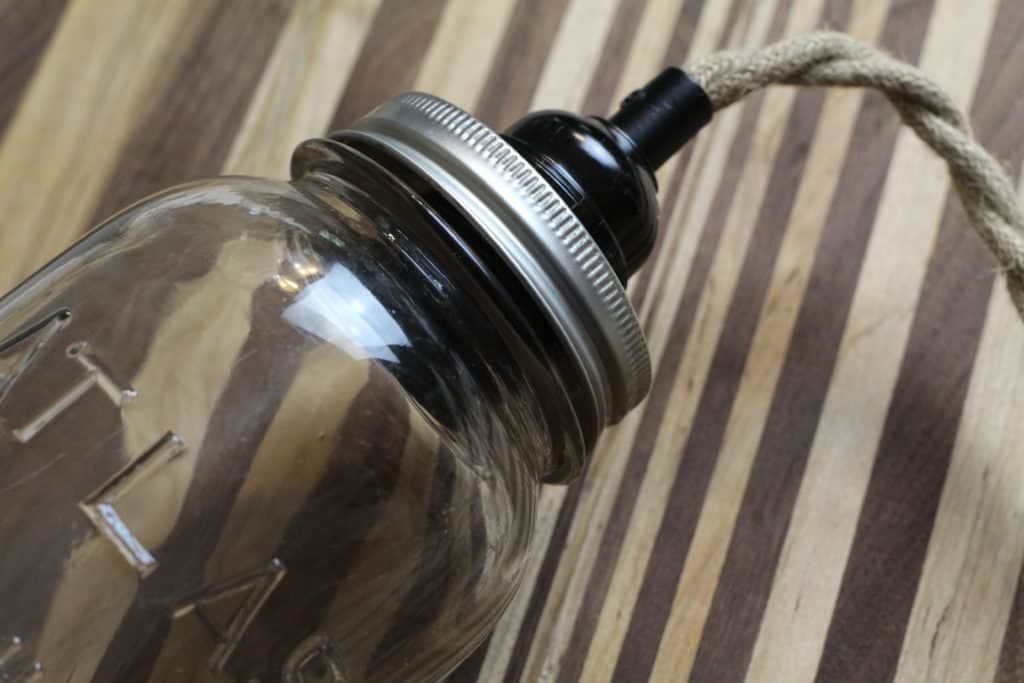
Screw the bulb into the end of the socket.

If you are using a jar that has a bottom, be sure to punch additional vent holes in the jar lid to allow heat to escape.
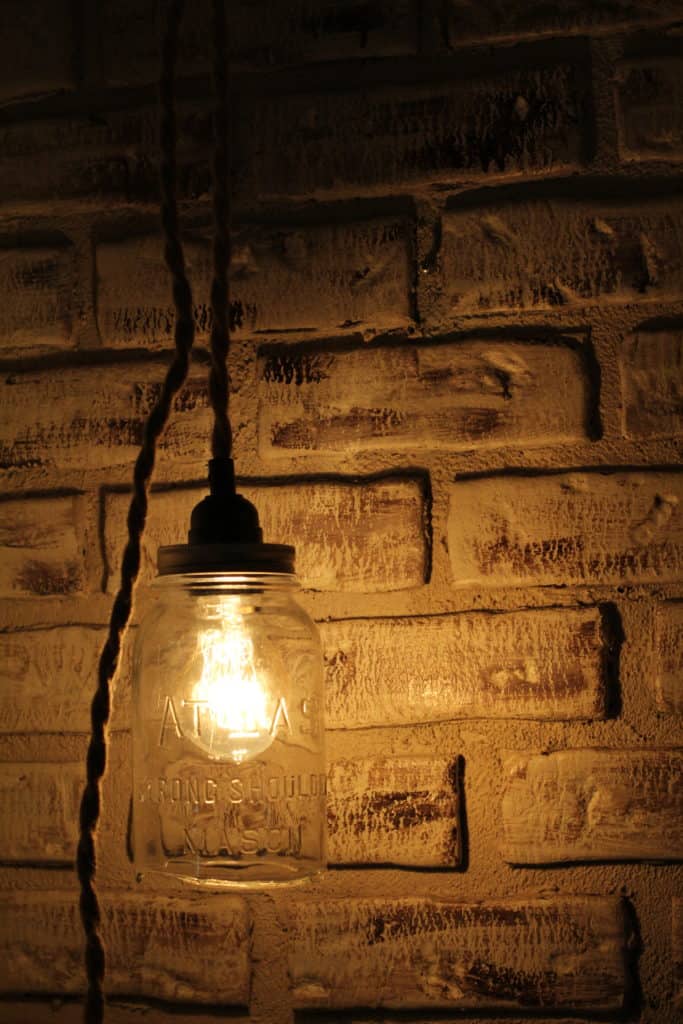
Your new mason jar pendant light is ready to hang!
Looking for More DIY Projects?
Check out some of my other step-by-step tutorials!