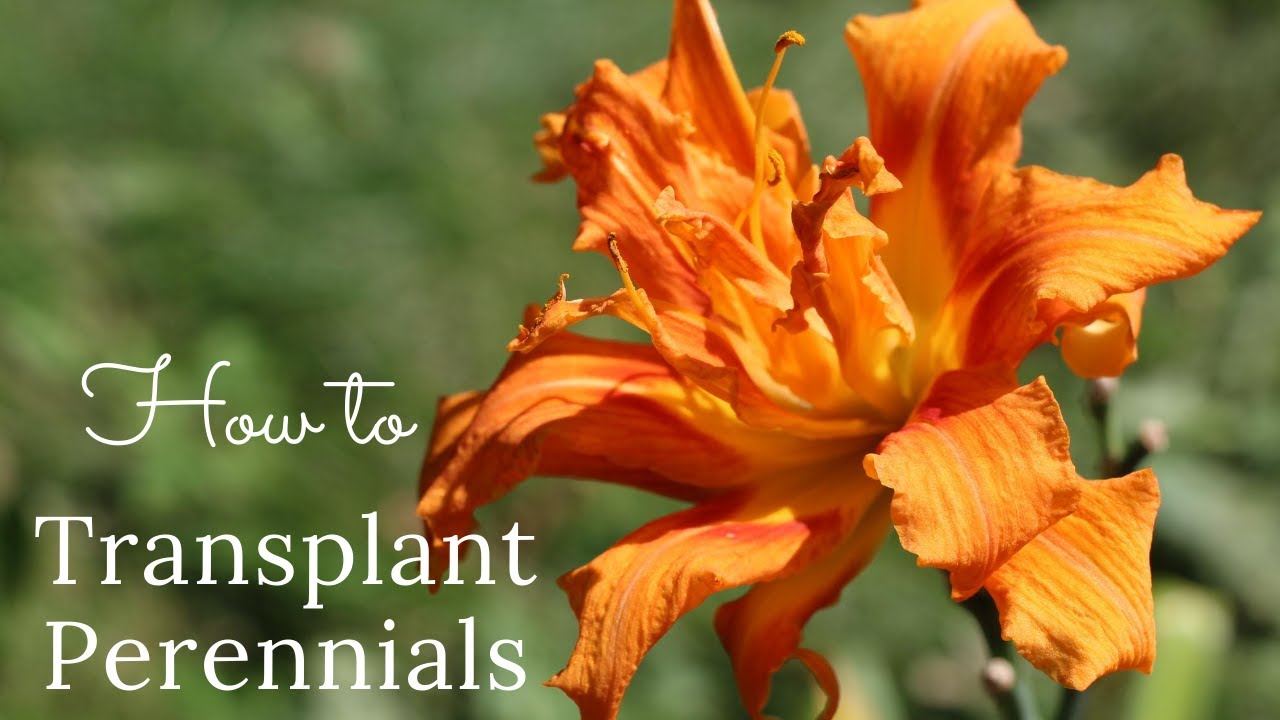
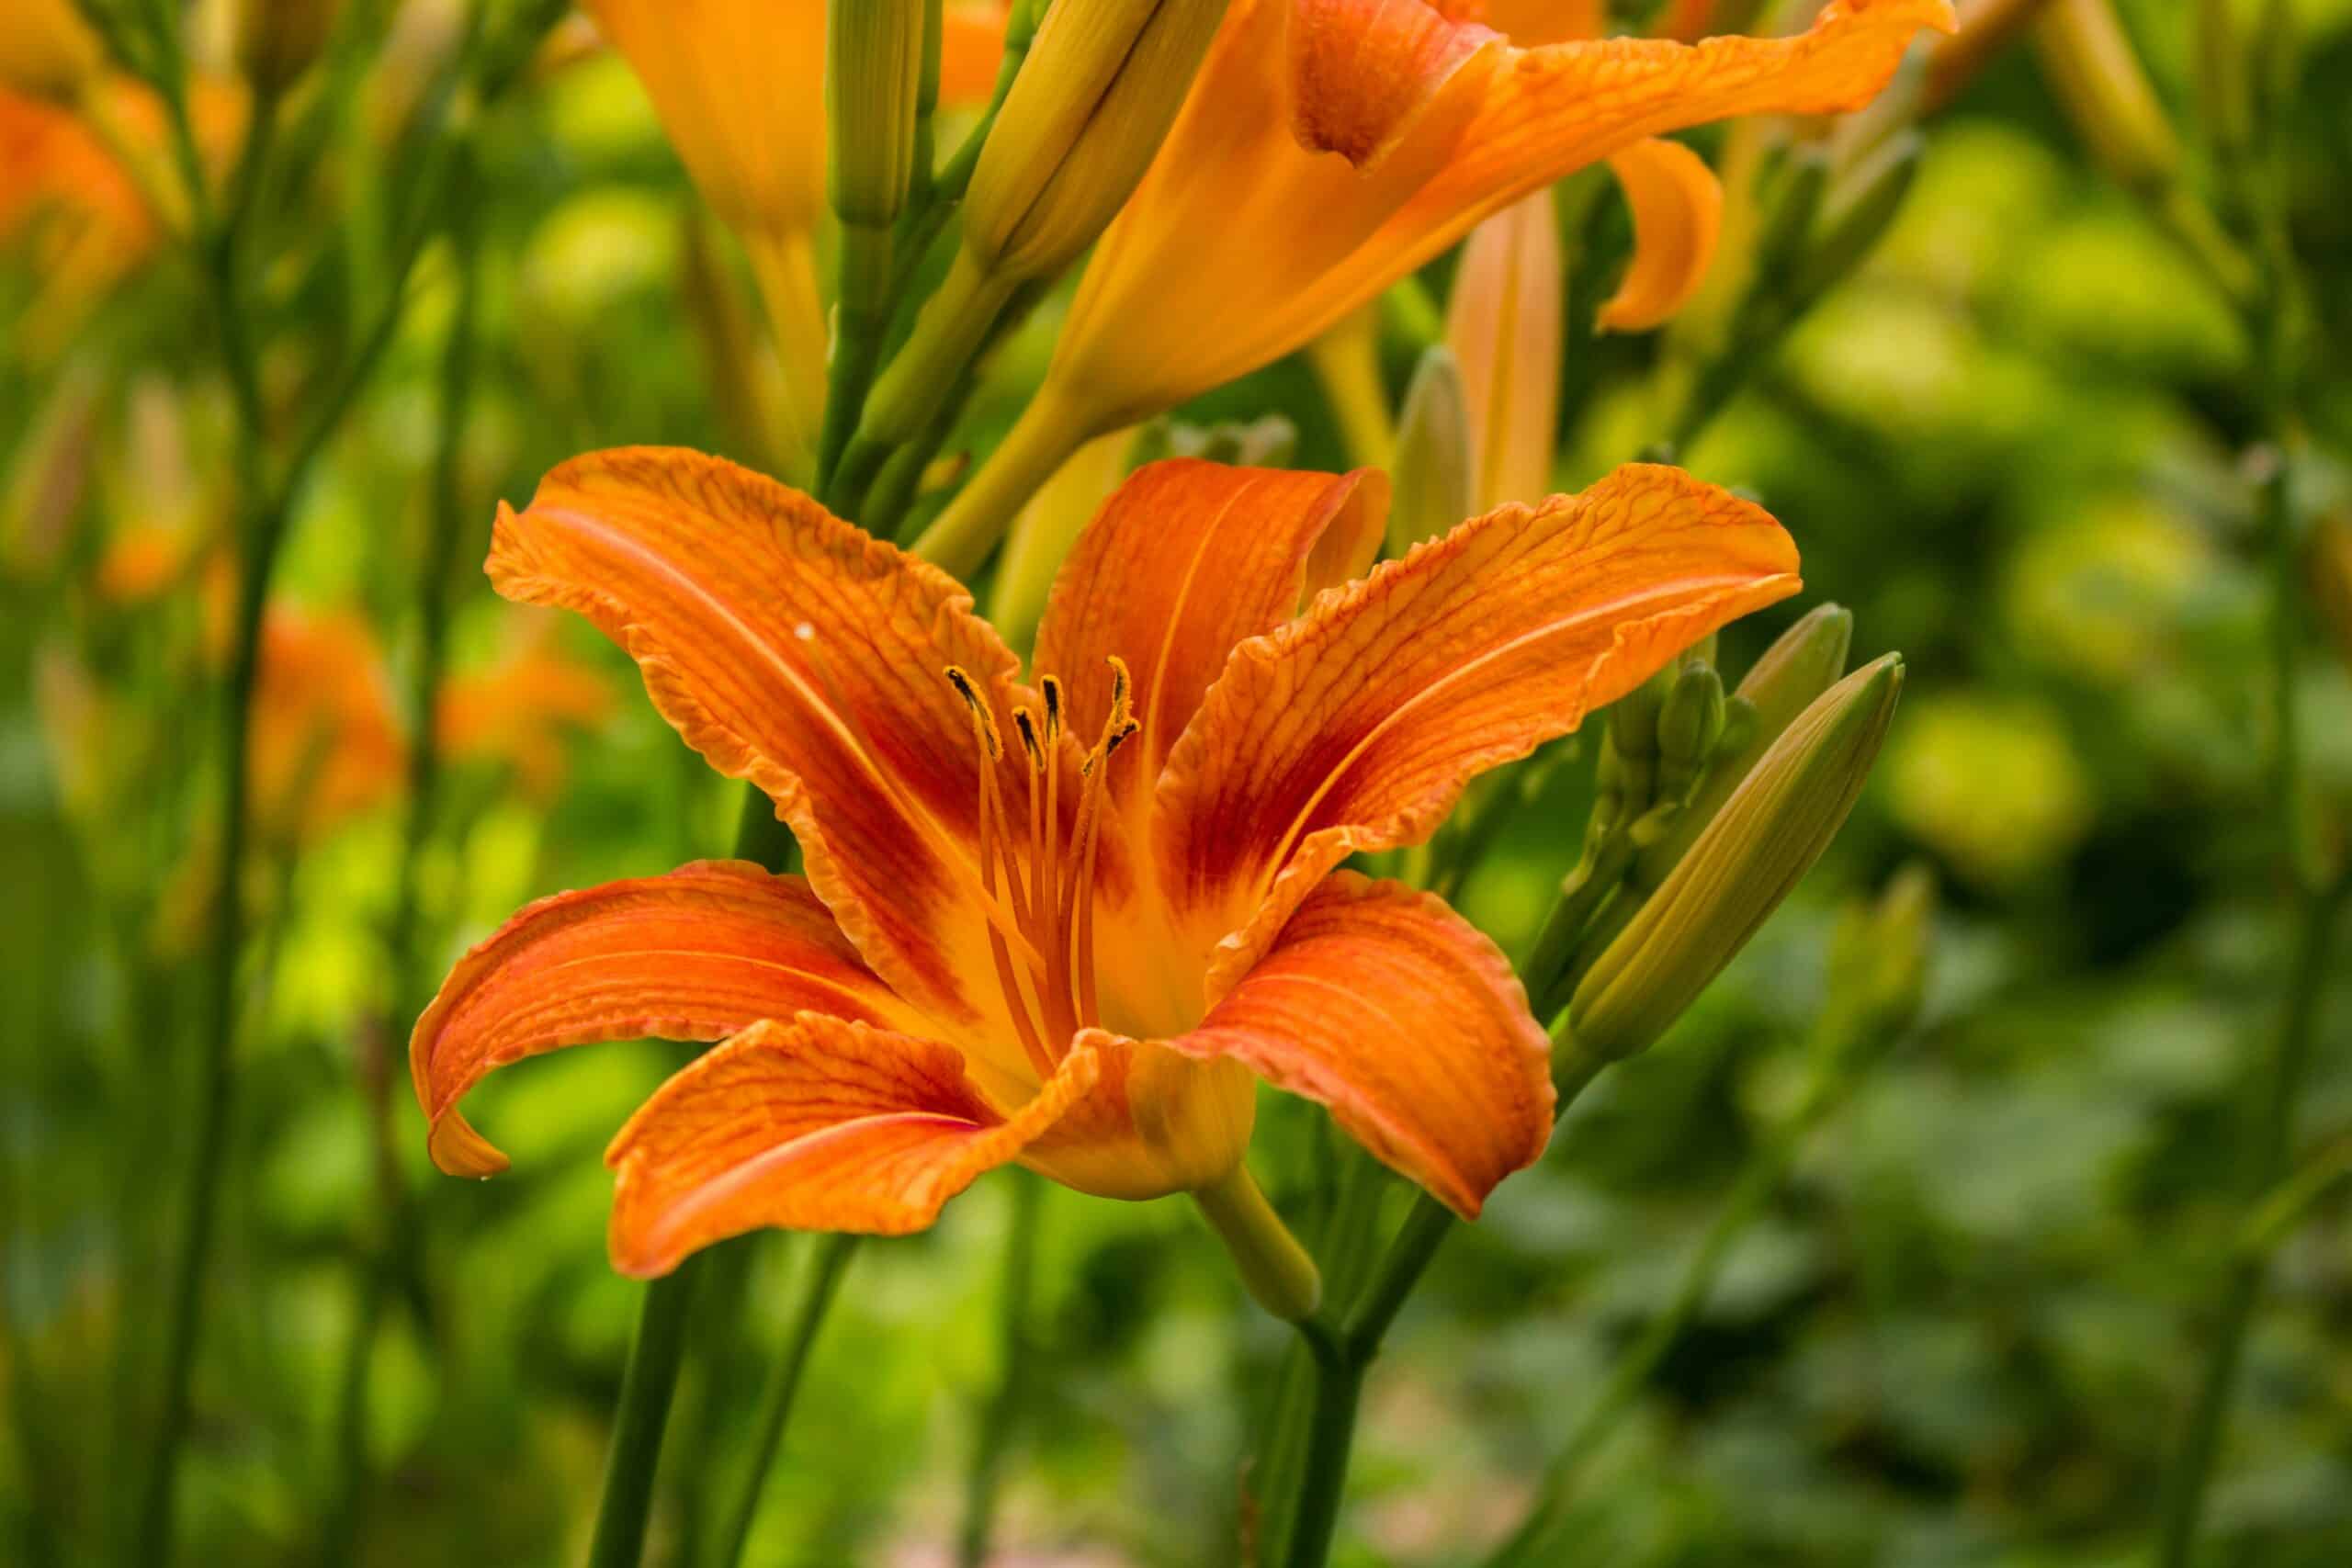
How to Transplant Perennials
We have hit that time of year when it is the perfect time to add perennials to your yard or farm. Last week I got an entire pickup load of free perennials from a friend. So I thought I’d show you how to transplant perennials!
What are Perennials?
To quote my high school band teacher, “Perennials are the gift that keeps on giving, gang.” Perennials are a plant that is going to come back year after year. You plant them once, get them good and established, and you can enjoy their beauty and benefits for years to come. Annuals are the opposite. An annual is a plant that you stick in the ground in the spring. It freezes or eventually dies, then you plant it again. Think tomatoes or zinnias.
Why do I want Perennials?
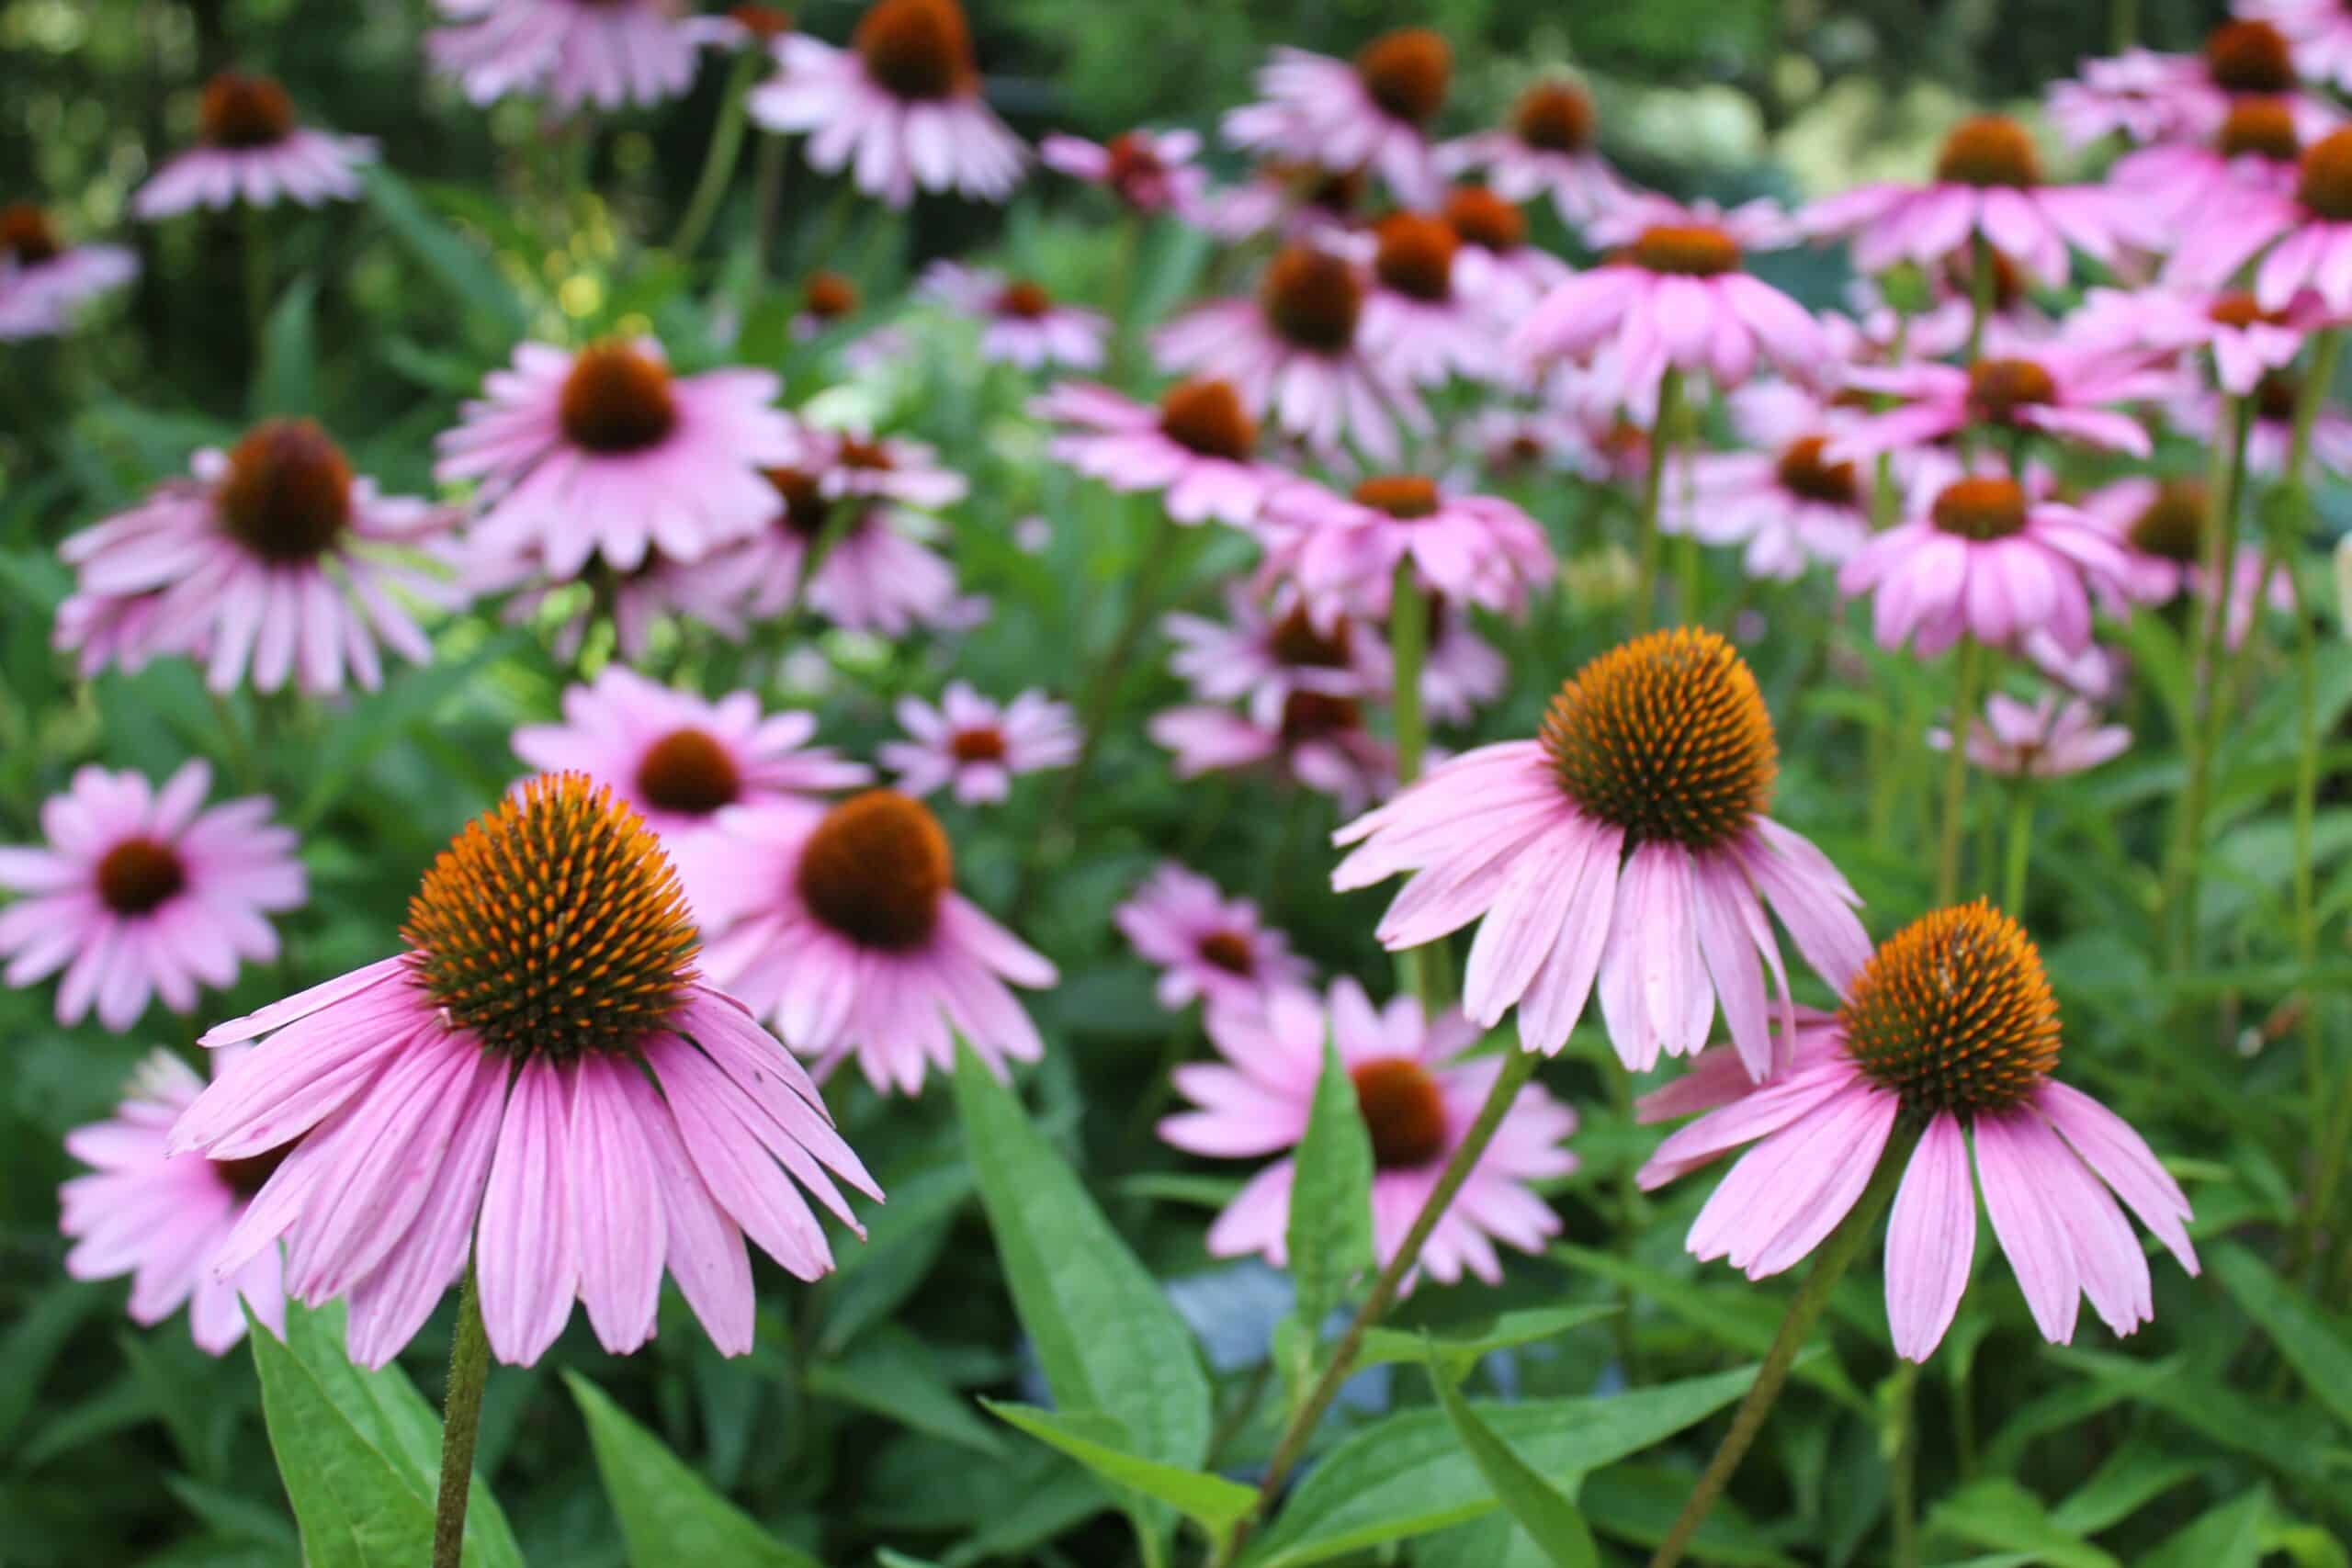
Perennial gardens provide incredible benefits to pollinators. They add beauty and texture to our yards. Some are also beneficial as medicinal plants. Some can do all three! Better yet, as my wise band teacher said, they are something you invest in once, and you will get return for years to come. When you learn how to transplant perennials yourself, you can usually do so for cheap to free.

What Perennials should I get?
That’s a tough question. It depends on where you live and what your goals are.
Maybe you want to have a planting of all perennials native to your area. Or perhaps you want to focus on perennials to feed birds and bees. Maybe you want all medicinal plants. Or you really want to capture a cottage garden vibe. Maybe you have a lake shore or river bed you are wanting to preserve. Perhaps you have a lot of shade to work with.
Before buying a perennial, try searching for plants that match what you goals are. “Cottage garden perennials”. Or search “Best perennials for Minnesota”, etc.
Things to keep in mind when selecting your perennials:
- When they bloom
- What type of soil do they need?
- How much sun do they need?
- How tall do they get?
- Is it hardy/can it survive your area’s lowest temperatures. Some plants that are perennials elsewhere are annuals here in Minnesota.
If you need additional help deciding on which perennials to get, check with your local extension office, Master Gardener group, or even Soil and Water Conservation District.

Where can I get Perennials?
- Local Garden Center Pretty much every greenhouse worth its salt will have at least a few perennials.
- Online. If you can’t find what you are looking for locally, many perennials can be ordered online.
- Local Conservation Groups. It is worth checking with local groups to see if they have any connections to plants or might even have some for free.
- Craigslist/Facebook. Late summer and early fall is a great time to find folks trying to sell or give away perennials. Often you’ll have to go dig them out yourself but that’s a small price to pay for a good perennial!

When is the best time to plant perennials?
Early spring to early summer is the best time for a new transplant to succeed in its new spot. You can also transplant in the fall so long as you have at least 3-4 weeks before the ground freezes.
It’s best to dig perennials when it is an overcast day, earlier in the morning or in the early evening are good times. If you transplant them when it is very sunny and hot, or in the late afternoon, the added heat can stress out the plant and make the transition process much more difficult.
How to Transplant Perennials
Dig it Out
Once you know what perennial you want and you’ve found one, chances are decent you might have to dig it out of someone else’s garden.
Here’s the best part about this, it’s not complicated. Grab a good sharp shovel and loosen the soil around the plant as best you can. Pry it up, leave as much dirt behind as you can from the roots, and that’s it!
You can also easily divide perennials if you want. Place your shovel in the center of the plant, then step down hard. This will break apart the root ball. It seems barbaric when you are doing it but I promise the plant will be okay. Dig out the portion you want to keep, then recover the exposed area with soil. Tamp it down well to protect the remaining roots.
When I get perennials from someone else’s garden, I typically bring a bunch of cardboard boxes to stash them in on the drive home.
Multiply Plants
Some plants you dig will be big enough you can split them into 2-3 different plants. Either pull the perennial flowers into smaller sections with your fingers or slice them apart with your shovel/sharp knife, whatever you have on hand.
Plant It
Prepare the Spot
To choose a good spot for your perennial, first identify the plant. This will tell you if it likes full sun, shade, or partial shade. You will also learn how tall and wide the plant will be. This helps to determine spacing between plants/structures, etc.
Once you select your spot, clear away any other plants within about a 1 foot radius of where you are planting.
Dig a hole just deep enough for the plant’s roots to comfortably fit inside. Dig a hole to fit your plant. No need to go down crazy deep. Set your plant in the hole and if it looks like the dirt is going to be at the same place on the plant that is was when you first dug it, you are set.
Plant It
If your plant is coming from a pot, make sure the roots aren’t tangled up tightly. If you remove the plant from the pot and there is a huge mass of roots in the shape of the pot it was in, that plant is root bound. For minimal root damage, gently spread them apart before you plant it.
If you’d like, you can pour a little water directly to your hole before filling it up with dirt. No need to fill the hole with water. Put your hose or watering can over it, pour, and count to three.
Mulch It
It is totally optional to mulch your perennials. Mulch can help retain moisture and keep weeds down. In my small perennial garden I use wood mulch. It doesn’t go very far so plan for several bags to cover even a small area.
Transplant Shock
Don’t be surprised if your new transplant looks pretty terrible for a while. That first week especially it will likely droop and may even look like it is dying completely. Keep watering it right at the base of the plant. After a few weeks you might see new leaves starting to turn up. This is a great sign!

Caring for your New Perennial
That first growing season the main thing your perennials need is WATER. Make sure those plants get enough water consistently to help those new roots get growing.
You want your new perennials to get about 1/2 inch of rain or watering every single week. However, you will need even more than that in those early weeks. Here’s a quick guide to follow.
Week 1: Every day.
Weeks 2-6: Water 2-3 times per week, depending on rainfall and heat.
Weeks 6+: Water as needed, more in summer months and less in fall.
The University of Minnesota has a really handy calendar for the year that can help you plan when to do what.

Sleep, Creep, Leap!
The first year the new plants aren’t going to do much at all. The root system is just getting established in its new location and the plant is focusing on healing the damage done during the dividing process.
The following year your plant is going to “creep’. You probably won’t notice much change in the perennial itself. Hopefully it came back well, looking green, maybe with some subtle new growth. This is considered the “creep”.
Lastly, the third year after you have planted the perennial it should finally LEAP! If you haven’t seen blooms yet you should this year. The perennial plant should be healthy, strong, and fully established in its new home.
More from the Garden
- How to Remove Rust from Garden Tools
- Ruth Stout Gardening Method
- DIY Natural Rooting Hormone
- More garden posts!
Sources
Perennials for Minnesota and Wisconsin by Don Engebretson and Don Williamson
Wisconsin Garden Guide by Jerry Minnich
University of Minnesota Extension


Looks good, Kelsey. Once your perennials get established, I plan on getting some clippings from you 🙂
I’ll be happy to share!
Loves me some perennials!