Making a Goat Door
This is a project I’ve been wanting to do for two years. Finally with cold weather coming and our more delicate Nubian goats, I set about making a goat door.
Why Make a Goat Door?
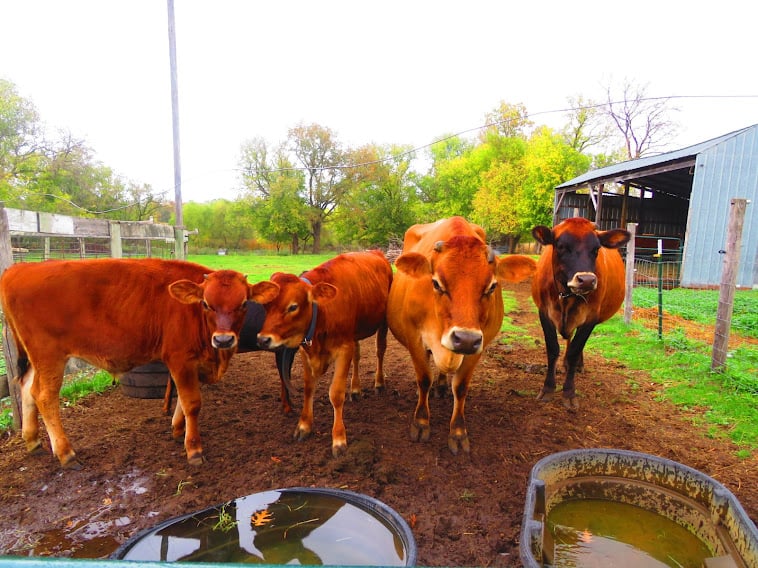
We have a small farm of just five acres. Pasture is maybe two acres, plus the outskirts of our property that we graze. While I would love to have my goats and cows in separate pastures it simply isn’t an option. So the bovines and caprines share a pasture. They also share a water trough, minerals, and hay.
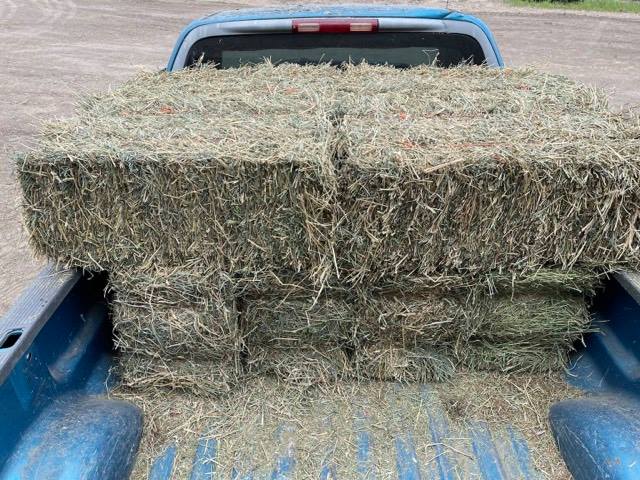
My little Nubian goats need higher protein hay (which is more expensive) and a certain type of mineral.
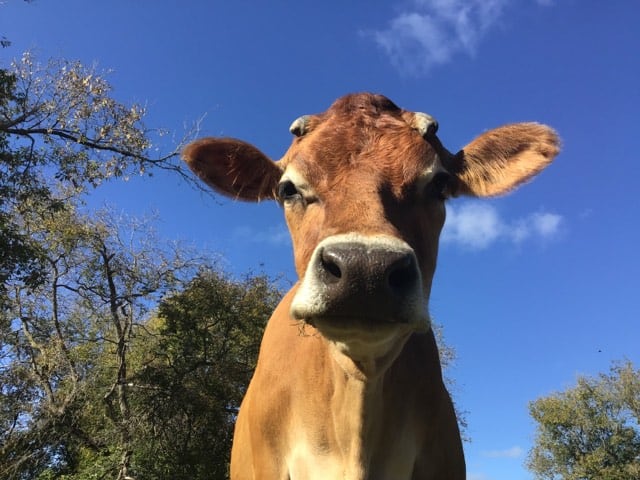
The jersey cows are, to be blunt, too fat. They don’t need a rich hay. They also don’t need the mineral block that my goats do, but that doesn’t stop them from eating most of it.
Finally, my Nubians get shivery in the winter when the weather gets very cold. I wanted them to have a more secure area they could nestle down in.
The easiest solution that I could come up with was to make an area accessible only to the goats. Enter, the goat door.

Why do Dairy Goats Need More Care?
Dairy goats in general need high protein feed and a well rounded mineral. These goats have less fat on them and typically even less muscle than say a meat breed. Less fat = les insulation. Dairy goats are focusing their energy into milk production and at times developing babies. It takes a lot out of them so they need top nutrition to keep their body condition.
Most of our dairy goats are Nubians. While Nubians can manage alright in climates like Minnesota’s, aren’t exactly the most ideal goat for extreme cold weather. They tend to have thinner skin and thinner coats. They also have adorable long ears that are more prone to getting cold or dipped in their water trough and getting frostbite.
Our Set Up
In our pasture the animals have two options for shelter. One is a three sided old hay/equipment shed. It is fitted with large mangers we use to feed the cows. Unfortunately it is open to the North West, the absolute worst angles to be open to. That’s where the wind whips in from.
The second area our animals have for shelter is a stall in our barn. We have a large shop, half of which is outfitted with stalls. One stall has a small sliding door that opens to the outside pasture. The stall is more secure than the hay shed shelter, but it also doesn’t allow for any sunshine to warm them up. The door, once again, faces North. When really cold winds whip through about half the stall is covered in snow.
How to Build a Goat Door
Like all my construction projects I gathered up the supplies I thought I’d need and just dove in.
Supplies
- Wood Screws
- Cordless Drill
- 2 Heavy Duty Hinges
- 1 Latch
- Scrap wood or a 2×4
- Sawzall
- Circular Saw
- Hand Saw
Step 1: Measure and Cut the Hole
You’d think this would be a fairly straight forward part of the project. As always I had limited time and resources to make my goat door so things were of course complicated.
I selected a place in the wall to cut my door. If I were a professional, I would have used a level and measuring tape to mark out a square/rectangular outline to then cut.

Of course I didn’t do this. I just eyeballed it. But you should measure.
My biggest struggle was trying to make the first cut into the wall. This is largely because apparently my battery charger isn’t working, so I only had a half charged battery to do the cutting and screwing for this entire project.
Still, I managed to cut a slice into the wall with the circular saw. Then I used the Sawzall to cut the rest of the opening.
That is, until the battery died completely and I had to finish making the hole with a hand saw.
Step 2: Framing the Opening
My stall walls are made up of several 14ish feet wide boards. I realized as I cut through them that they were only secured at each end. They had no support in the middle. This left the boards flopping on either side of the opening.
I used two pieces of 2×4 on either side of the opening. Both the bottom and top stall boards were still intact, so they made a good anchor point for the frames. I screwed the floppy ends of the board into the 2×4 and everything was solid again.

3. Making the Door
I took the wood pieces I cut to make the hole and laid them out just as they were when they were in the wall.
Next, I placed a cut piece of 2×4 down each side and a smaller diagonal piece in the middle. I secured these in place with screws.
I secured two heavy duty hinges on top of the door. Like all my construction projects seem to be, this thing is hefty.

4. Hanging the Goat Door
This was the most putzy part of the project. It was obvious right away that the door wasn’t going to just sit easily into place. This was for two reasons. One, I didn’t have the door boards perfectly flush together when I screwed them into place. This was almost impossible to do though because of my second issue: I had cut the door at random angles.
Between my circular saw, the sawzall, and in the end my hand saw, I don’t think a single board was cut perfectly straight.
Imagine cutting the top of a pumpkin when you carve it. If you slice straight down, the pumpkin top/lid will just slip right through. If you cut it at a slight angle, the lid will stay in place because the angles prevent it from slipping.
I had cut my door like a Halloween pumpkin and now it wouldn’t fit in its hole.
Cut to a half our later of shaving of a board here and a board there, I was able to fit the door in place. I screwed the hinges to the wall, then screwed in a simple latch that hooks on the hog panel that makes up the top part of the stall wall.

Does the Goat Door Work?
I’m happy to say that it perfectly does its job. The goats ran through immediately, pleased with their new domain. The cows were furious.
This project and how I did it was very specific to my farm. How my stall walls are built, the layout of the barn, etc. These exact steps might not work for you but the general idea might.
One important thing I will mention, is to make sure your door latches upwards in a way that has it flush to the wall. If it hangs down at all it might make a tempting platform for the goats to jump on.
I intend to add two flaps of black rubber over the door as well. That will make their stall completely wind proof.
Check out my instagram for a video of the girls running through!

Pin it for Later

Looking for more goat projects? Check out my DIY Pallet Hay Feeder or Pallet Goat Shelter. Be sure to visit the raw milk section of the blog for goat cheese recipes!


