How to Make a Simple Herbal Balms for Beginners
Years ago, I started making my own custom herbal balms to fill my medicine cabinet.
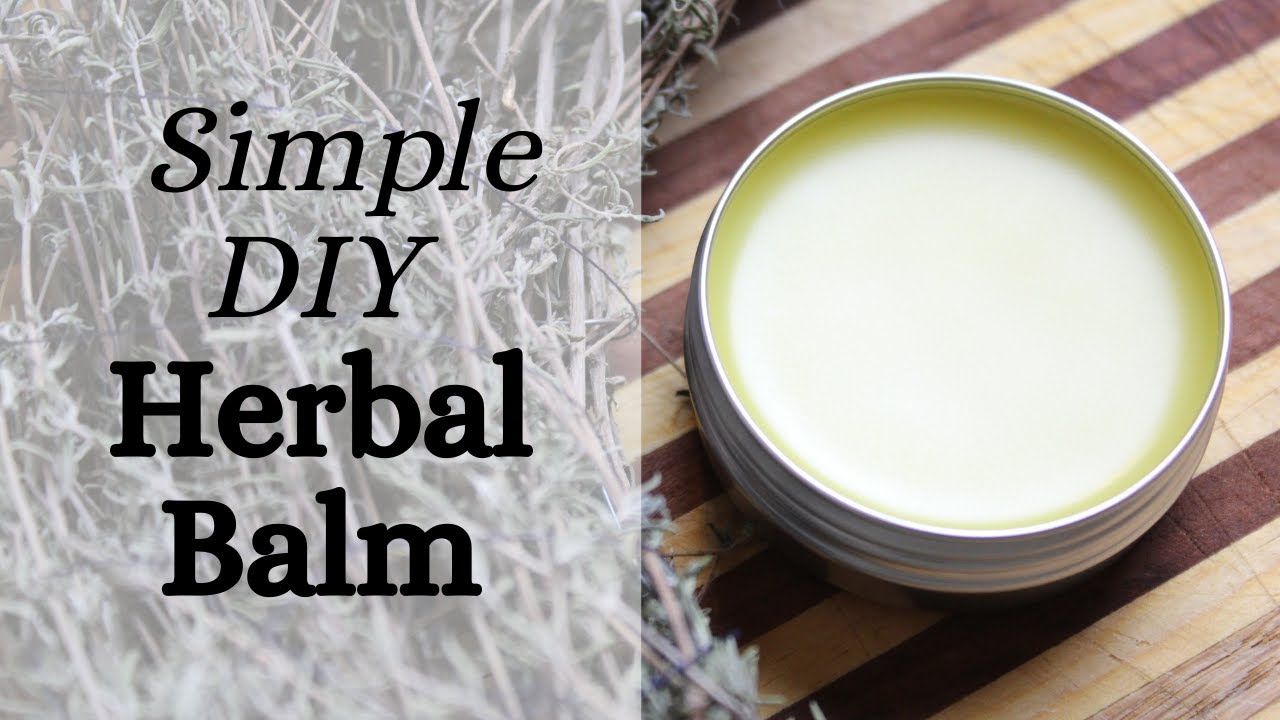
This simple herbal recipe is a great way to make your own healing salve for your first aid kit—the natural way. It is SO simple and works wonderfully. Here’s an easy guide with straightforward steps on how to make a highly effective herbal balm.
What is a Balm?
Balms have been made for centuries by combining medicinal herbs, oils, and typically beeswax to make an ointment for your skin with a wide variety of topical uses. Depending on the herbs used, you can customize it for whatever you want, such as soothing burns, calming minor skin irritations, helping with insect bites, acting as an all-around antibacterial, etc.
They are VERY easy to make and, honestly, somewhat addicting once you’ve whipped up a few.
What is the Difference Between a Balm, Salve, Ointment, and Butter?
For the most part, the difference is going to be texture and moisture. A balm is fairly solid—think of a lip balm. Once you smoosh it up or add warmth to it, it will soften.
I would categorize a salve and ointment as the same thing. They tend to be a goopier consistency—think of a petroleum jelly.
A butter is usually made of pretty similar ingredients but will have cocoa butter, shea butter, etc. in the mix. Butters have extra moisturizing qualities. The ingredients are all whipped up (hand mixers work well for this) until they are the consistency of a thick whipped cream.
This post contains affiliate links, which means I make a small commission at no extra cost to you. See my full disclosure here.
Popular Herbs for Making Balms
One of the great things about making your own balms is you can grow many of the common balm One of the great things about making your own balms is you can grow many of the common balm ingredients yourself! Here are a few good options for herbs you might want to grow or forage to use in your balm making.
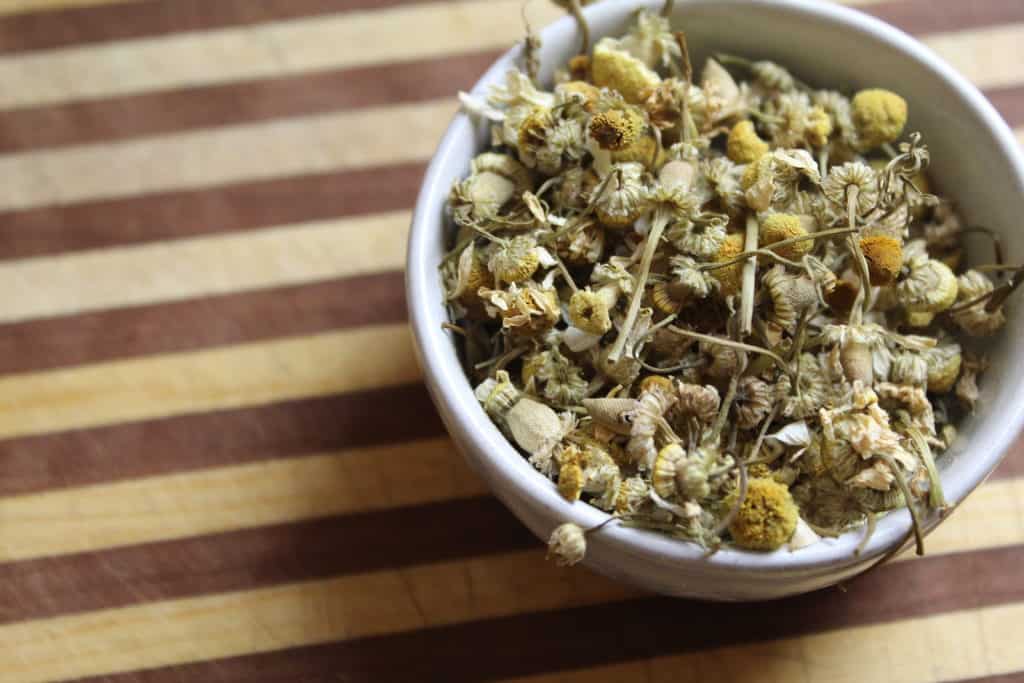
- Chamomile – anti-inflammatory, anti-fever, excellent for arthritis
- Calendula – promotes cell repair and growth as well as antiseptic and anti-inflammatory
- Plantain leaf- bug bites, plant stings, blisters, and other skin irritations; also helps staunch bleeding.
- Jewelweed – Poison Ivy antidote
- Peppermint- Relaxes muscles, helps to relieve cramps and spasms
- Lavender- Calming, antibacterial, antifungal, antiseptic
- Chickweed – Skin irritation, inflammation, rashes, itchiness
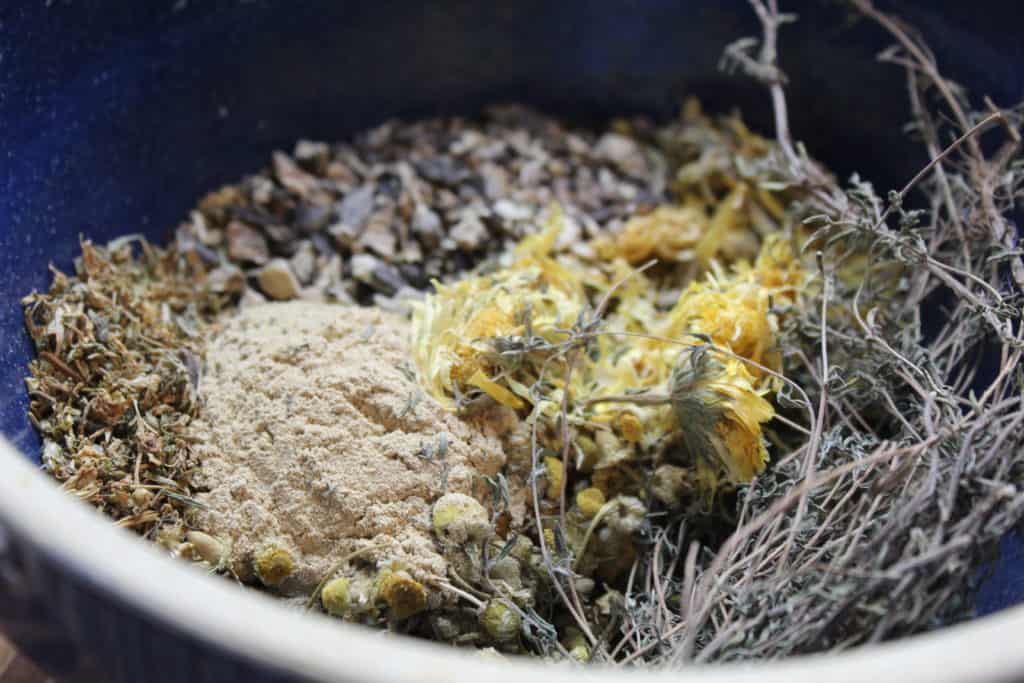
Virtually any dried herb with the medicinal properties you are looking for can be used in your balm recipe. Experiment with different herbs for different healing purposes!
Should I use Fresh Herbs or Dried for Balm Making?
While fresh herbs are great for culinary purposes or making a fresh poultice, dried herbs are what you want for balms and salves.
Since you first have to make an herbal oil infusion, the herbs steep in oil for about two weeks or more. The moisture content in the fresh herbs can cause the oil to spoil faster and get a rancid smell.
Dry Your Own Herbs
You can easily dry your own herbs by hanging them in small bunches, spreading them out on clean towels, or putting them in your dehydrator using the herb setting.
If you dry with out a dehydrator, make sure they are in a well ventilated space and turn them over a time or two as they dry.
Once they crumble easily they are ready to use.

Where to Purchase Herbs for a Simple Herbal Balm
If you’d like to buy herbs rather than grow them, I typically use Frontier Co-Op or Starwest Botanicals.
I tend to have better luck with unique herbs from Starwest so I’d say the bulk of what I buy comes from there.
Ingredients and Supplies for a Simple Herbal Balm
Ingredients
- 2–3 cups of the dried herb of choice
- 1 quart of organic olive oil
- Vitamin E oil
- Beeswax
Supplies
- 1 quart mason jar
- Lid for mason jar
- Scale
- Double boiler
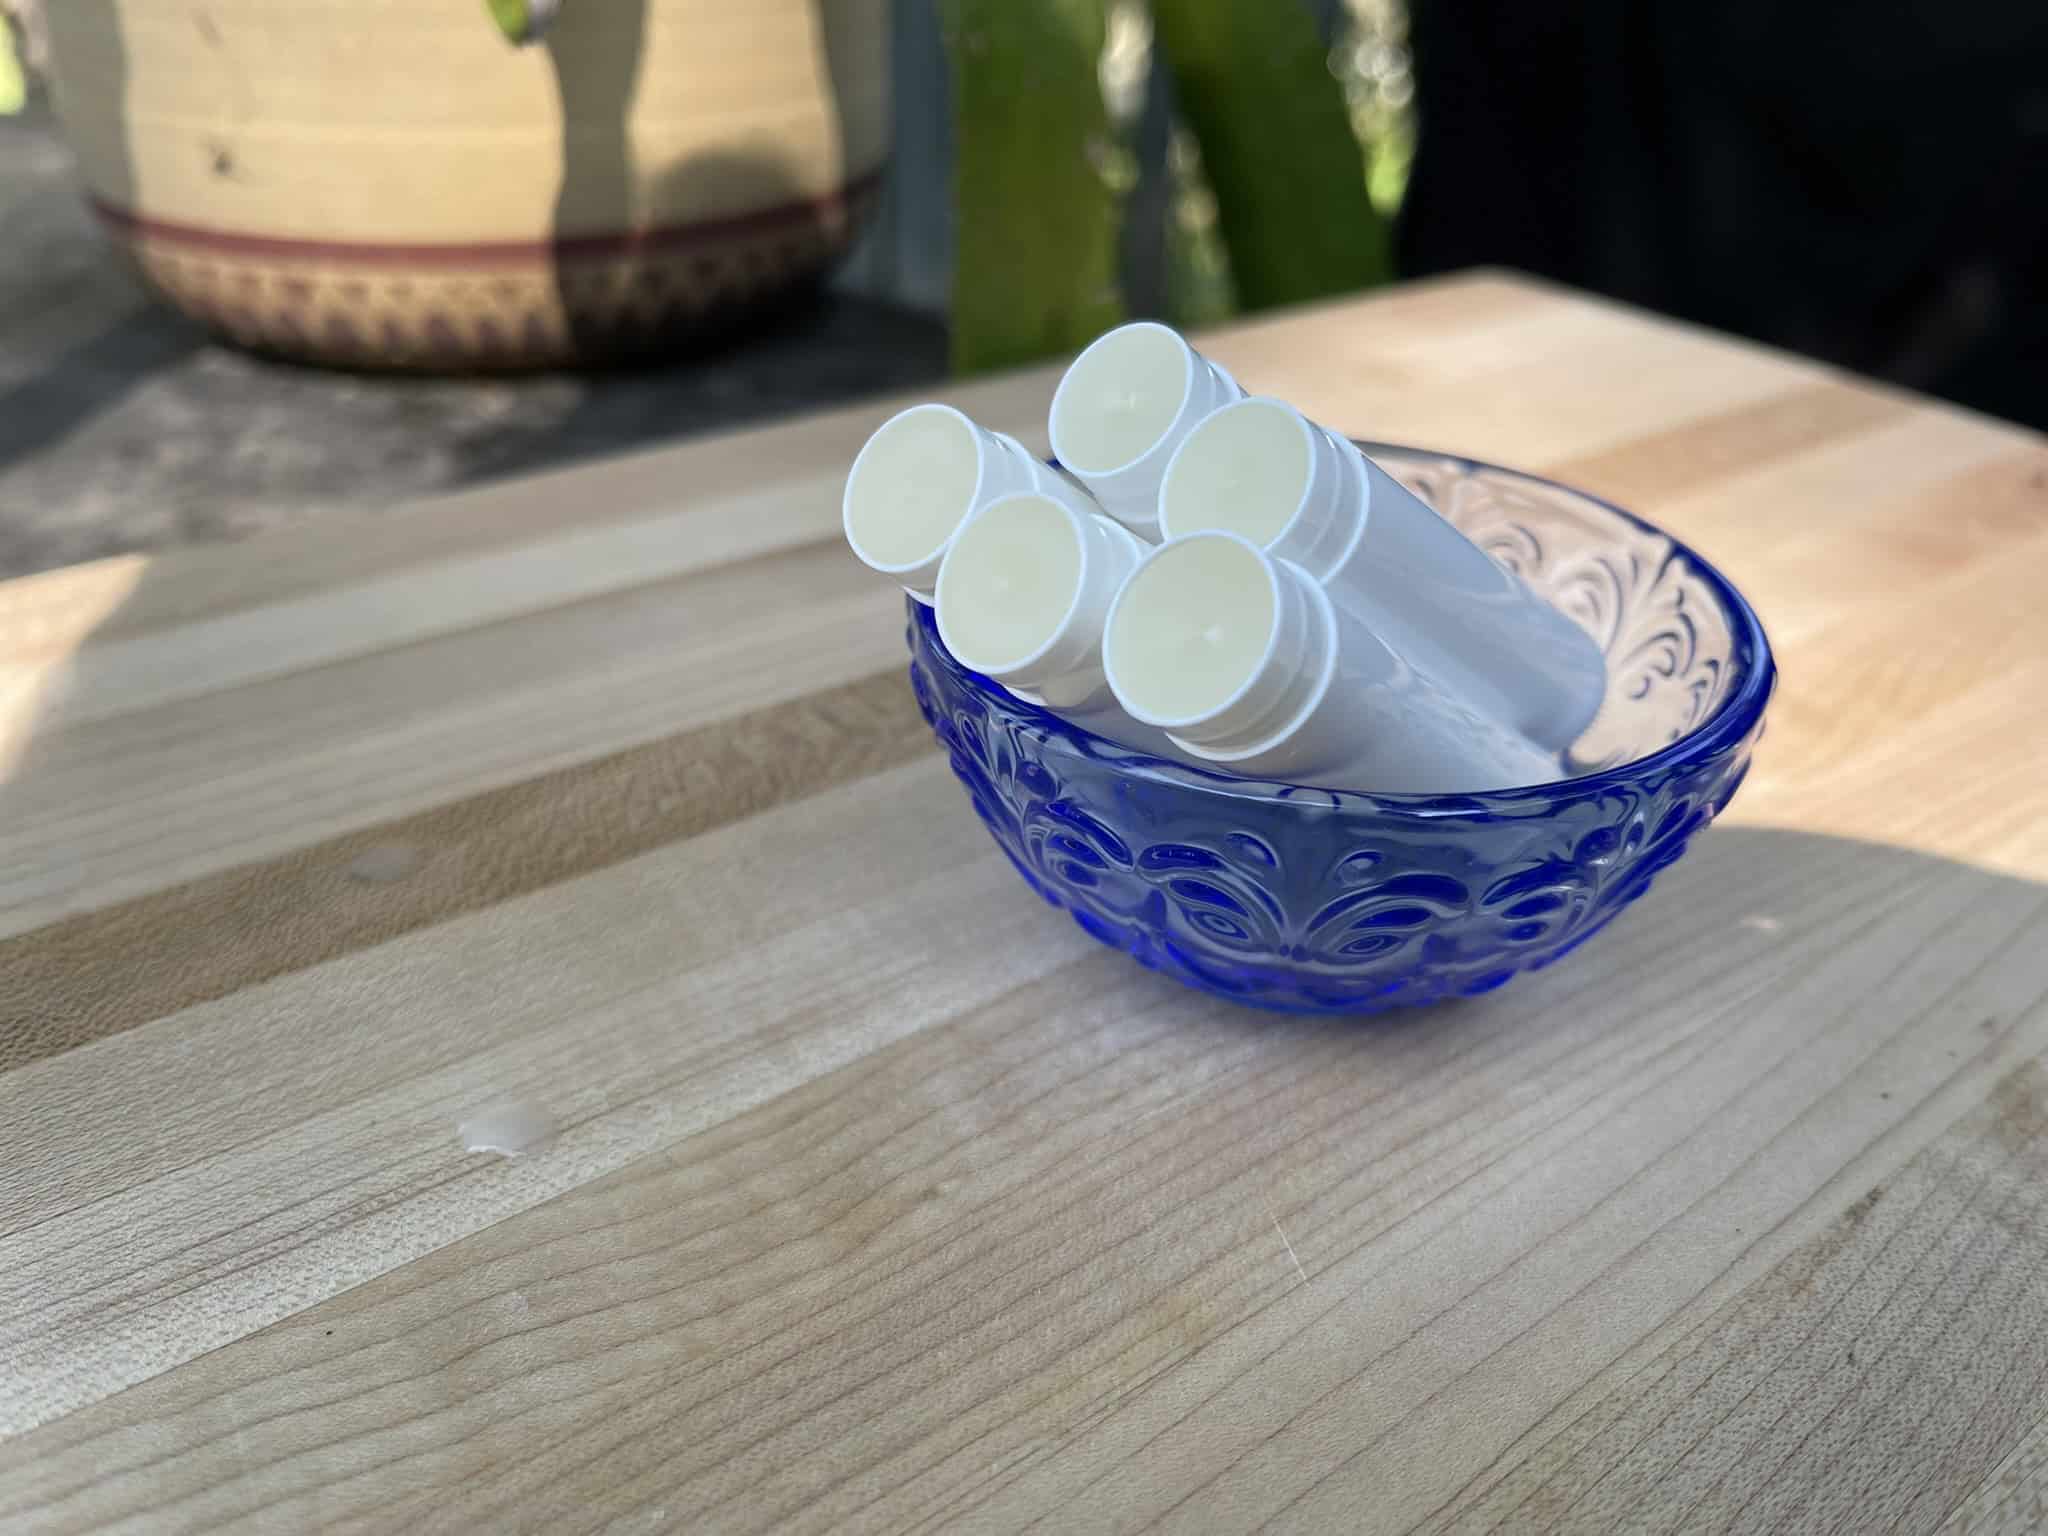
- 2 oz tins or glass containers (4–6 count)
- Popsicle stick
How to Make a Simple Herbal Balm
The first step in the process is to make an herb-infused oil.
Solar Method of Infused Oil
I like to make infused oils using the solar method.
Place the herbs of choice in a mason jar. I typically fill it up about 3/4 full. You can use one herb or blend several types together depending on what you want the oil to do. If it is your first time making a balm, try just one herb. I recommend starting with calendula or plantain. They are great all-around healing herbs.
Fill the jar until it is about 1/2 inch from the top of the jar.
Cap the jar, and give it a good shake. Then let it sit in a warm, sunny spot for two weeks.

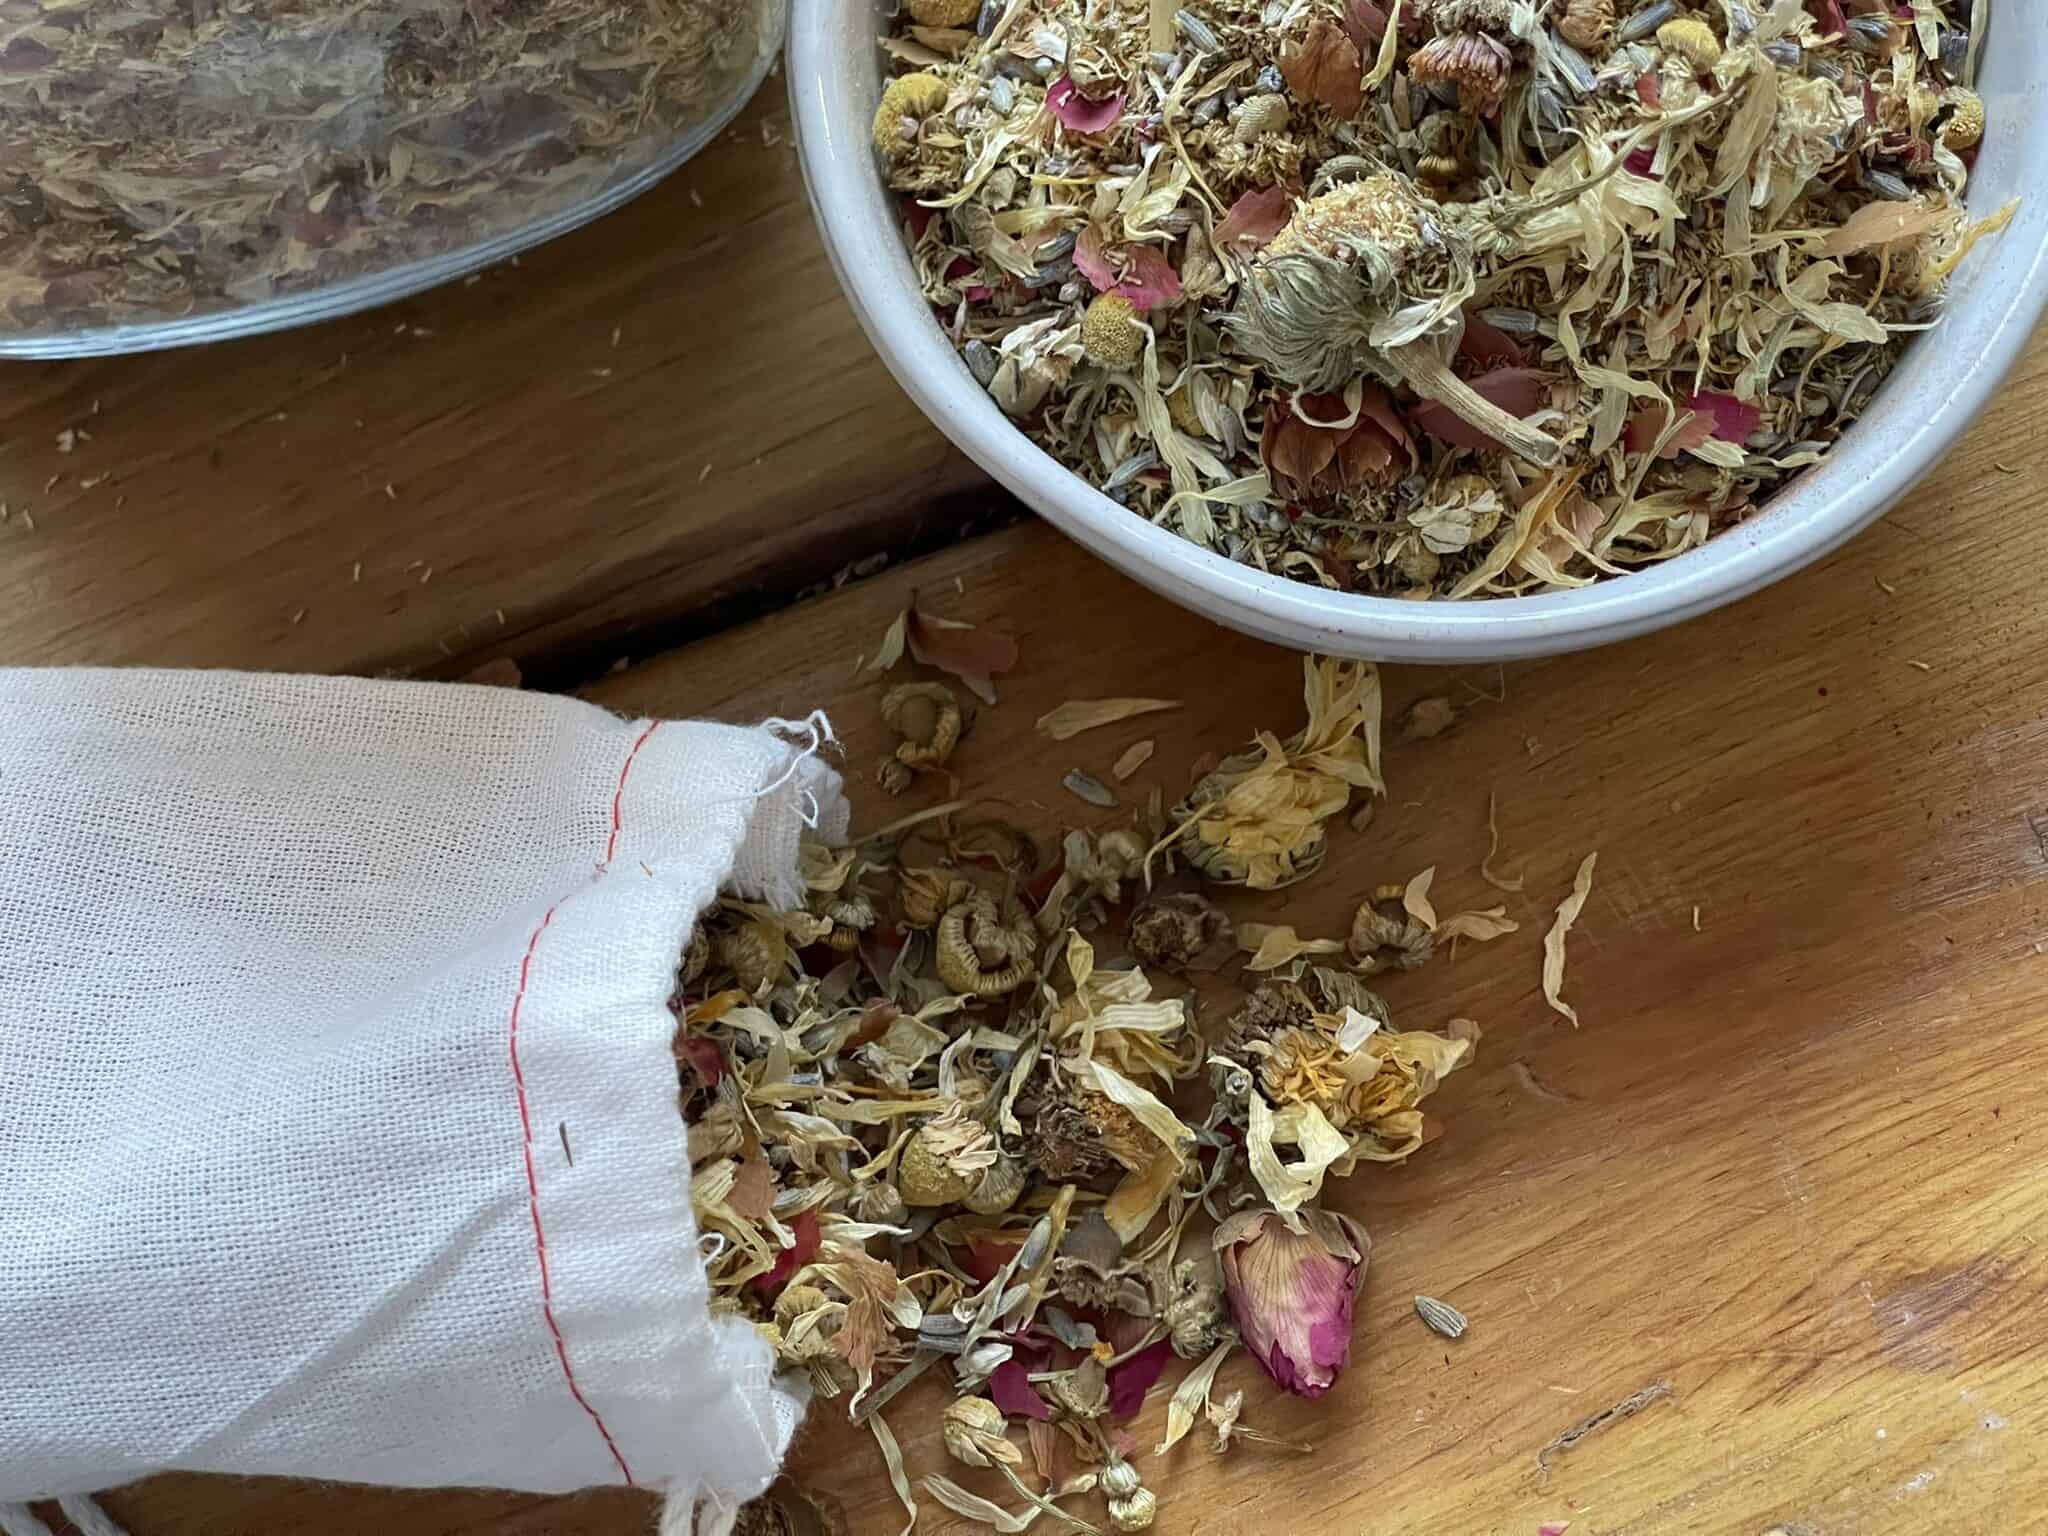
When you are ready to make a balm, strain off as much oil as you need for the recipe.
The reason why I don’t just strain the whole thing at once, is because the oil will not go bad with the herbs in it. Once you take all the herbs out you need to use up that oil in a few weeks or it will go bad.
Stove Top Infused Oil
If you want to “get on the get” and make your oil pronto, you can make oil infusions on the stovetop. For this, place your herbs in a double boiler.
Cover them with an inch or two of oil. Heat the double boiler to a low simmer and bring the herbs to somewhere between 95 degrees and 110 degrees F. Any hotter and you will cook the herbs, rather than gently coaxing their healing oils out of them.
Let them slowly steep for 30–60 minutes. The oil will darken or turn green or start to smell herby when they are done.
Strain the herbs and use the oil.
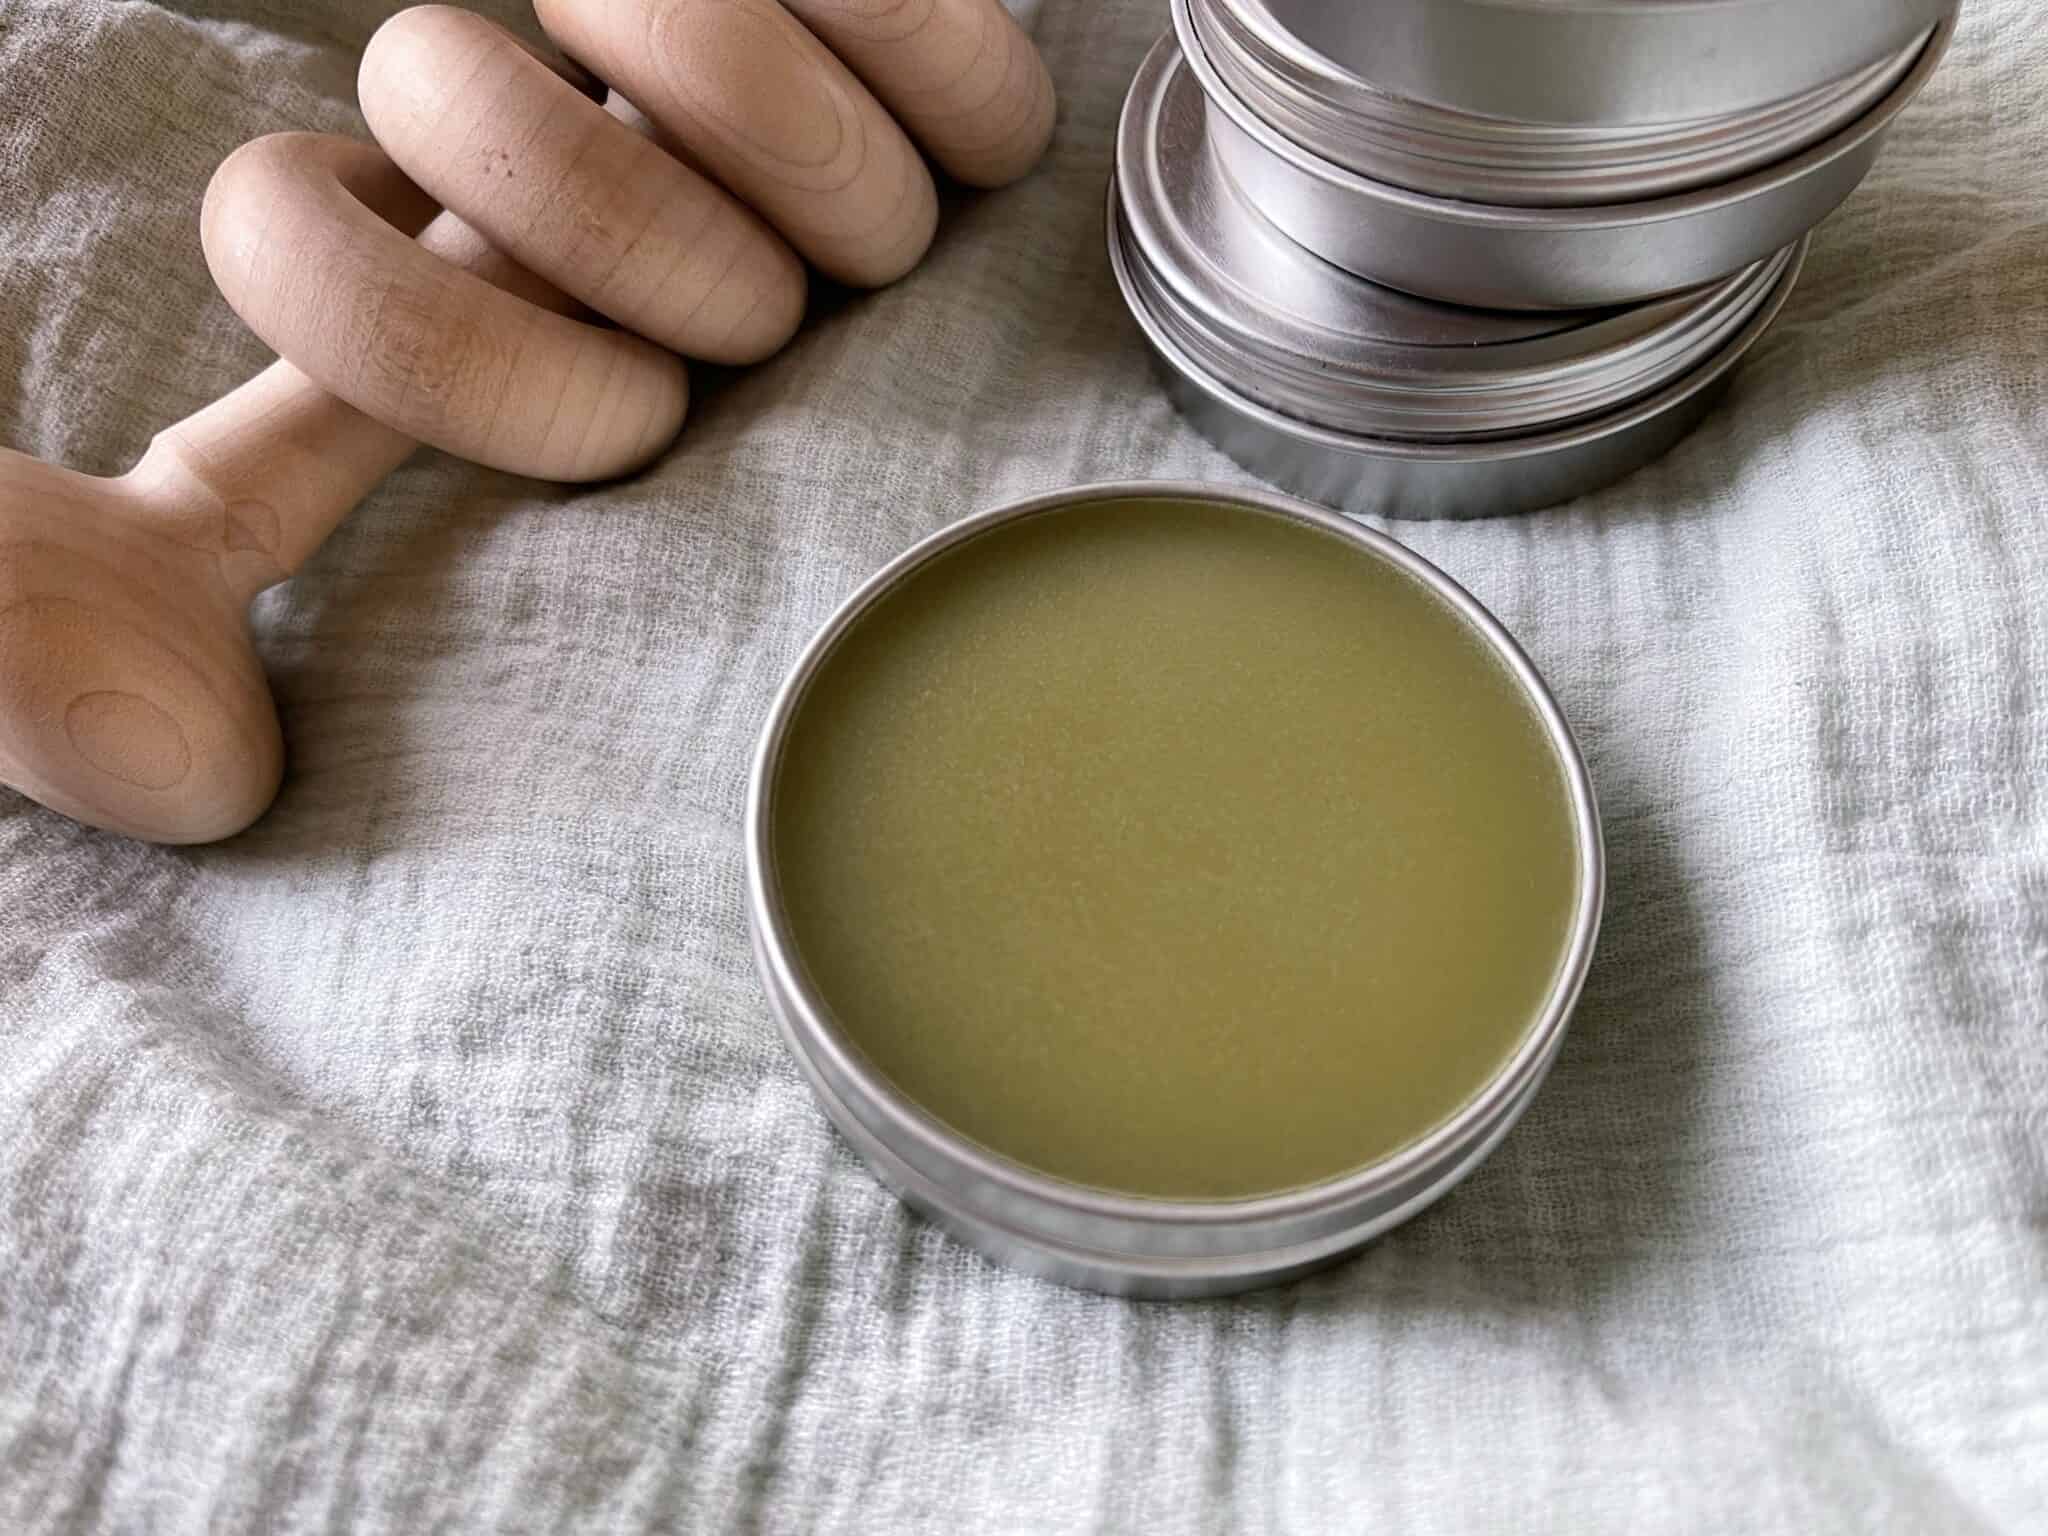
Making the Balm
In the double boiler, combine 40 grams of beeswax and 158 grams of herb-infused oil.
Stir now and again to encourage the beeswax to melt. I recommend using popsicle sticks for this. Beeswax is VERY hard to get off of things.

Once the beeswax is melted, remove the mixture from the heat and add 2 grams of vitamin E oil. This helps to extend the life of the balm, acting as a natural preservative and extending the shelf life. It also adds extra moisturizing benefits.
If you like, you can then add 1 gram of essential oil to the balm as well. For an easy-to-source oil, with a great scent, try adding a few drops of lavender essential oil to your balm. Stir well.
Pour the mixture into tins or glass jars. Do not use plastic as the hot oil will warp or melt the container.
Allow the balm to cool completely. Place the lid on, and then label and date.
A Word of Caution
Herbs should always be treated with respect so please be aware of any sensitivities you or others might have to the herbs and oils you use in your recipes. Please read my full disclaimer here.
Labeling Balms
If you intend to whip up a lot of balms and other natural products, you might want to make your own labels. I highly recommend using Avery labels and their free design software. (Side note: homemade herbal balms with pretty labels make great gifts!)
Adding Essential Oils
You can add essential oils to your balm if you wish for scent and also for medicinal purposes.
Please do not use more than a 1–2% dilution rate if adding these in. That means if your balm mixture weighs 100 grams, you should add no more than 1–2 grams of an essential oil.
Shop this Post & Information Sources
Please support your local bookstores, shops, and beekeepers! If you are in a hurry to whip up a simple herbal balm, you can also buy these from these Amazon links below.
- Beeswax Alchemy by Petra Anhert
- Rosemary Gladstar’s Medicinal Herbs: A Beginner’s Guide
- Tins
- Beeswax
- Organic Olive Oil
- Vitamin E Oil
- Avery Labels


One Comment
Comments are closed.