Feed Sack Tote Bag
Making a feed sack tote bag is a relatively simple sewing project anyone can do! So many feed sacks just end up in the garbage, why not up-cycle one and make a functional and cool bag out of it?
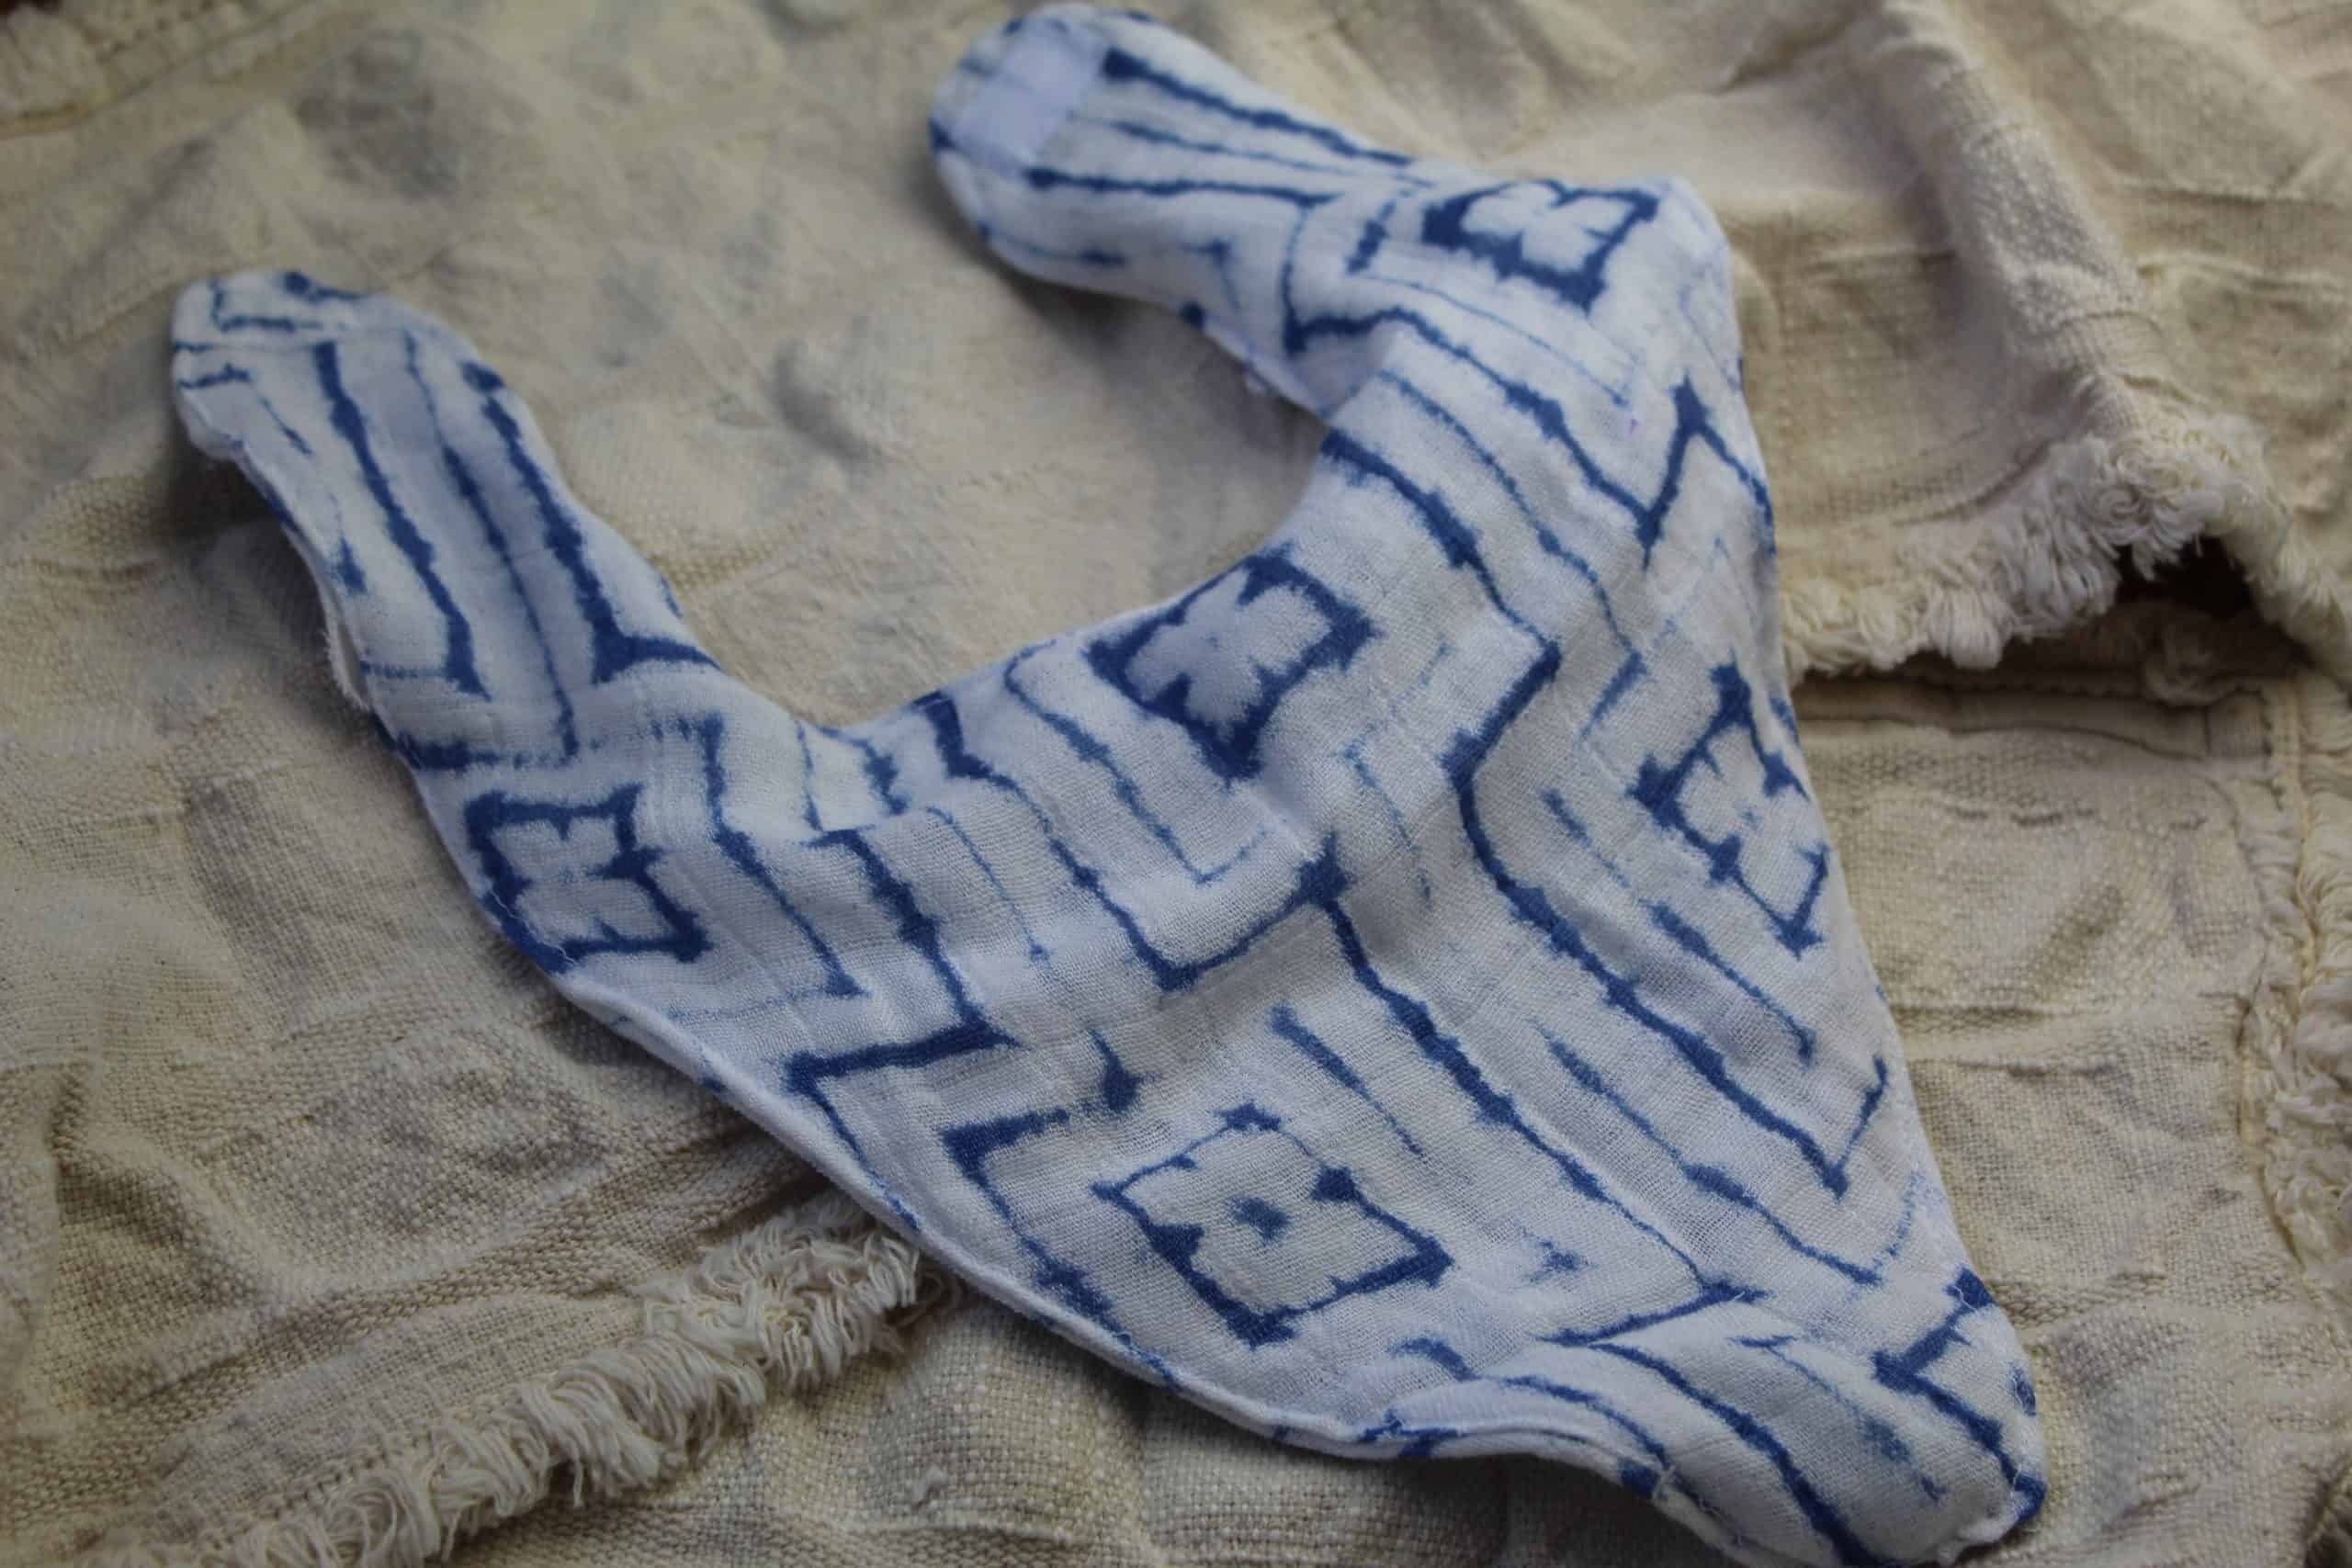
Full disclosure, this is technically an old compost bag and not a feed sack. BUT! It is made of the same poly material and the design was just so darn cute I couldn’t help myself.

Since I’m being honest, I should also say that I am the LAST person who should be making a sewing tutorial. I just got my sewing machine a few months ago and I am definitely still learning the ropes. So far I have made a couple of aprons, reusable popcorn bags, patched up some jeans, and these totes.
If you are an experienced sewer reading this tutorial I guarantee you are going to find a lot of errors. If you have suggestions for ways to do it better, please let me know in the comments! I’m teaching myself to sew via YouTube for the most part so I am far from knowledgeable on this topic.
That’s not going stop me from sharing my method for making this cute tote bag.
Getting Started with your DIY Feed Sack Tote Bag
Before you start this project, a word of warning. Poly bags are made of a woven plastic like material. As you make cuts, it is going to un-weave itself at an incredibly frustrating rate. While this project is a simple one, you need a certain amount of zen/patience when tackling it.
Supplies
- Feed sack or compost bag like pictured
- Sewing Machine
- Thread
- Scissors
- Pins
How to make an Up-Cycled Tote Bag
Important Tid Bit
This is the first and most important thing, DON’T PULL LOOSE STRANDS. As I mentioned above, this material is going to unweave itself at an alarming rate. Don’t pull any loose pieces until everything is sewn into place. Trust me on this one.
First Steps
Prep your bobbin and thread your machine. You can use whatever thread you like. I recommend a polyester.
Lay your bag out and take a look at the design. For my tote, I knew where I roughly wanted the top and bottom to be. Since mine has a clear design and a bag I can see easily through, I didn’t have to make any marks.

If the bag is made of a dark material, make a very small snip in the edge where you intend the bottom of the bag to be. Do the same where you’d like the top of your bag to be. Remember, we are going to be making some hems so leave about 1.5-2 inches of extra space.
Turn your bag inside out.

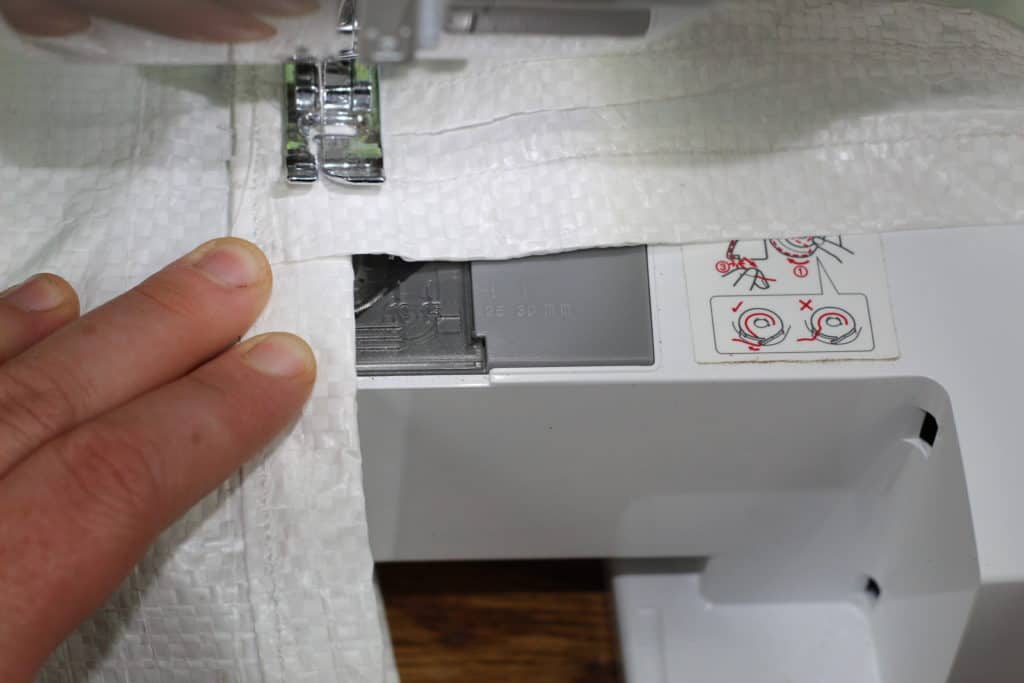
Next, sew a simple straight seam across where you’d like the bottom of your bag to be. The best way to keep a straight seam is to pick a row of weaving and follow along that.

Now, cut off the excess bottom, leaving about 1/2 inch between the new end of your bag and your straight seem.

Switch your machine to the zig-zag stitch.
Run that little bit of excess through on the zig-zag to tighten up your hem and reinforce the bottom of your bag.
Next, cut off the top portion of your bag. If you made a little snip before, this is your cutting spot. If you didn’t, look at where you’d like the top of you bag to be and cut a little above that to allow for hemming.

Now you should have the body of your bag, and a smaller tube type part that that is about to become your straps.
Making the Tote Bag Straps
Take the tube and cut across one end, breaking the loop.


Next, leave it folded, and from the end that is still connected, cut right down the middle, longwise.

You now have two straps.

Take one strap and fold down the edge about 3/4 of an inch, then fold it over on itself. Crease it like you would a piece of paper and it should keep its positioning pretty well. If you’d like to use pins, feel free. Run this through your machine.

Do the same with the other side. I do not recommend creasing and folding the other side until you are ready to sew it. The less you handle this material the better it will stay together for you.
Repeat this with your other strap piece.

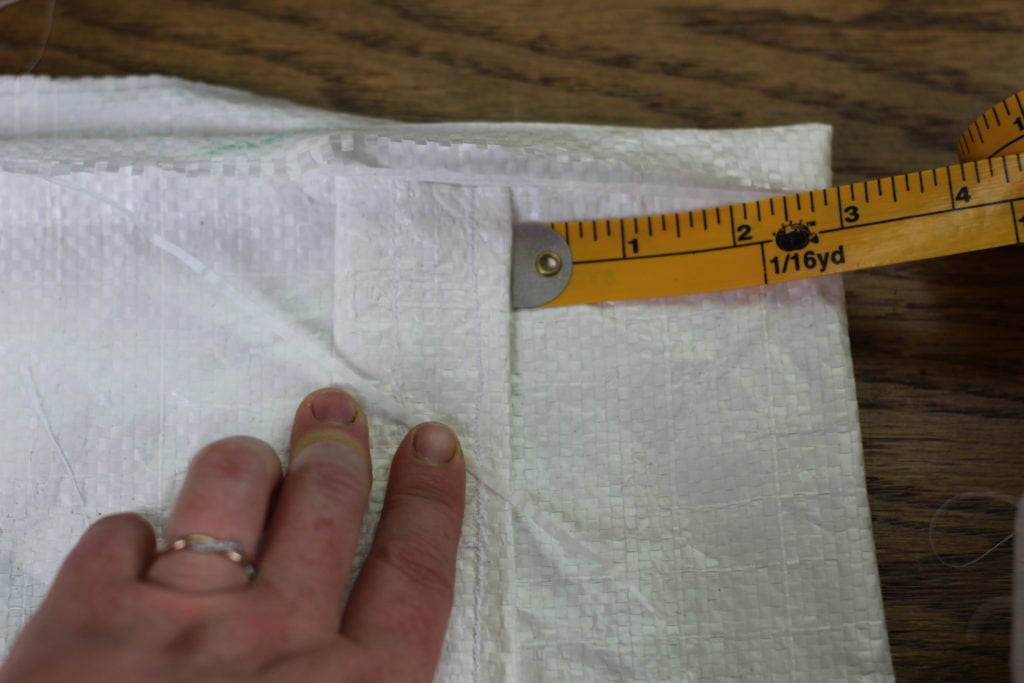
Lay your bag out and fold over the top part of your bag to create a hem, about 3/4 of an inch. I placed my handles so the outside edge is about three inches from the edge of the bag. Tuck the end of a strap piece in under the hem, right side (the pretty side) up.
Fold your hem over again.

Now flip your handle up while holding the hem in place. Pin the strap.

Take the other end of the strap, and repeat the same thing on this same side of the bag.
Flip your bag over and do the same process with your other strap.
Make sure you fold your hem down all the way around the bag so it is even.
Finishing Up the Feed Sack Tote Bag
Now you can sew your bag inside out, which is what I do, or at this point you an flip it right side out. Your call.
Run a straight stitch all across the edge of your hem, doing the entire top of the bag.

Next, I do the same thing along the top edge of the bag. This makes it so the handles are sewn on in two places and gives a consistent look all the way around. If you wanted to, you could just do another row across the top hem where your straps connect.
If you haven’t yet, turn your bag inside out. Finally, trim away any of the loose bits that you are bound to have.

Pin it for later!