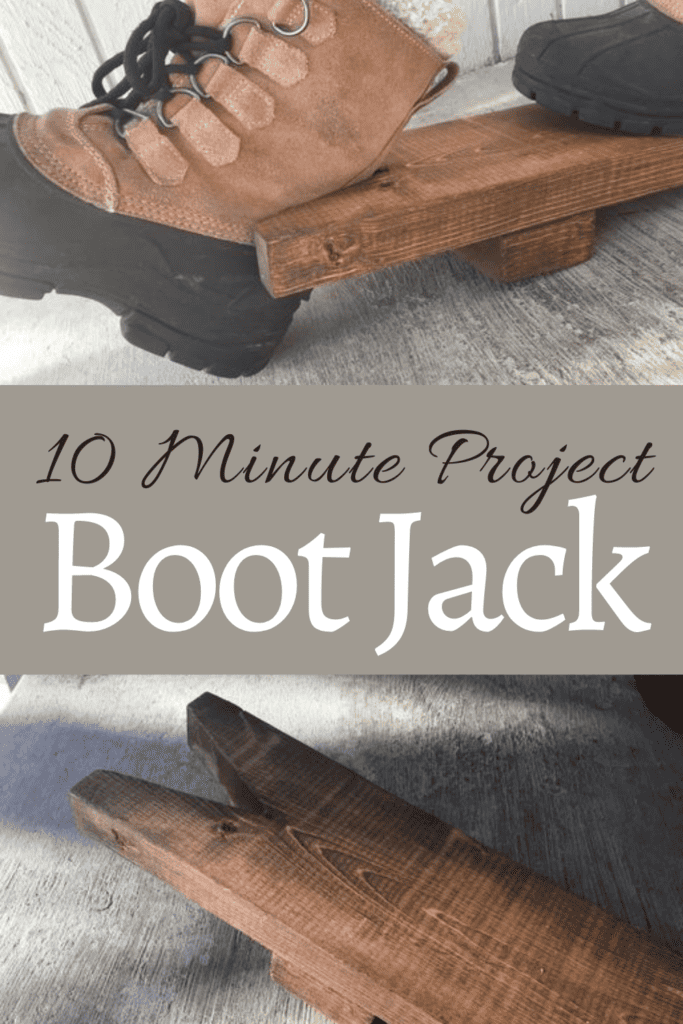
Make a Simple Boot Jack
After years of getting my socks dirty when prying off my muckboots, I finally decided to make a simple boot jack.
What is a Boot Jack?
This basic contraption is used to pull off your boots. It sits on the floor and has either a U or V shaped groove. You slide your heel backwards in to the groove, step on the back end of the boot jack, and pry off your boot.
Also called “boot pulls”, they are incredibly useful when pulling off cowboy boots or barn boots. There is no need to take off dirty boots with your hands, or sacrifice one sock to the dirt of the back of a boot.

How much does a boot jack cost?
Boot jacks are available on Amazon for $10 if you get a plastic one. The Ariat brand looks fancier but will cost you $20. Some very spiffy boot jacks will run you upwards of $100.
This boot jack didn’t cost me anything as I just used supplies and scraps I already had around the house. Even if I did buy the supplies I would say it cost less than $5.
Why make your own Boot Jack?
I love being able to use old scraps to make cool and useful things. This build took minutes to pull together and created something that I will use twice a day every day.
When I was telling my friend about this project, her eyes got wide and she said “that is EXACTLY what me and the boys need!” That makes me think a boot jack like this would be an easy but thoughtful gift you could give a friend.
With a wood burner or some creative paint work you could customize it and make it even more special.
This post contains affiliate links, which means I make a small commission at no extra cost to you. See my full disclosure here.
Supplies and Tools to Make Your Own Boot Jack
If you are familiar with any of my other construction/carpentry projects, you know they are typically successful but always a bit haphazard. I was pleasantly surprised that this project came together in about ten minutes and I think looks pretty darn good.
Tools
- Circular saw or similar
- Sand Paper
- Sponge – for applying stain
- Drill
- Pencil
- Measuring Tape
Supplies
I was able to gather these up just from leftovers I had sitting around the barn and shop.
- Board
- 2 Long Screws
- Wood Stain
How to Make a Boot Jack
First, select the board. Mine was 5.5 inches wide, 1.5 inches high, and about 21 inches long to start.
Next, determine how large you want the opening of the jack to be. To determine this I held the back of my boot to the end of the board.

I measured from the side of each board in one inch and made a mark.
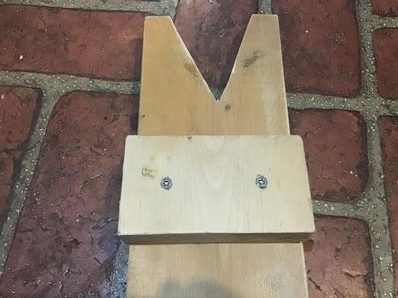
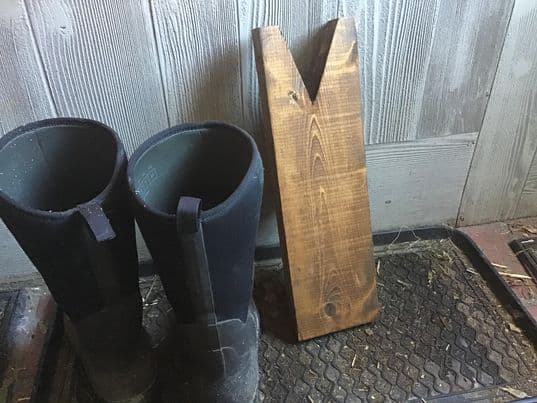
Then, I used my pencil to connect the two points in a V Shape.
I followed the lines and cut out the V.
Next, I cut 3 inches of board off the opposite end. This left me with a platform of 18 inches and a 3 inch block.
Using a fine grit sandpaper, I sanded down the entire board and the block. Make sure to pay extra attention to the inner part of the V. Rough patches may scuff boots.
Then, I flipped the board on its back and placed the smaller block on it. I drilled two pilot holes, then screwed the block into place.
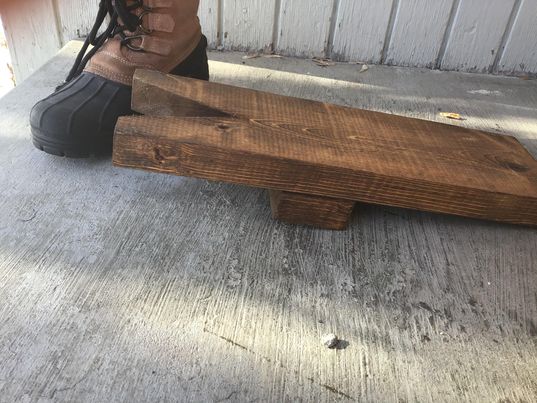
Next I stirred up my small container of stain and applied a single coat using a hunk of kitchen sponge.
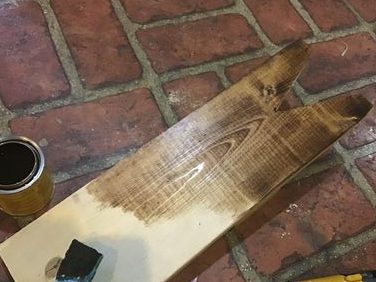
I left the boot puller to dry for a few hours. At this point I could have added another coat of stain if I wanted but I liked how it turned out after one coat.
Now my boot puller is ready for action!
Shop this Post
- Sandpaper
- Stain
- Boot Jack – If you can’t be bothered to make one (I totally get it) here is a simple plastic one or this wood one from Ariat.
While you have boots on the brain, why not whip up a beeswax boot balm/protector?
Pin it for Later