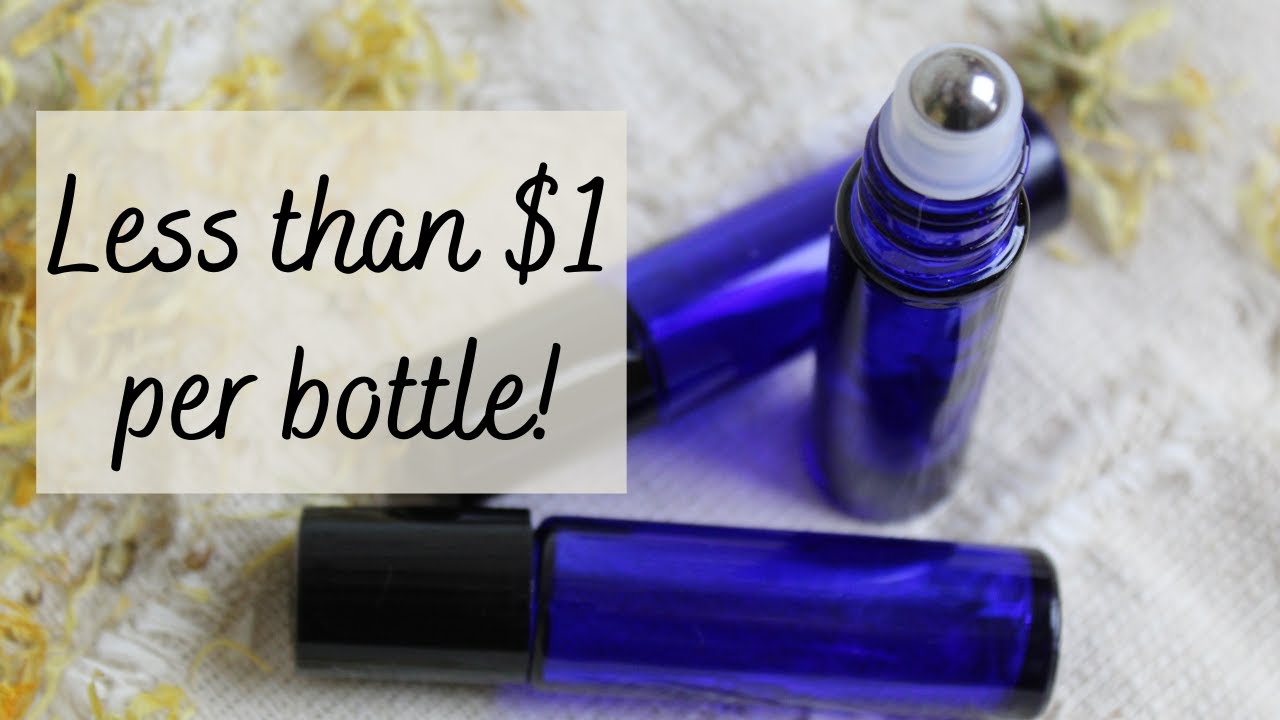
Essential Oil Roller Bottles
Making essential oil roller bottle is incredibly easy. You can make dozens of custom blends for less than half the price of buying bottles from the store. Let’s dive in!
What are Essential Oil Roller Bottles?
They are typically around 10 ml glass bottles with a cap. Inside they have a blend of carrier oils (we’ll get to those in a minute) and essential oils. The top of the bottle has a small ball attached to it, usually metal or plastic. This allows you to disperse just a small amount of essential oil by running the roller ball on your skin.
What are Essential Oil Roller Bottles Used for?
There are a ton of uses for making your own roller bottles. Some things that I have use them for are:
- Aromatherapy – The bottles make it easy to take aromatherapy on the go. The container is small, sturdy, and secure, so you can easily pop it in your purse or even your pocket. These are a great tool for expectant mothers needing lemon, lavender, or peppermint oil to breathe in for nausea relief.
- Physical Application – Perhaps you’ve found a certain blend of essential oils helps to relieve muscle tension. You can make up multiple roller bottles and keep them at home, work, or in your car.
- Perfume – I haven’t dipped my toe into this realm, but with these nifty bottles you can experiment with your own custom perfume blends.
- Bug Repellent – Another great use for these is to make natural bug repellent and carry it on the go. The bottles are small and strong enough you can give one to everyone heading out on a camping trip.
Where to Buy Essential Oils?
I personally like the Wyndmere brand made in Minnesota. Also the ArtNaturals brand. I do buy the NOW brand on occasion as well. I usually buy mine on Amazon or from our local health food store.
When it comes to essential oils, do a little research on the company you are buying them from. There really aren’t any regulations on essential oil contents and some shady people will take advantage of that.
Typically, I do not recommend buying the cheapest essential oils you can. If you look on Amazon and most of the peppermint oil bottles are $20, but one company has the same size bottle for $8, how is that company selling it so cheaply? They are cutting those costs somewhere, chances are decent it is in the quality of, or processing of the oils.
This post contains affiliate links, which means I make a small commission at no extra cost to you. See my full disclosure here.

Safe Use of Essential Oils
Essential oils are not just a fun scented thing that should be taken lightly. You always hear the comparison that one drop of peppermint oil is equivalent to 25 cups of peppermint tea. I haven’t found any academic sources to back that up but truly I wouldn’t be surprised if that were the case.
When using essential oils, always familiarize yourself with the oil and any contraindications it might have. Meaning any negative side effects. Some oils should be avoided during pregnancy and breastfeeding. Some oils will make your skin photo sensitive, so you will more easily burn in the sun.
Always do a small patch test before using large amounts of your blend.
Essential Oils with Children and Dilution Rates
If you plan on using essential oils with your children I highly recommend this great article from Johns Hopkins Medicine. It’s short, easy to understand, and gives very useful information. Here are the dilution rates they recommend for children:
- 3 months-24 months: 0.25%-0.5% (this would mean 1/2 to 1 drop of oil per 10 ml)
- 2-6 years: 1-2% (2-4 drops per 10 ml)
- 6-15 years: 1.5%-3% (2-6 drops per 10 ml)
- Over 15 years of age: 2.5%-5% (4-10 drops per 10 ml)
I’m terrible at math so here’s an easier way to look at it. 1 drop of essential oil in 5 ml of carrier oil = a 1% dilution.
So if you have a 10 ml bottle and you are making up a blend for your one year old, you would only put ONE drop of essential oil in it, MAX.
Johns Hopkins also advises NEVER using peppermint oil on children under three as it increases the risk for seizures. Always do a small patch test on their skin and wait a few hours before applying more.
Carrier Oils
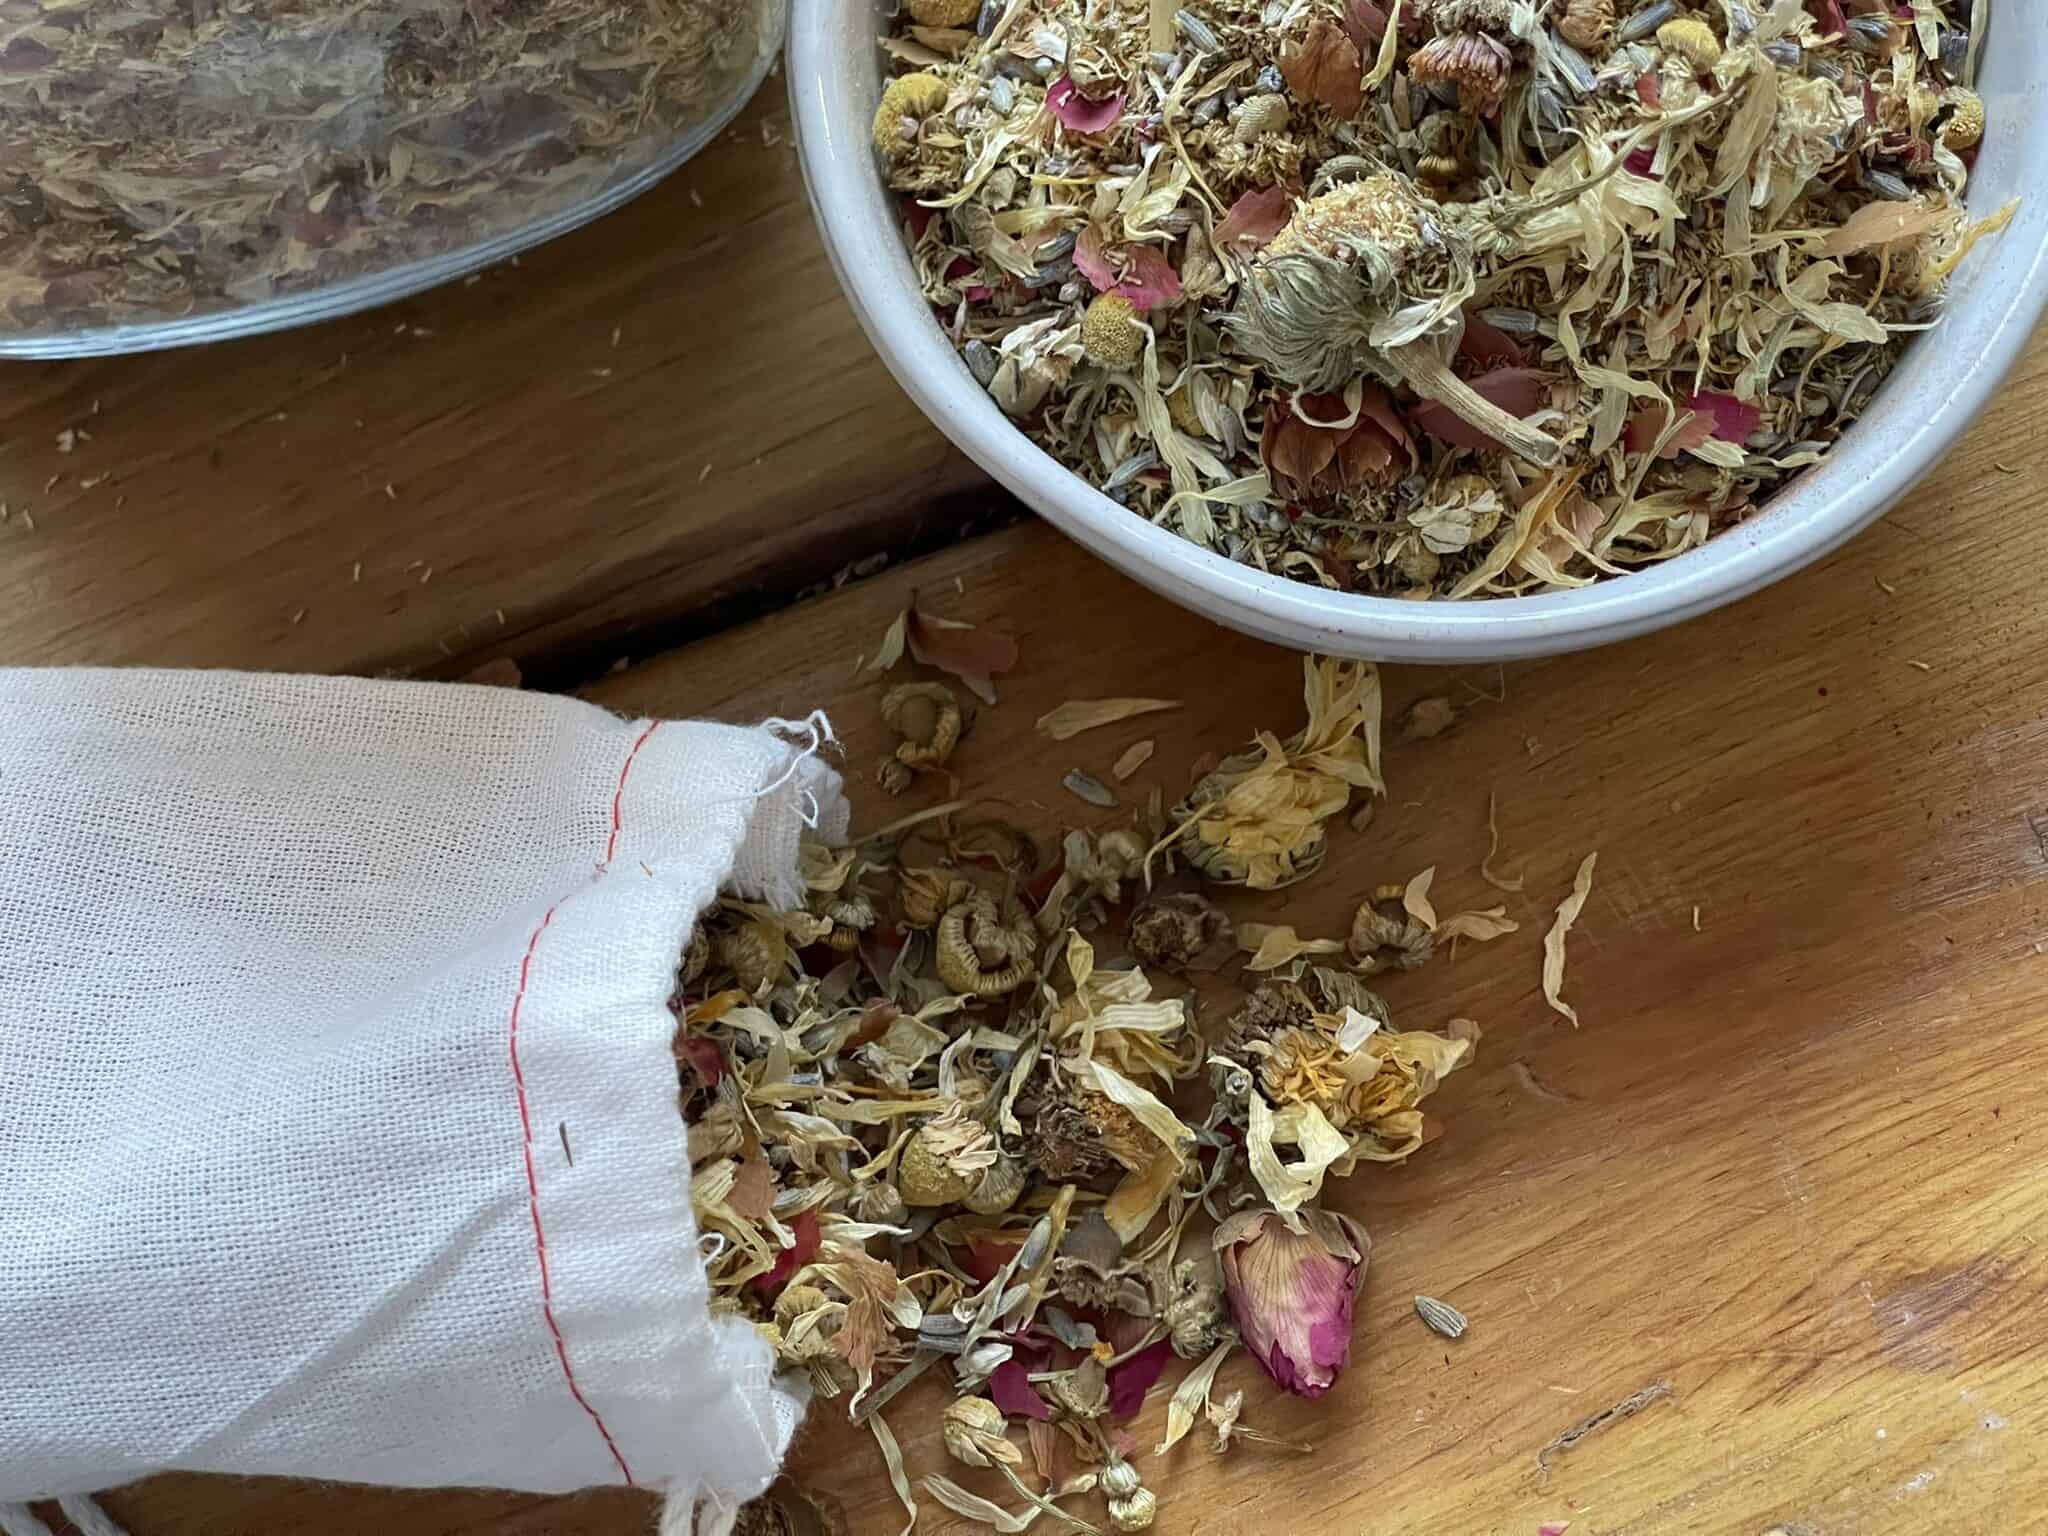
Essential oils should never be applied directly to the skin. They are incredibly potent and can cause skin irritation. Instead, essential oils should be combined with what is called a carrier oil. There are many options for carrier oils. Here are a few to consider. (Source: Aromatherapy and Massage for Mother and Baby by Allison England)
Sweet Almond Oil
Rich in vitamins and good for dry skin. A lighter oil that absorbs easily and can be blended with other oils.
Avocado Oil
This is a heavier oil and is often blended with others before use. It is good for preventing stretchmarks due to its easy absorption. It is high in protein and vitamins A, D, and E.
Grapeseed Oil
This is a light oil that is a good option for those with nut allergies. You can buy this oil in most grocery stores.
JoJoba
Jojoba (pronounced Ho-Ho-ba) is a waxier oil. It works well if your blend will be used on your face as it also can help with acne and unclogging pores. It’s also a good option for sensitive skin. It’s a great option for children.
Wheat Germ Oil
Wheat Germ is very high in vitamin E so it is good for stretch marks and healing scars. It is a natural antioxidant so it can also prolong the life of your oil blend.
The negatives of wheat germ is that it is a heavier oil and may have a smell that is unpleasant, depending on the oil batch.
Olive Oil
This tends to be an oil with a stronger scent. It can be beneficial for irritated or very dry skin.
Apricot Kernel Oil
Apricot kernel has no odor and is a good option for children or those with sensitive skin.

What Essential Oils Should I use?
This is a very big question that I couldn’t possibly answer accurately for you. I suggest finding a solid resource such as the Complete Book of Essential Oils or similar. I’ll be honest, I’m not a big fan of MLM’s that sell essential oils (for many reasons) so I do not usually use them as a resource for essential oil information.
Another good quick A-Z guide is from Wyndmere essential oils.
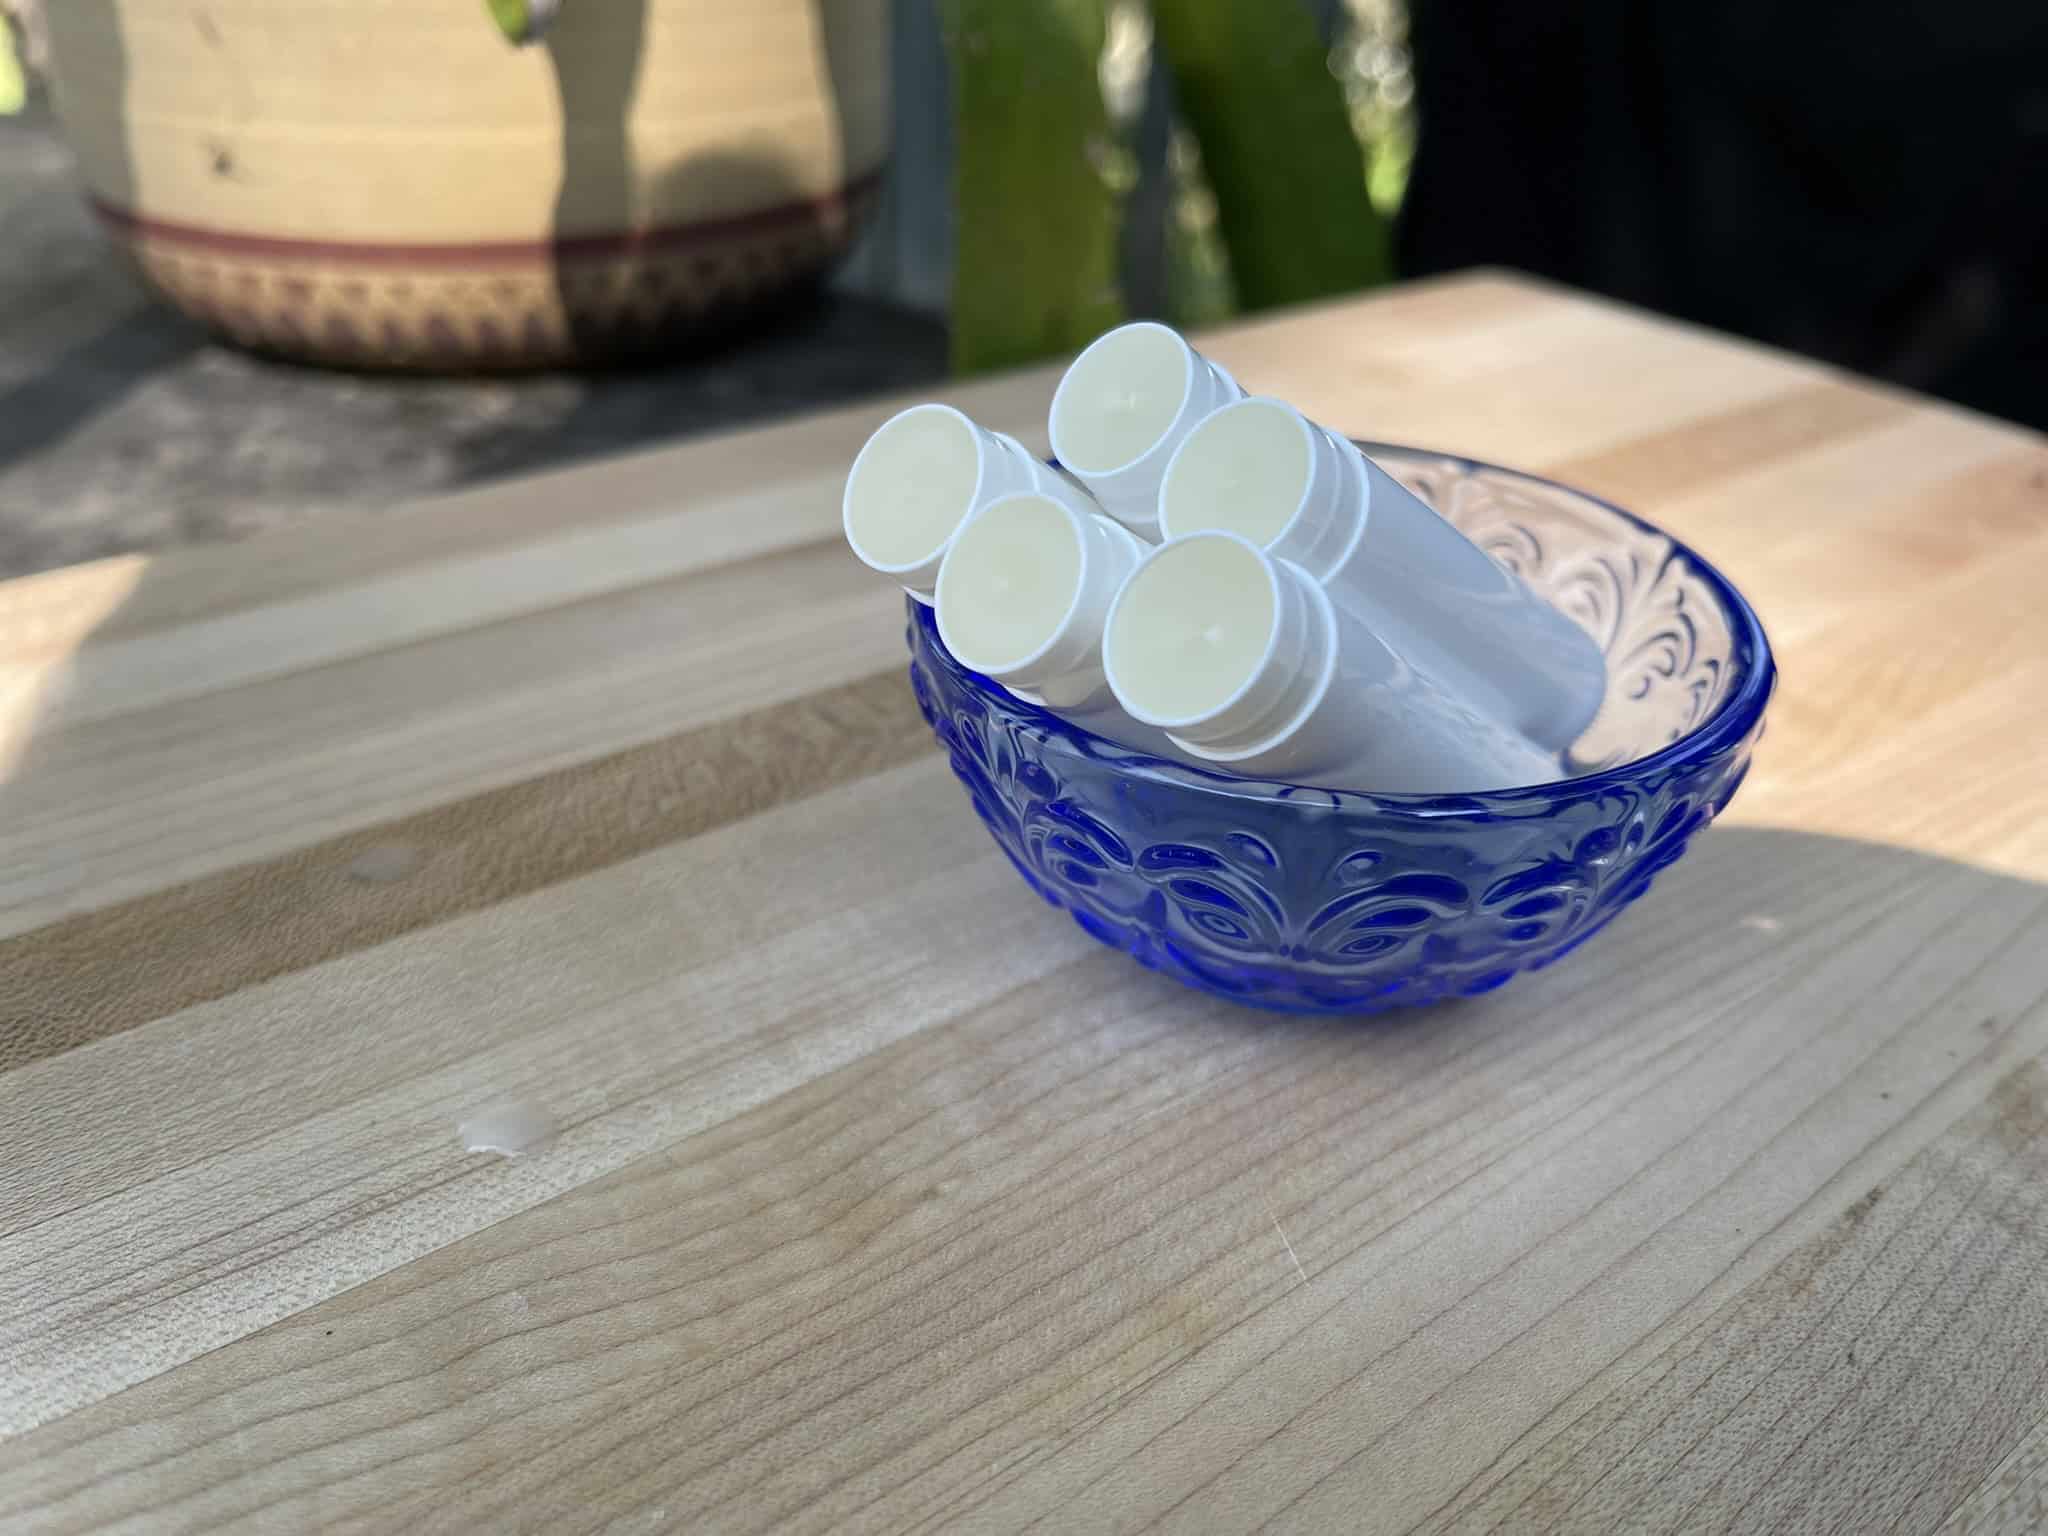
How to Make DIY Essential Oil Roller Bottles
Once you have decided on the carrier oil you want to use and determined the essential oils that are best for you, assembling them is easy as pie!
Simple remove the plastic screw top, then pop off the plastic seal and roller ball.
Using either the dropper cap on the essential oil bottle or an eyedropper, place the drops of essential oil in the bottle (based on the dilution we talked about above).
Take the carrier oil of choice, and fill the rest of the bottle.
Press plastic seal and roller ball firmly in place. Screw the cap on, then shake it up.
Label the bottle and either add the date right to the bottle, or note somewhere when you made that blend.
Oils unfortunately don’t last forever. If you notice a sort of rancid smell, dump out the oil blend (don’t even put oil down your sink) and run the bottle and parts through the dishwasher.
Shop this Post
If you’d like to try your hand at DIY Essential Oil Roller Bottles, here’s a good place to get started. As always, support your local businesses when you can.
- The Complete Book of Essential Oils and Aromatherapy
- Roller Bottles
- Wheat Germ Oil
- Avocado Oil
- Sweet Almond Oil
- Grapeseed Oil
- Jojoba Oil
- Apricot Kernel Oil
Watch and Learn
Pin it for Later


One Comment
Comments are closed.