One Jar Pickled Jalapeno Recipe
Sometimes you just have a little bit of produce you want to preserve. That’s where this one jar pickled jalapeno recipe comes in handy!
Jump to RecipeWhy just a one jar pickled jalapeno recipe?
There are always days when you have just a little more produce than you can use. Maybe it’s only a handful of this or that. One jar recipes are slick because you can toss that extra produce into a jar, add a brine, and suddenly that vegetable you are sick of eating has whole new taste and ways to be used.
These particular jalapenos were the last harvest from our garden before fall. If you garden at all I’m sure you’ve done the “first frost hustle”. Frost is in the overnight forecast so you find yourself out at dusk, scrambling around the garden to bring in the last of what’s good. We had about a quarter bushel of hot peppers that were a last minute rescue. After freezing a bunch for a future hot sauce I needed to use up just a few handfuls more.
Be Careful Pickling Jalapenos
Jalapenos are loaded with something called “capsaicin”, which is a chemical that gives them their spice. The inner part of the pepper, sometimes called the ribs, and the seeds are going to pack the most punch.
Personally when handling a lot of hot peppers I always wear gloves. One summer I helped a friend collect seeds from hot peppers and I wore no gloves. My finger tips burned for days!
Be careful around your eyes and other sensitive parts (I’m looking at dudes in particular here) even if you wear gloves.
Ingredients for Pickled Jalapenos
Pickling is a simple process. Here’s what you need:
- Vinegar (5%)
- Water
- Garlic (Optional)
- Jalapenos

Supplies for Pickled Jalapenos
Most people will have everything they need to make a one jar pickled jalapeno recipe.
- Small pot
- Strainer (if you use garlic)
- Gloves
- Knife
- Cutting Board
- Pint jar with lid
- Ladle (optional)
How to a Make One Jar Pickled Jalapeno Recipe
Begin by gathering all your supplies and ingredients.
Wash the peppers thoroughly.
Next, combine 1 1/2 cup vinegar with 1/2 cup of water. You can add in one clove of pressed garlic if you like but that’s totally optional.
Bring to a boil. Then reduce heat so it simmers. Let it simmer for five minutes.
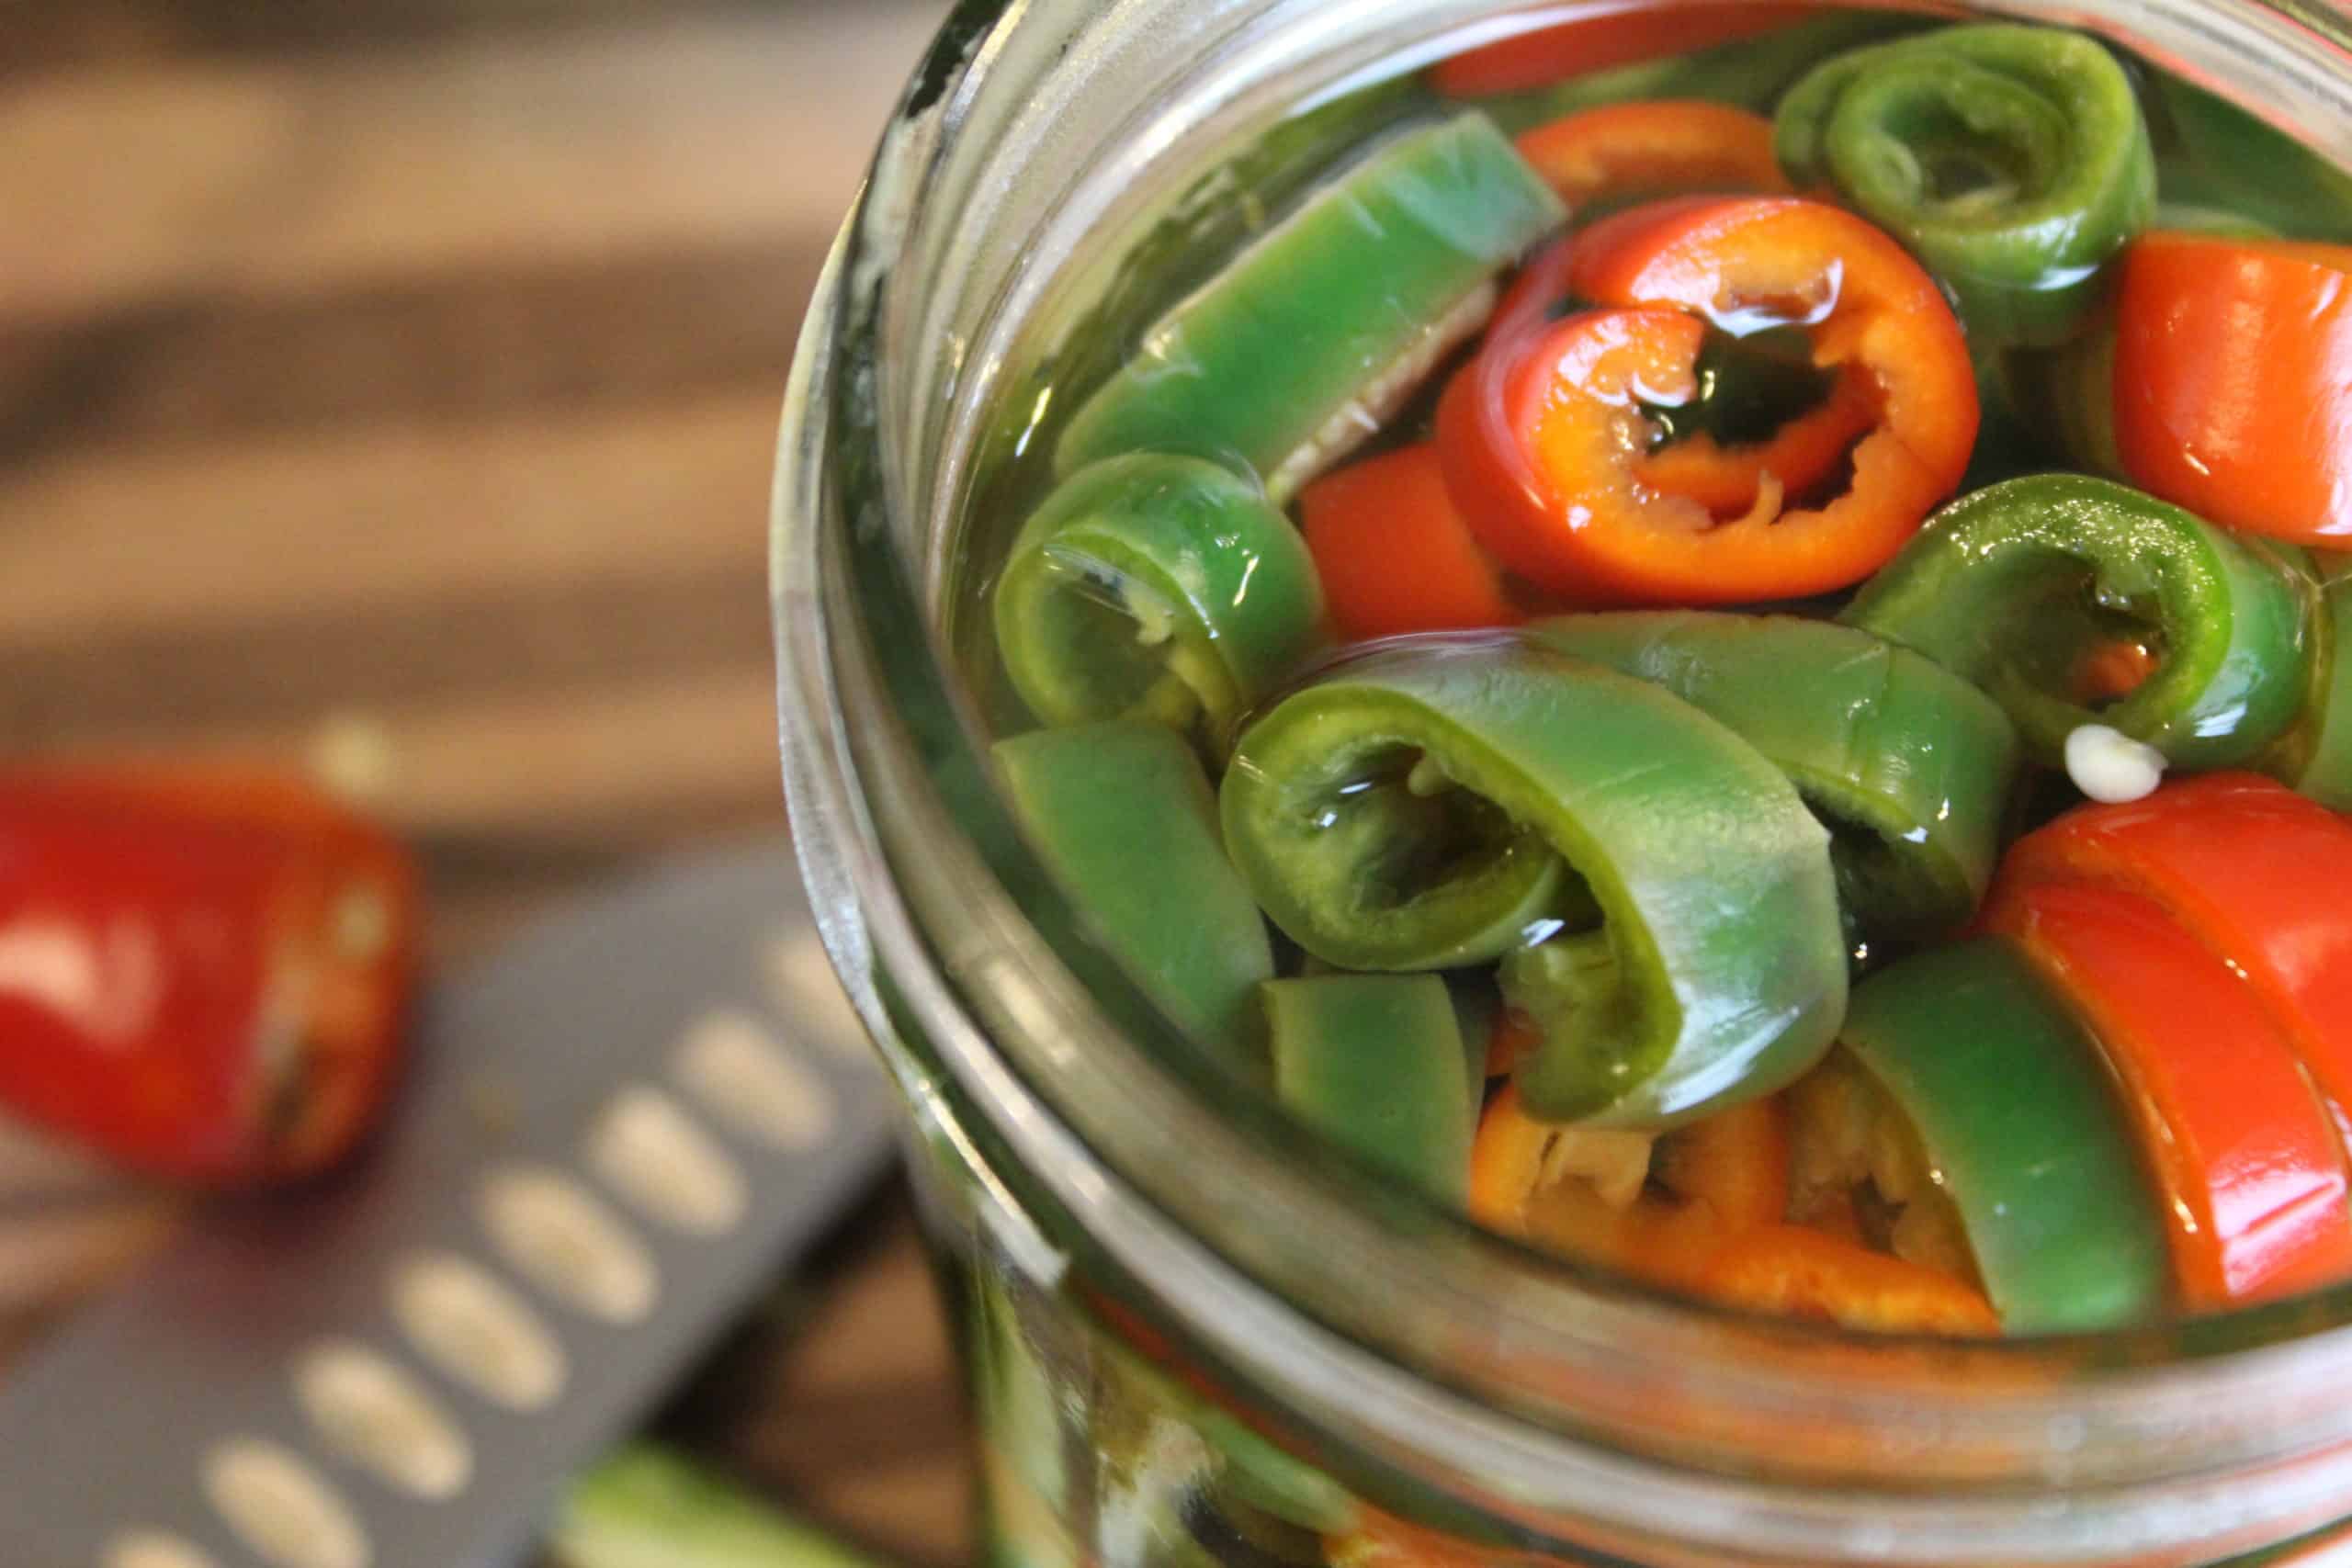
While that simmers, cut and seed your peppers. I recommend gloves for this.
I start by trimming off the stem end. Then I slice lengthwise along the pepper and remove the ribs and seeds. Then I slice the pepper into rings.

There is really no wrong way to do this.
Add the peppers to a pint mason jar.
By now your brine should be ready. Use a small strainer placed in the jar (or cheesecloth, or whatever else you can rig up) to strain out the garlic from the brine. Either pour the hot brine over the peppers or ladle it in.
Cap the peppers and allow to cool to room temperature.
Store in the fridge. They should be ready to eat in about three weeks!
If you’d like to preserve them to be shelf stable please see below.
Do you have to can pickled recipes?
Not if you keep them refrigerated! I single jar is typically perfect to pickle and stick right into the fridge for use.
If you want to hot water bath process this recipe, make sure you use a new lid, a hot jar, and process for ten minutes. I have some great canning resources available here if you are new to canning.
What if I have more than one jar’s worth?
Totally up to you! say you have an additional pint of peppers, you simply double the brine recipe. All other instructions are exactly the same.
I would advise if you have more than about three jars worth consider properly hot water bath canning the peppers. Unless you eat a lot of pickled hot peppers you’ll want to save some of your fridge space for other things.

Can I use other hot peppers in this recipe?
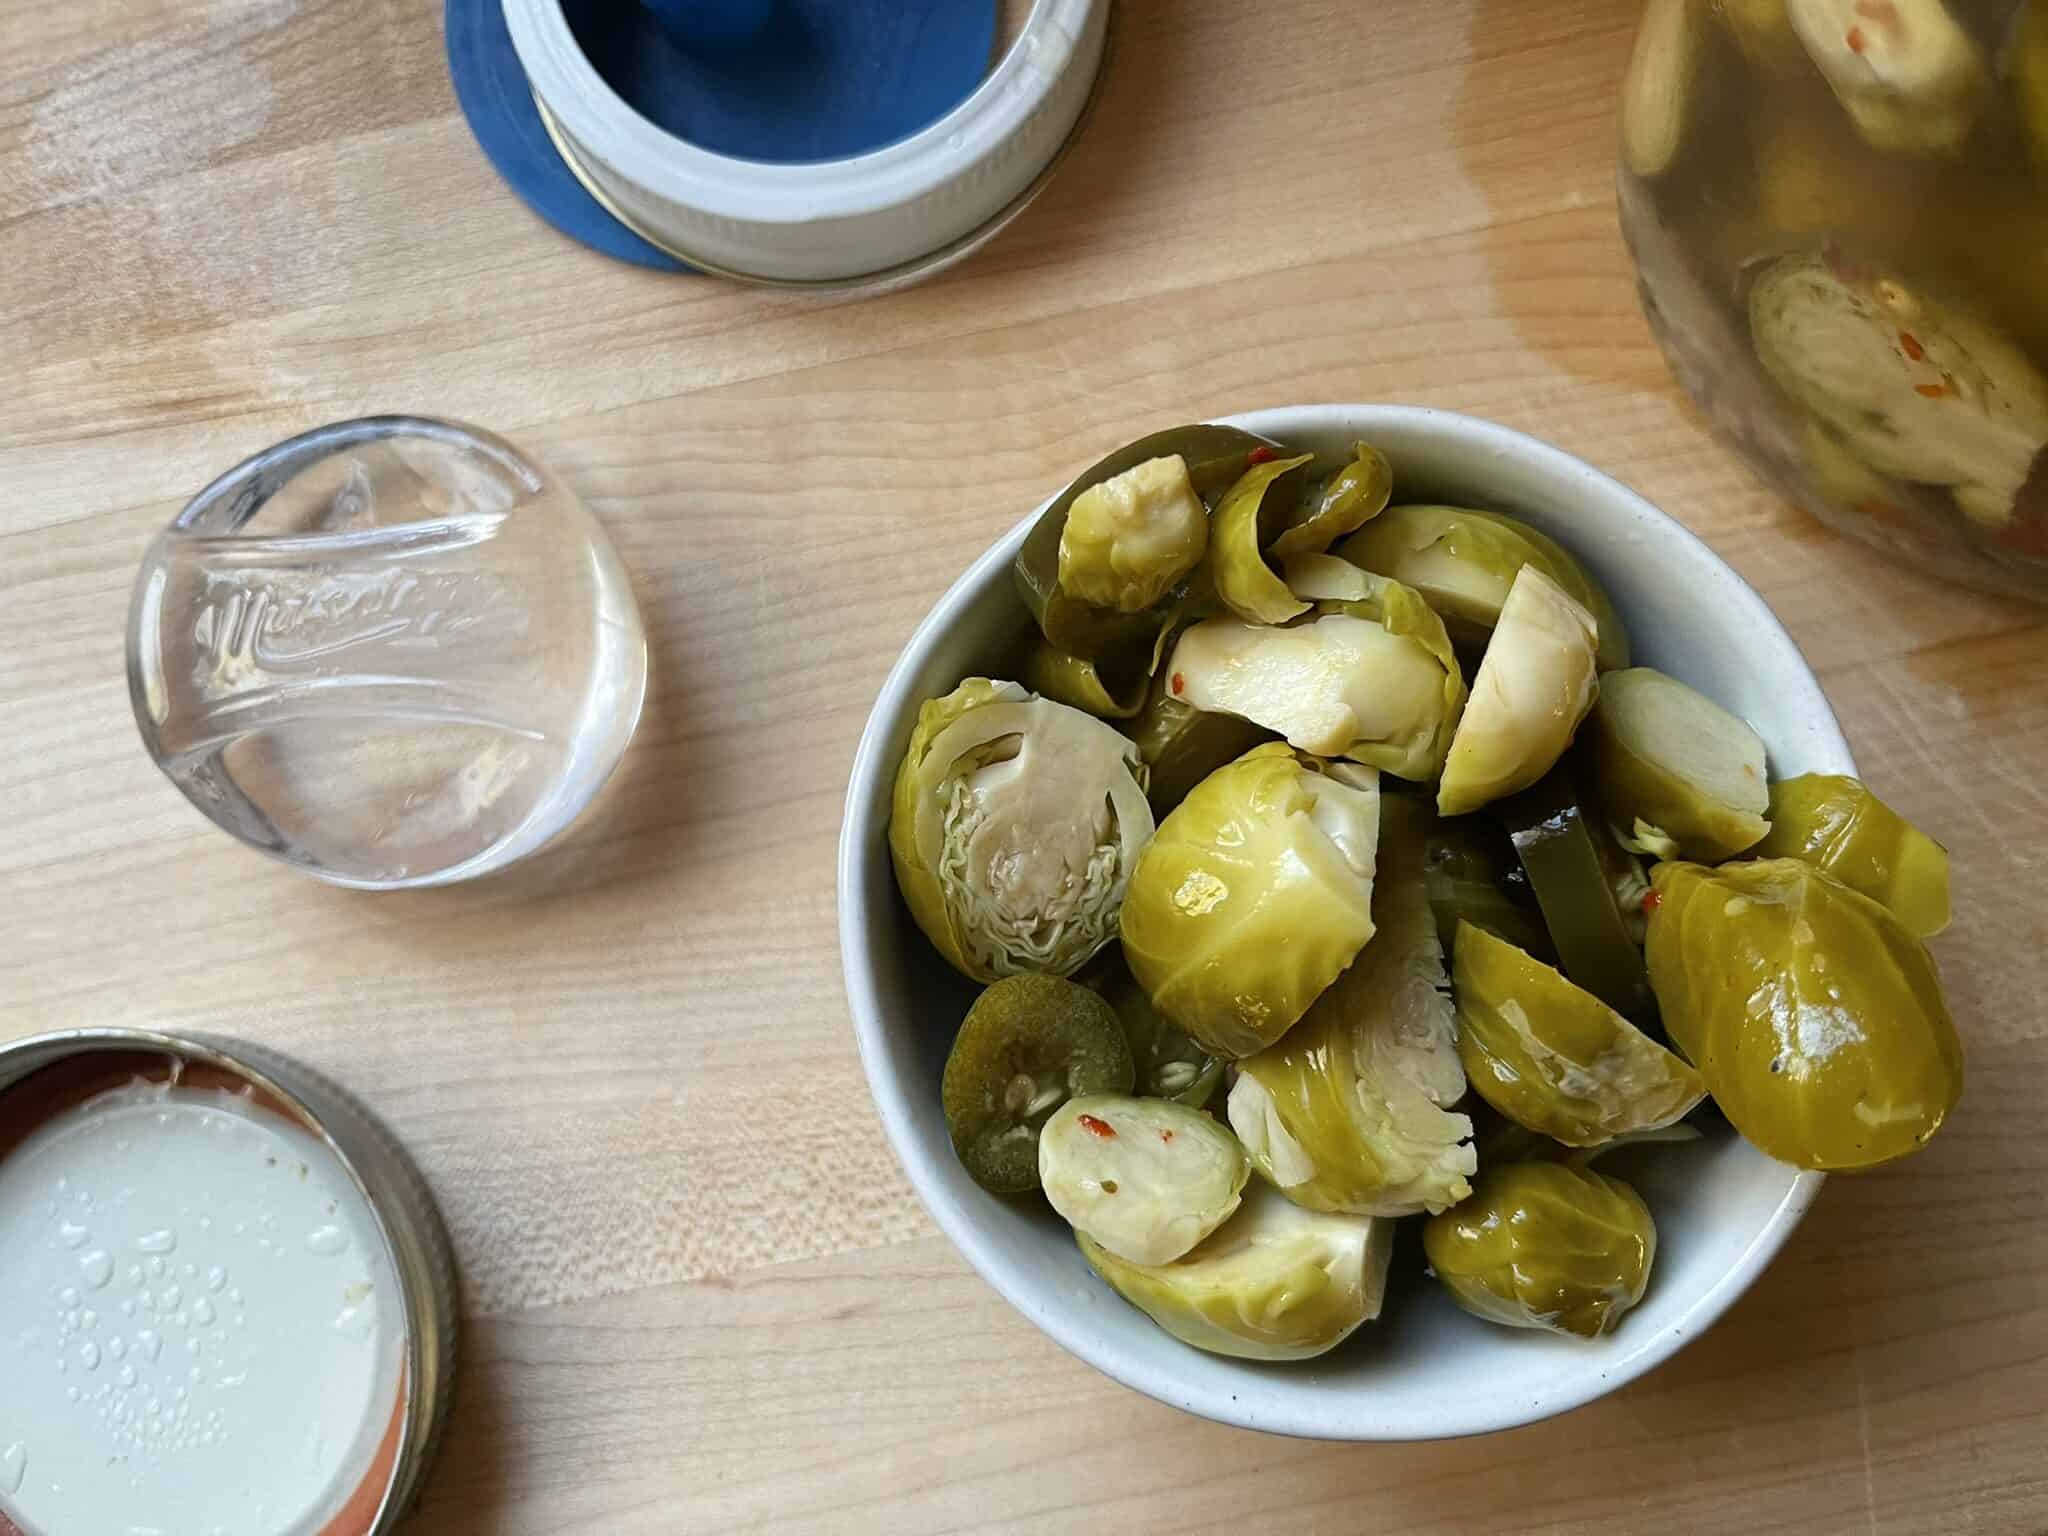
Sure! The main thing you can’t fiddle with is the vinegar/water ratios. You can mix it up with banana peppers, serrano peppers, or even toss in some chili peppers if you like. I especially like using peppers that are fully mature mixed in with slightly immature for a beautiful blend of red and green.
Ways to Eat Pickled Hot Peppers
Really your imagination is the only limitation here. I like hot peppers on sandwiches best myself. Here are some other ideas.
- Sandwiches
- Pizza
- Tacos
- Eggs
- Nachos
- Chili
- Straight out of the jar
Looking for more food preservation?
I have recipes for sauerkraut, dandelion jelly, and even aronia syrup!
Watch and Learn
I’m a real visual learner so I made a quick and easy YouTube video that takes you through the whole pickling process.

Pin it for Later

Ingredients
Equipment
Method
- Begin by gathering all your supplies and ingredients.
- Wash the peppers thoroughly.
- Combine 1 1/2 cup vinegar with 1/2 cup of water.
- Add in one clove of pressed garlic if you like but that’s totally optional.
- Bring to a boil.
- Reduce heat so it simmers. Let it simmer for five minutes.
- While that simmers, cut and seed your peppers. I recommend gloves for this.
- Trim off the stem end.
- Slice lengthwise along the pepper and remove the ribs and seeds.
- Slice the pepper into rings.
- Add the peppers to a pint mason jar.
- If you included garlic, use a small strainer placed in the jar (or cheesecloth, or whatever else you can rig up) to strain out the garlic from the brine. Either pour the hot brine over the peppers or ladle it in.
- Cap the peppers and allow to cool to room temperature.
- Store in the fridge. They should be ready to eat in about three weeks!
- If you’d like to preserve them to be shelf stable, follow proper canning procedure and process ten minutes in a hot water bath canner.