Make Mozzarella at Home
You can easily make mozzerella at home with some very basic ingredients. I make at least one batch a week of this melt in your mouth, amazing cheese.
About Mozzarella
Depending on what source you are reading, Mozzarella was traditionally made from the milk of either sheep or buffalo way back in the 1500s. It originates from Italy where it was made by the monks of San Lorenzo di Capua.
It is one of the easier cheeses for beginners to make as it doesn’t require aging or curing of any kind.
You have probably eaten mozzarella on pizza, in cheese sticks, or tossed in salads with tomatoes.
Ingredients to Make Your Own Mozzarella
DIY Mozzarella doesn’t require too much in the way of ingredients. For this recipe you will need:
- 1 Gallon of Whole Milk (you CAN use skim but girl just use the whole, it is so much tastier)
- 1 1/2 Tsp Citric Acid dissolved in 1/2 cup of cool water
- 1/4 Tsp of liquid rennet or 1/4 a rennet tablet dissolved in 1/4 cup of un-chlorinated water.
- Kosher salt
This post contains affiliate links, which means I make a small commission at no extra cost to you. See my full disclosure here.
Equipment for DIY Mozzarella
You don’t need any fancy tools to make this cheese. Here are the few items you’ll need to have on hand.
- Stainless steel pot with lid
- Rubber gloves
- Thermometer
- Spoon for stirring
- Knife for cutting the curd
- Microwave safe bowl
How to Make Mozzarella in 30 Minutes
This mozzarella method comes from the New England Cheese Making Compay. They are my primary source for getting cheesemaking equipment.
For this quick version of mozzarella you will be using a microwave. If you don’t have a microwave, check their website for a more detailed version of making mozzarella on the stove top.
Forming the Cheese with Citric Acid and Rennet

- Dissolve 1 and 1/2 tsp of citric acid in 1/2 cup of cool water.
- Put 1 gallon of milk in your stainless steel pot on the stove.
- Thoroughly stir in the citric acid/water.
- Heat the milk to 90 degrees F, stirring almost constantly. I go somewhere between low and medium for heat.
- While your milk heats, dissolve 1/4 tsp rennet tablet or dilute 1/4 tsp liquid rennet in 1/4 cup of cool water.
- Once the milk reaches 90, remove it from the heat.
- Stir the dissolved rennet into the milk. Use an up and down motion to really swoosh the milk around thoroughly for about 30 seconds.
- Cover the pot and let it sit for five minutes.
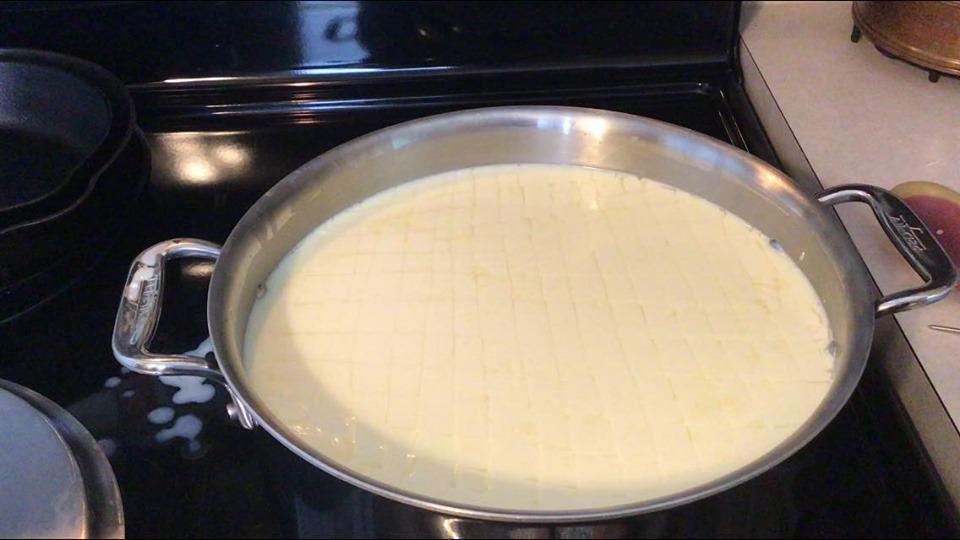
- After five minutes, remove the lid and check the curd. It should be very thick, like a custard or very thick pudding.
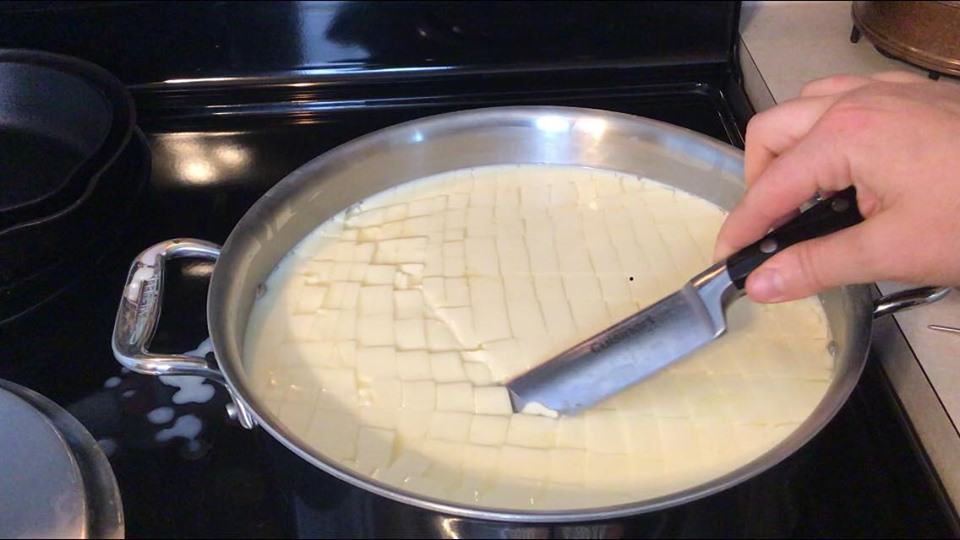
- Poke your knife into the curd so it reaches the bottom of the pot and slice through it. You should be able to see a line of where you sliced. If you can’t, let it sit for another minute and check again.
- When the curd is set, slice your curd into 1/4 inch strips, making sure that your knife touches the bottom of the pot. Then, slice the other way so the whole thing looks like a big checkerboard. Then slice diagonally (as best you can) so you ultimately end up with 1/4 inch cubes.
- Gently stir the curd and heat it up to 105 degrees F.
- Once to temperature, remove it from the heat and stir for two minutes. This will give you a soft textured cheese. If you want a firmer mozzarella, stir for five minutes.
Shaping the Mozzarella
- Remove the curds from the whey and place them in a microwave safe bowl. You can use a slotted spoon if you want. I typically just use my hands.
- Drain the whey from the curd in the bowl as thoroughly as you can. Press it and knead it into the bowl to help the moisture release.
- Pop the bowl in the microwave for one minute.
- Now you’ll want to put your gloves on, unless you are a total badass and can take that kind of heat. I love a super hot shower but man this is just more than I can tolerate.
- Again, drain the whey from the cheese. You can start to stretch it out like taffy if you like to help remove the moisture.
- Microwave it again, in the bowl, for 30 seconds.
- Repeat the whey draining process.
- Microwave for a final time for 30 seconds.
- Drain the whey.
Finishing the Cheese
- Add 1-2 tsp Kosher salt and knead it into the cheese. Taste to see if you want more salt.
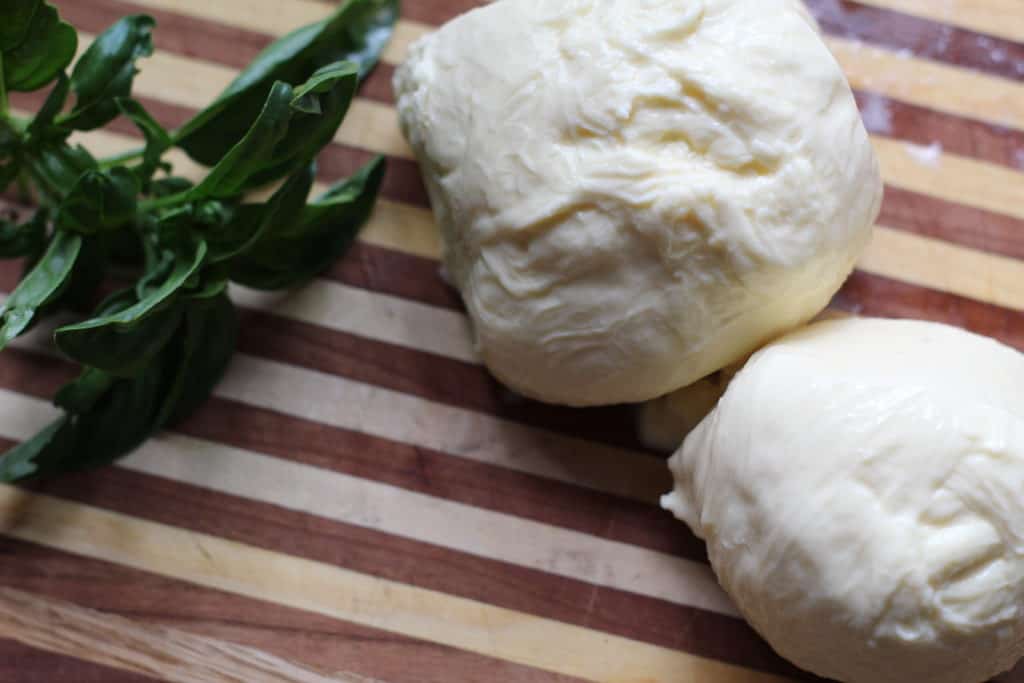
- Now you can shape it into balls or knots! See the YouTube video below.
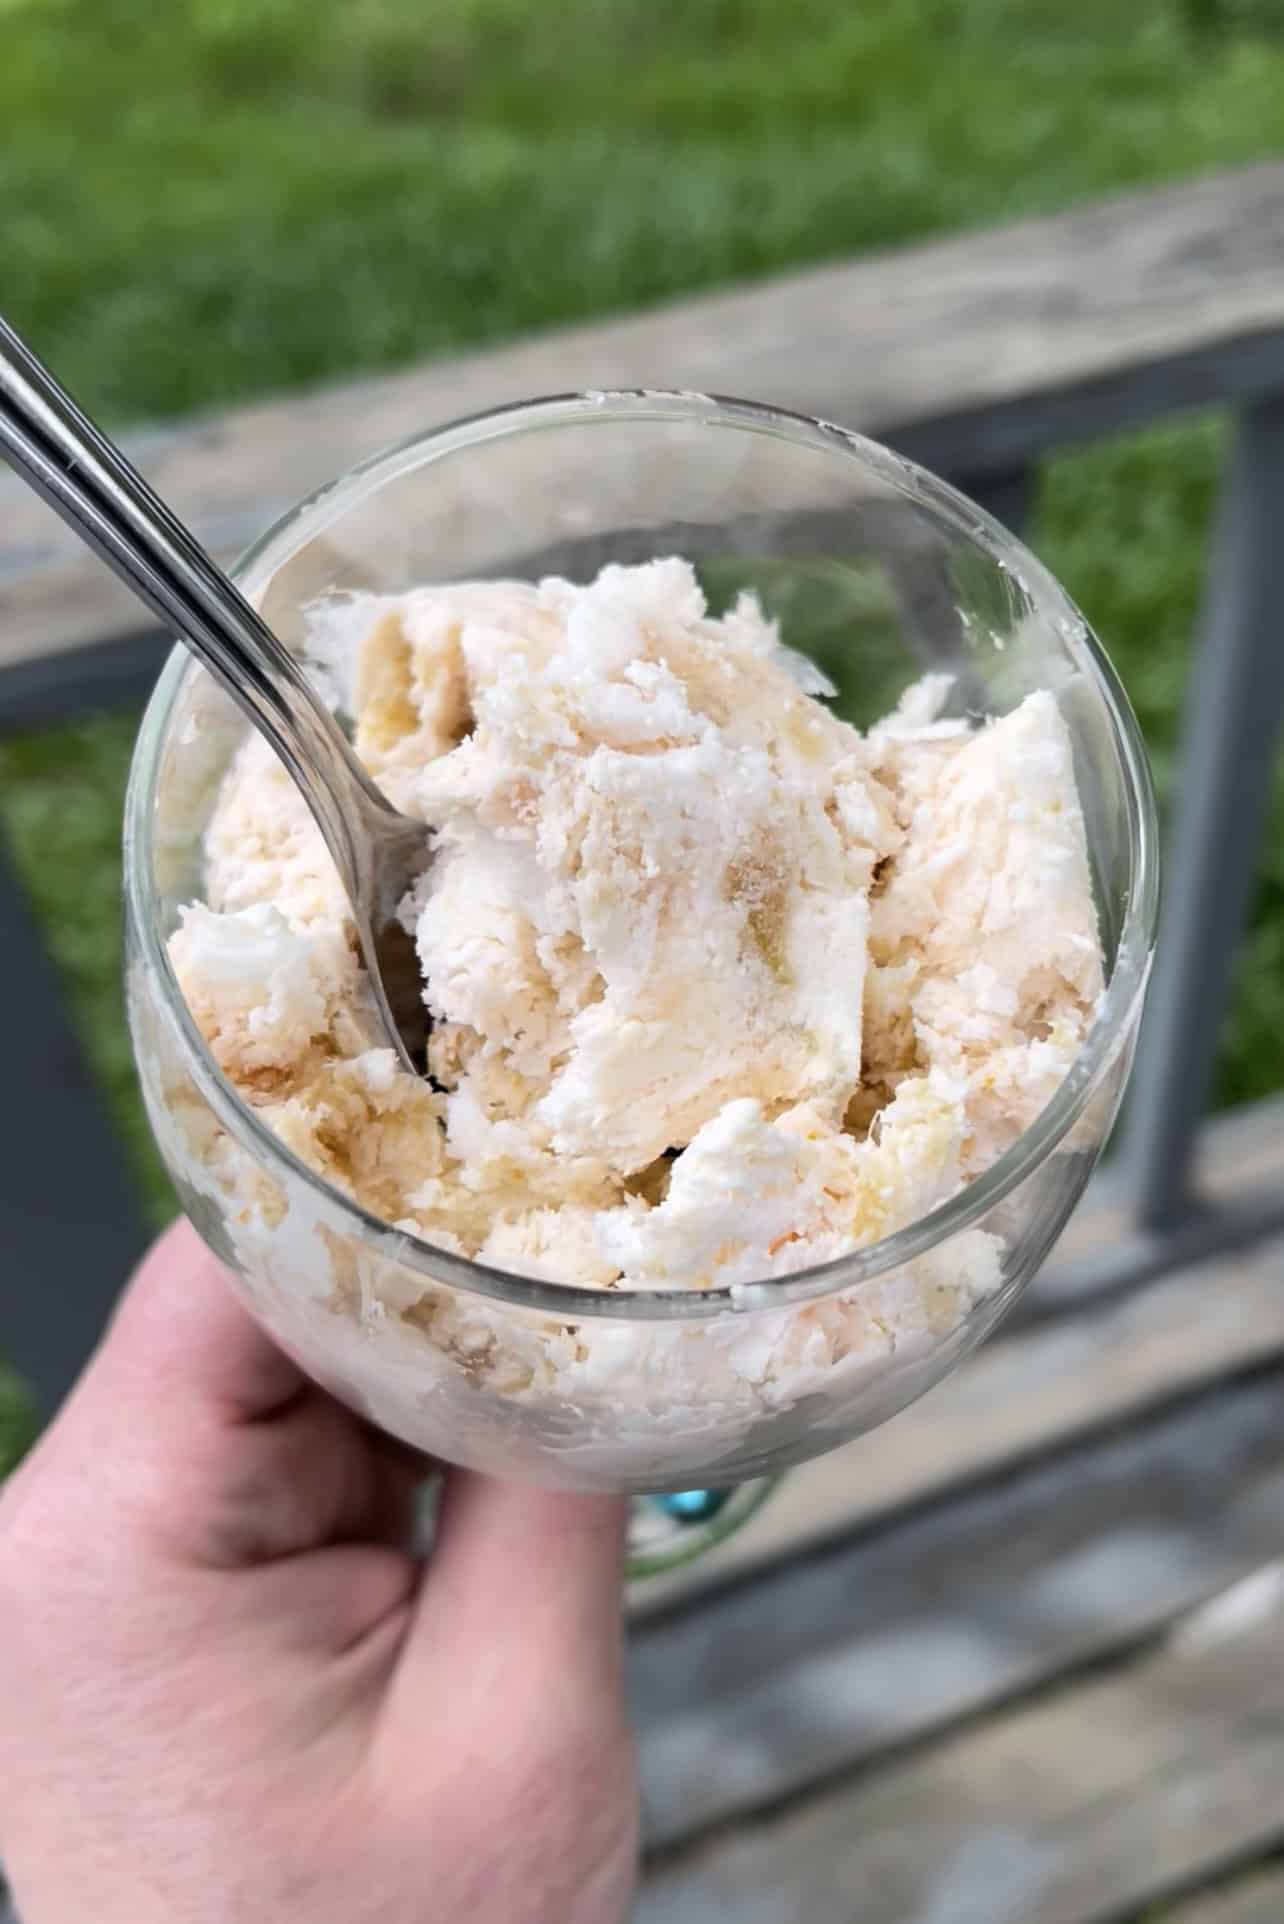
- If you plan to eat the cheese right away, slice it up and serve warm. So good!
- If you are using this cheese later, rinse the mozz balls in cool water, then let them sit in a cool water bath with ice for 1/2 hour before storing in the refrigerator.
- They will keep for one week.
Ways to Use Mozzarella
Pizzas
Our primary use for Mozzarella is to eat it up on sourdough pizzas. One batch of cheese is enough to generously cover two pizzas.
Nachos are another great way to use the ooey-gooey goodness.
Fresh Tomato, Basil, and Mozz Salad
This might be my most favorite summertime food. Grab some tomatoes from the garden. I like to use cherries. I half or quarter them, two cups or so worth. Then, cube up some mozzarella (as much as looks good to you) and toss it with the tomatoes. Tear up fresh basil leaves and mix them in. Drizzle with balsamic vinegar and grind some fresh pepper on top. Unbelievably delicious. Super easy.

Freeze it for Later
There will come a time when we dry down the cow and have to buy milk from the store again. Right now, we are flush with milk so I can make a batch of cheese every other day or so.
After you let the cheese chill (this is so the shape is solid) you can toss it in your food processor with the grating blade on, or grate it by hand (it goes quick). Line a cookie sheet with parchment paper and sprinkle the cheese out in a thin layer. Freeze for an hour two. Put the cheese in quart or gallon ziplocs and store in the freezer. You can top pizzas or nachos with it for up to six months.
Make sure you use it frozen. Don’t let it thaw first and try to use it. It should go from frozen to in the oven with no heating up in between.
What do I do with the Whey?
Excellent question! No need to waste all that good whey.
If I’m ambitious, I’ll cook it down for hours on low heat, stirring frequently to make mejost, which is a very tangy whey cheese. To me it tastes like the cheese in those little snacks you’d get as a kid, the ones with tiny breadsticks and bright orange cheese. Except this is way better.
If I’m not in the mood to watch a pot all day, I’ll feed the whey to my pig, Iris, or give it to the chickens. Plenty of good protein in there and both pigs and chickens love the stuff.
Shop this Post
Watch and Learn

Pin it for Later